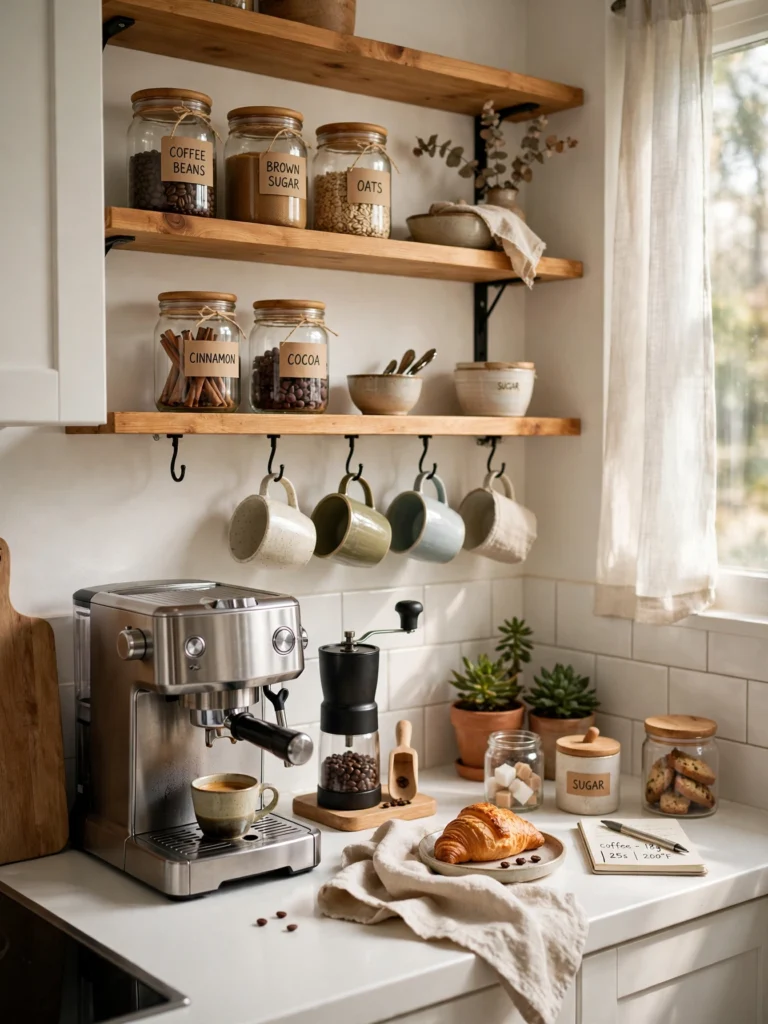
16 IKEA Kitchen Hacks for Small Kitchens With Limited Counter Space
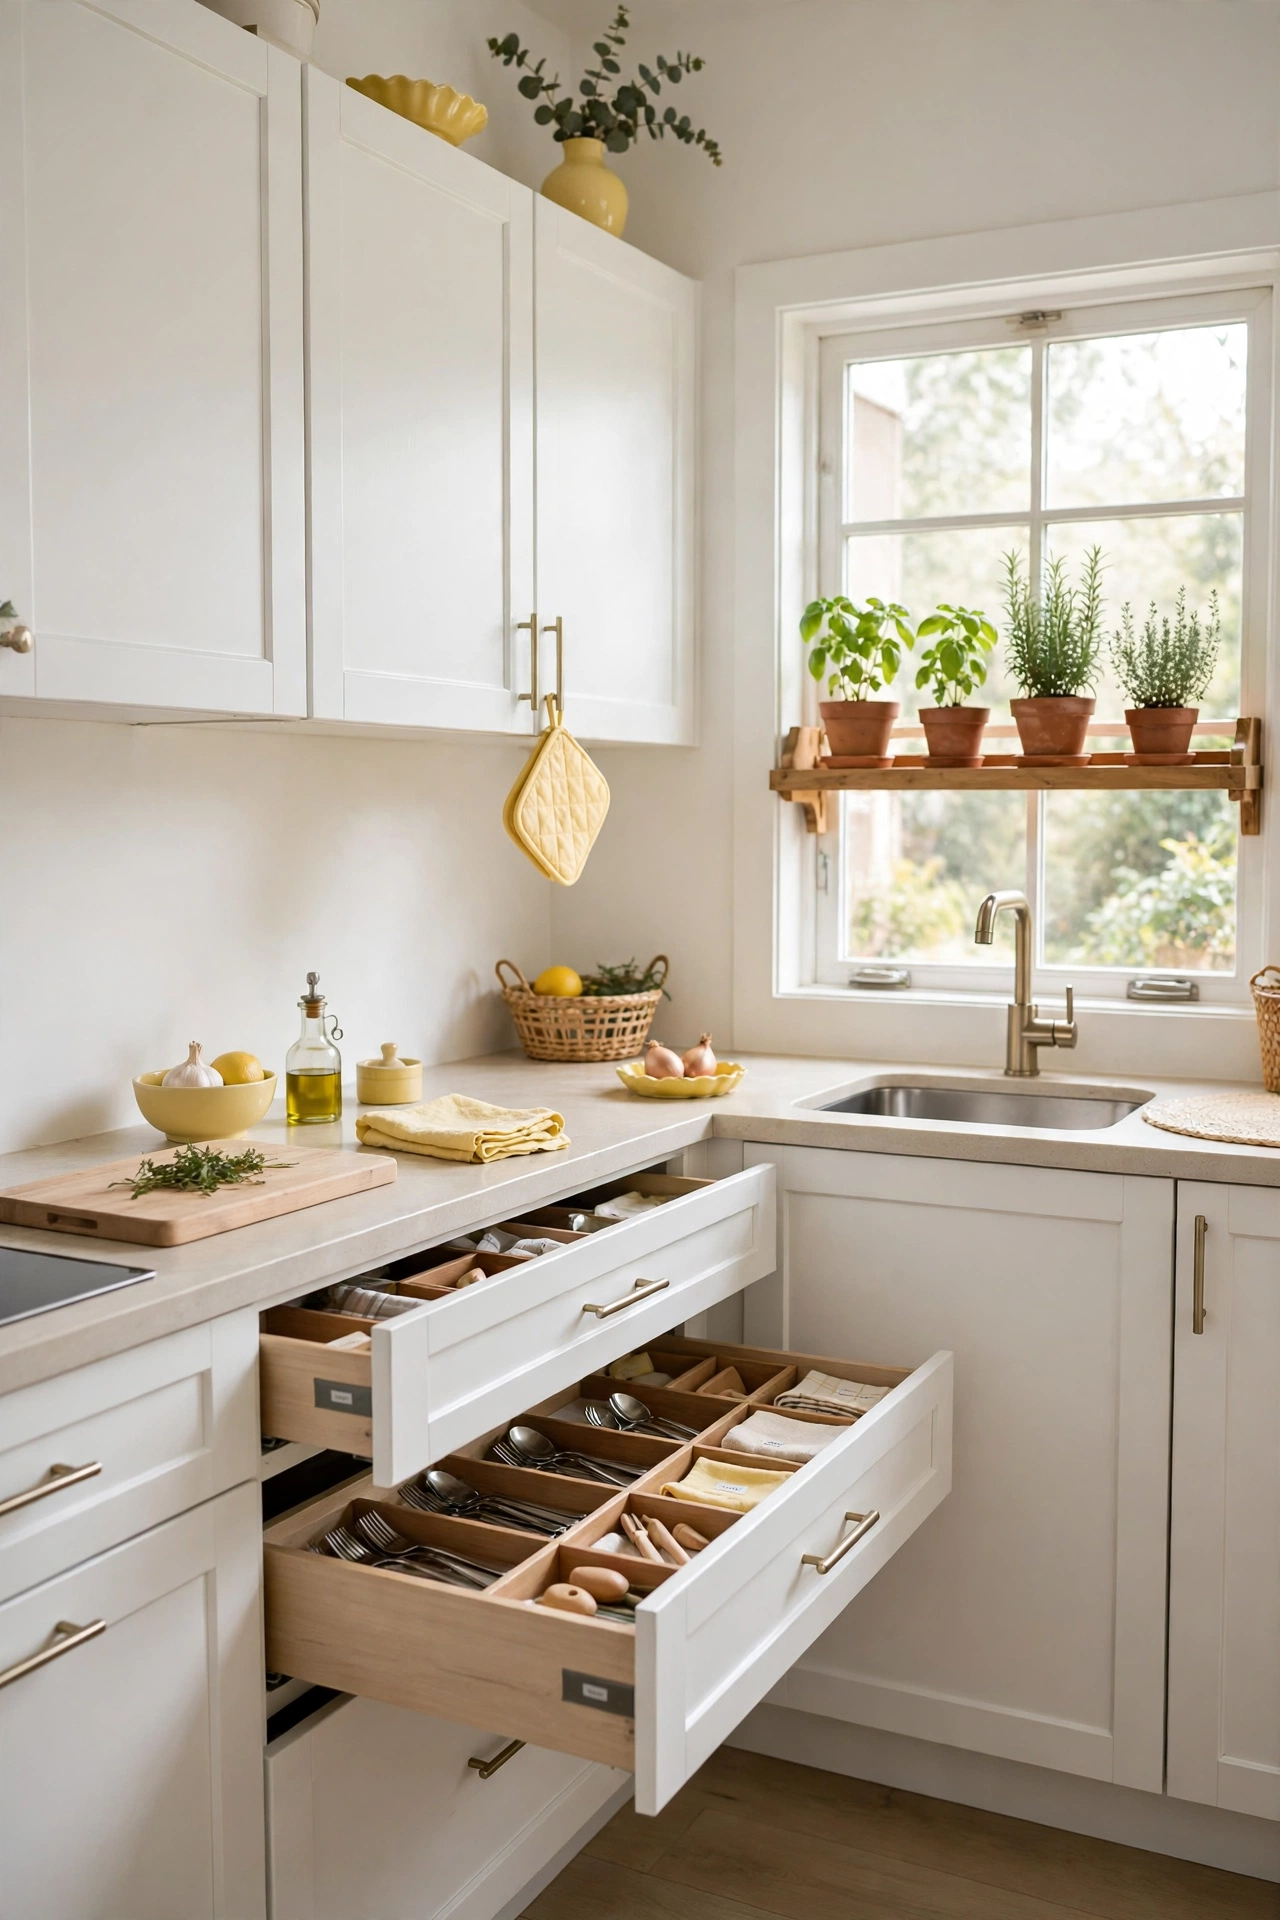
You reach for the phone to check the recipe and it is under a tea towel. You move the towel and find the salt behind it, and behind the salt is the kettle cord. Cooking in a small kitchen can feel like digging through a drawer that never stays tidy.
The counter is not too small. It is doing too many jobs at once. It holds the cooking, the charging, the mail, the bottles and the books, all in the same stretch. Give a few of those jobs a home somewhere else, and the counter goes back to being a worktop.
That is what these IKEA kitchen hacks do. Each one moves a job off the counter and onto a wall, a door, or a shelf you already have. Most of them cost less than a takeaway dinner. Pick the three that fit your kitchen best and start with the easiest one tonight.
1. A Slim Shelf on the Side of the Fridge for Cookbooks
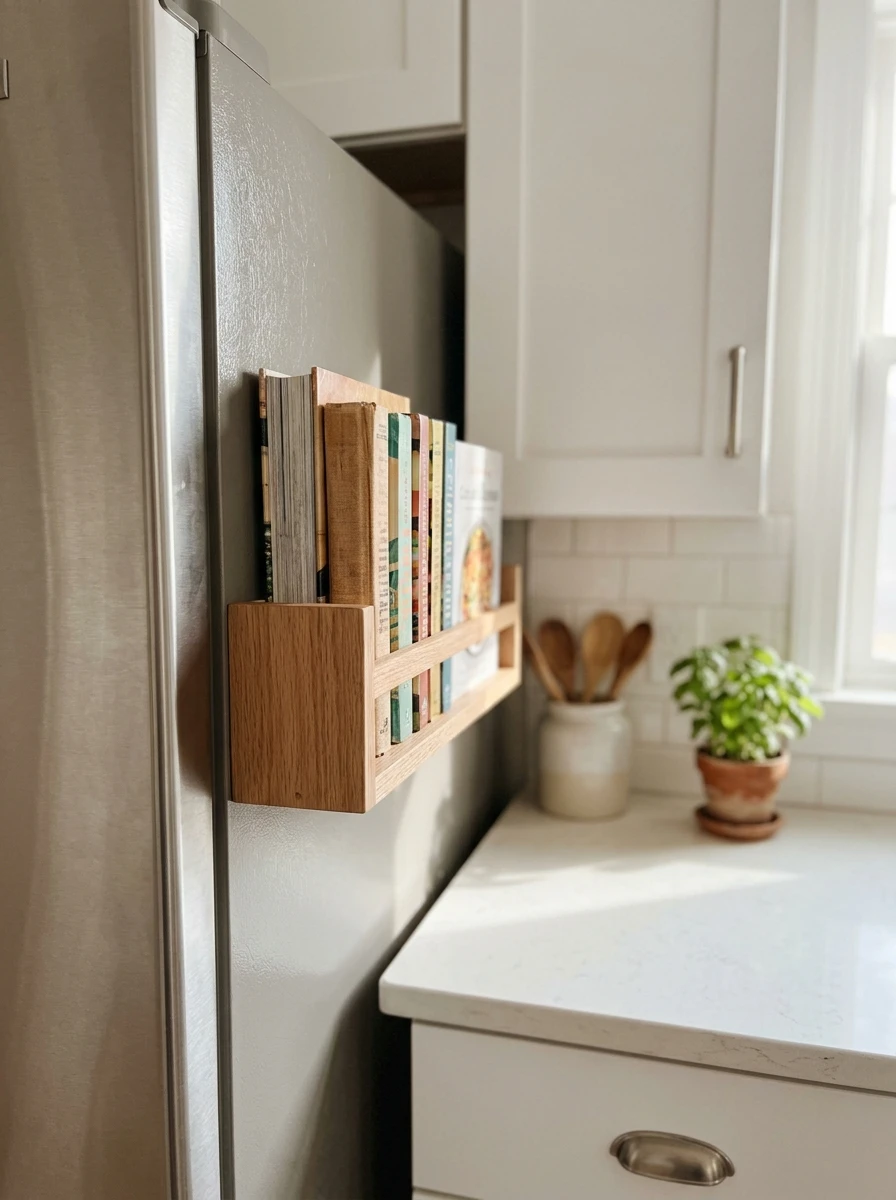
Cookbooks live in a pile on the counter because there is no shelf for them anywhere near the kitchen. A slim shelf fixed to the side of the fridge gives them a home, and the pile on the counter disappears.
Pick a shelf about six inches deep, so the books stand upright without tipping. Fix it with heavy duty adhesive strips or small screws, and keep the books you cook from most at the front. The shelf holds four or five books, which is plenty for a small kitchen.
The counter they sat on is free for chopping now, and the books are within reach the moment a recipe calls.
Also view: 13 IKEA Kallax Makeover Ideas With Doors and Drawers for Hidden Storage
2. A Magnetic Board on the Wall for Recipes, Lists and Notes
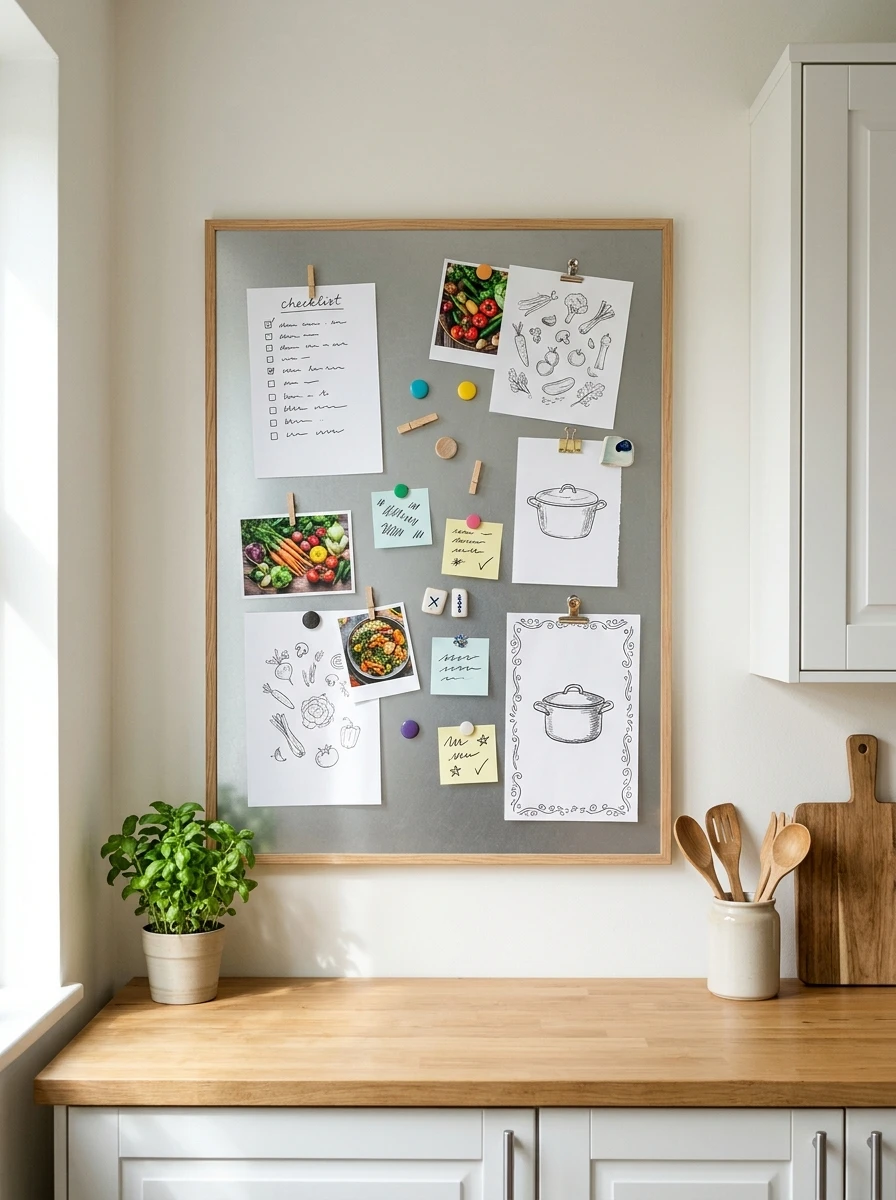
Recipes tear out of magazines, lists pile up on the counter, and notes stick to the fridge with tired magnets. A magnetic board on the wall gives them all one home. Pin the recipe for tonight, the shopping list for tomorrow, and the note about the plumber, all in one spot.
Fix the board on a free stretch of wall near the prep area, where you can read it while you cook. Use small magnets to hold the papers flat, and keep a pen on a string beside it for quick notes. The board holds the paper, and the counter holds nothing but dinner.
The papers stop drifting across the worktop, and the shopping list is always where you expect it.
💡 Quick Tip
Keep a pen on a string beside the board, so the shopping list gets updated the moment something runs out.
3. A Shelf Above the Kitchen Door for Things You Rarely Reach For
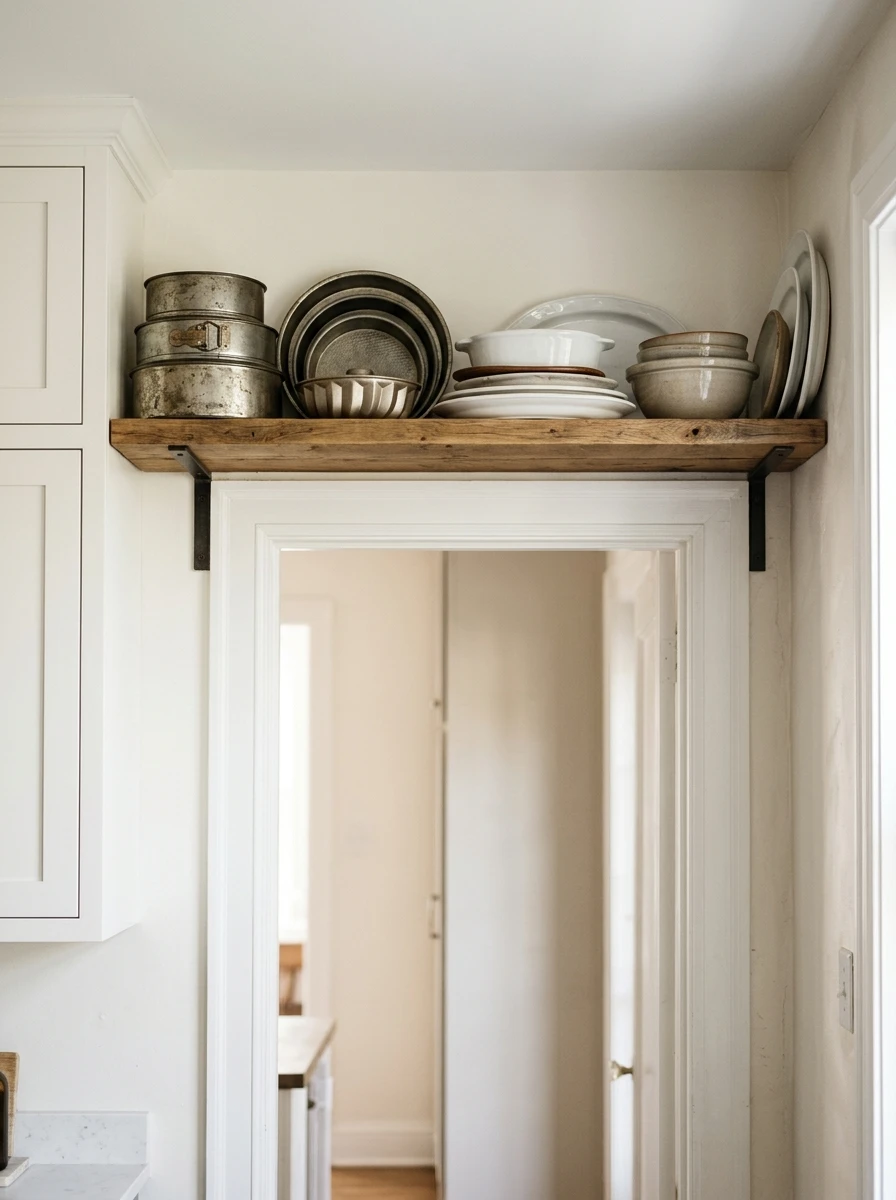
The space above the kitchen door is empty, and the things you use twice a year live in a cupboard you open every day. A shelf above the door swaps that around. The rarely used things go up high, and the daily things get the cupboard back.
Fix a sturdy shelf above the door frame, and keep it for the big serving dishes, the picnic set, and the cake tins that come out twice a year. A small step stool reaches it easily, and the shelf stays out of the way of heads passing through the door.
The cupboard below holds the daily plates now, and the high shelf earns its keep without anyone noticing it.
Empty space above the door, while rarely used dishes crowd the daily cupboard.
One shelf above the door holds the twice a year things, and the cupboard is free.
4. A Small Shelf on the Cabinet Side That Holds Your Phone While You Cook
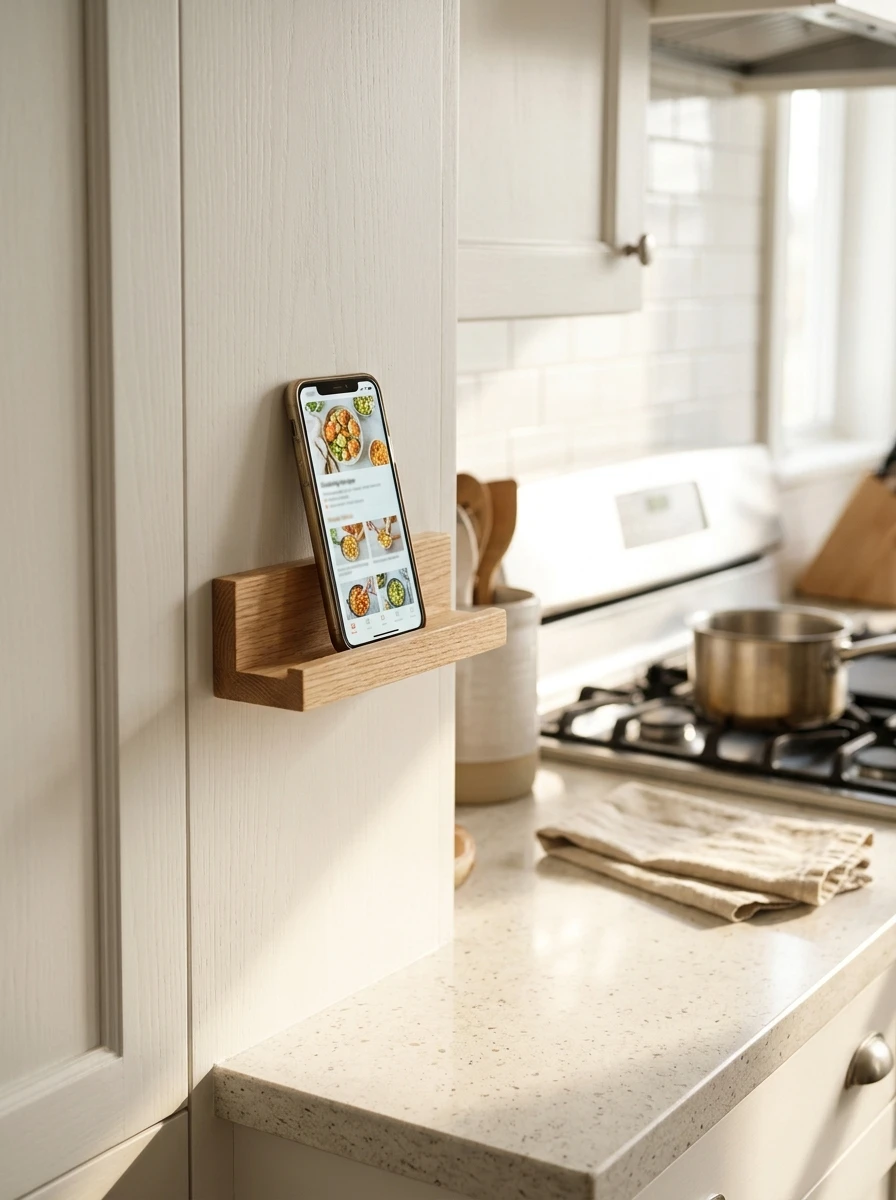
The phone props against the backsplash, slides down, and lands in a puddle of sauce. A small shelf on the side of an upper cabinet holds it upright, at eye level, and safe from spills. The recipe stays visible and your hands stay free.
Fix the shelf on the side panel of the cabinet nearest the stove, at a height where the screen is easy to read. A small lip at the front stops the phone sliding off, and a short cable from the outlet below keeps it charged while you cook.
The counter below stays clear for the board and the bowls, and the phone never meets the sauce again.
Fix the shelf at eye level, clear of steam and splashes.
Add a small lip so the phone cannot slide off.
Mounting it over the hob, where steam fogs the screen.
Skipping the lip and hoping the phone stays put.
5. A Towel Ladder Leaning on the Wall That Holds Towels and Aprons
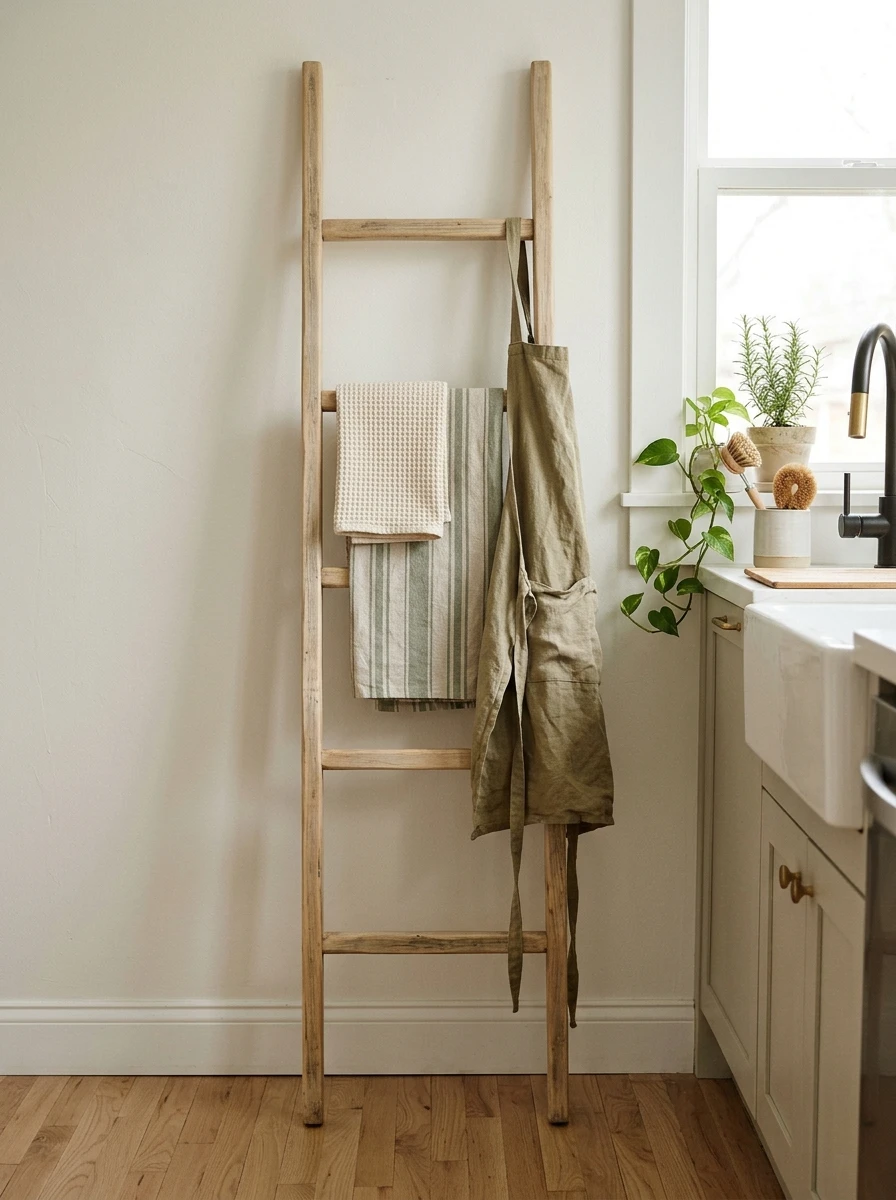
Towels and aprons end up on the counter, on a chair, or on the floor, because there is no rail for them. A towel ladder leaning on the wall gives them rungs to hang from, and it needs no screws at all. Lean it, hang the towels, done.
Pick a ladder tall enough to hold two towels and an apron without touching the floor. Lean it against a free stretch of wall near the sink, with rubber feet so it never slides. Hang the hand towel on the top rung and the apron on the middle one.
The towels dry flat, the apron hangs ready, and the counter stays clear of fabric.
- ▸Hand towel on the top rung, nearest the sink.
- ▸Apron on the middle rung, ready to grab.
- ▸Rubber feet, so the ladder never slides.
6. A Wall Shelf for the Microwave That Frees the Counter Below
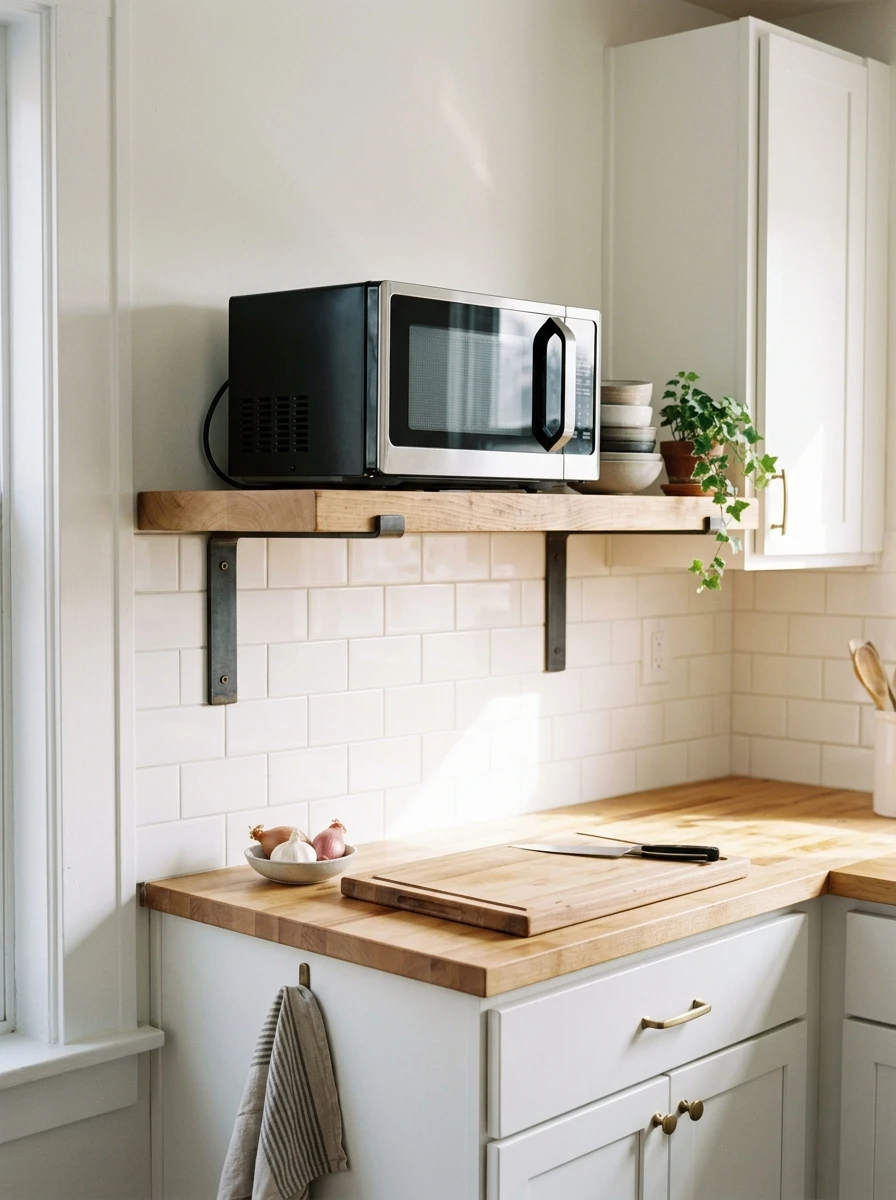
The microwave sits on the counter because there is nowhere else for it to go, and it eats a full two feet of worktop. A wall shelf sized for the microwave lifts it up, and the counter below becomes prep space again.
Fix a sturdy shelf on the wall at a height where the door opens easily and the food goes in without stretching. Measure the microwave first, and pick a shelf rated for its weight with room to spare. Keep the shelf near an outlet so the cord never crosses the worktop.
The microwave stays plugged in and ready, but the counter it stood on is free for chopping and mixing.
7. A Utensil Caddy Mounted on the Side of a Cabinet
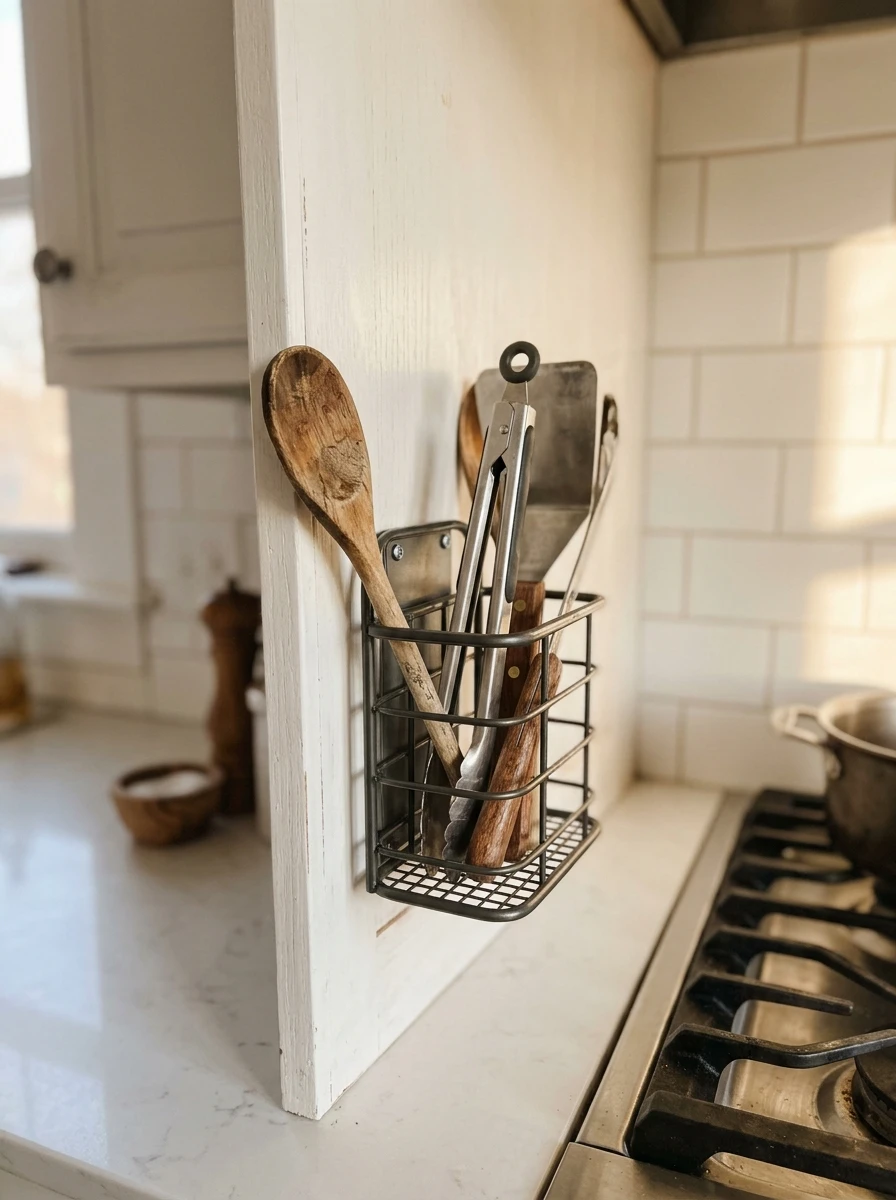
The utensil drawer is full, and the tools you reach for most are at the bottom of it. A caddy mounted on the side of a cabinet holds them upright, in reach, and out of the drawer. Grab the spatula, stir the pan, put it back, all without opening a drawer.
Fix the caddy on the side panel of the cabinet nearest the stove, at a height where the handles sit within easy reach. Keep the daily tools in it, spatula, tongs, wooden spoon, and the rest in the drawer. A caddy with drainage holes stays clean, since wet tools drip into it.
The drawer they came from is free now, and the tools you use most are always one grab away.
Fix the caddy on the cabinet side nearest the stove.
Keep only the daily tools in it, the rest stay in the drawer.
Rinse the caddy once a week so it stays clean.
8. A Recipe Card Holder Clipped to the Cabinet for Hands-Free Cooking
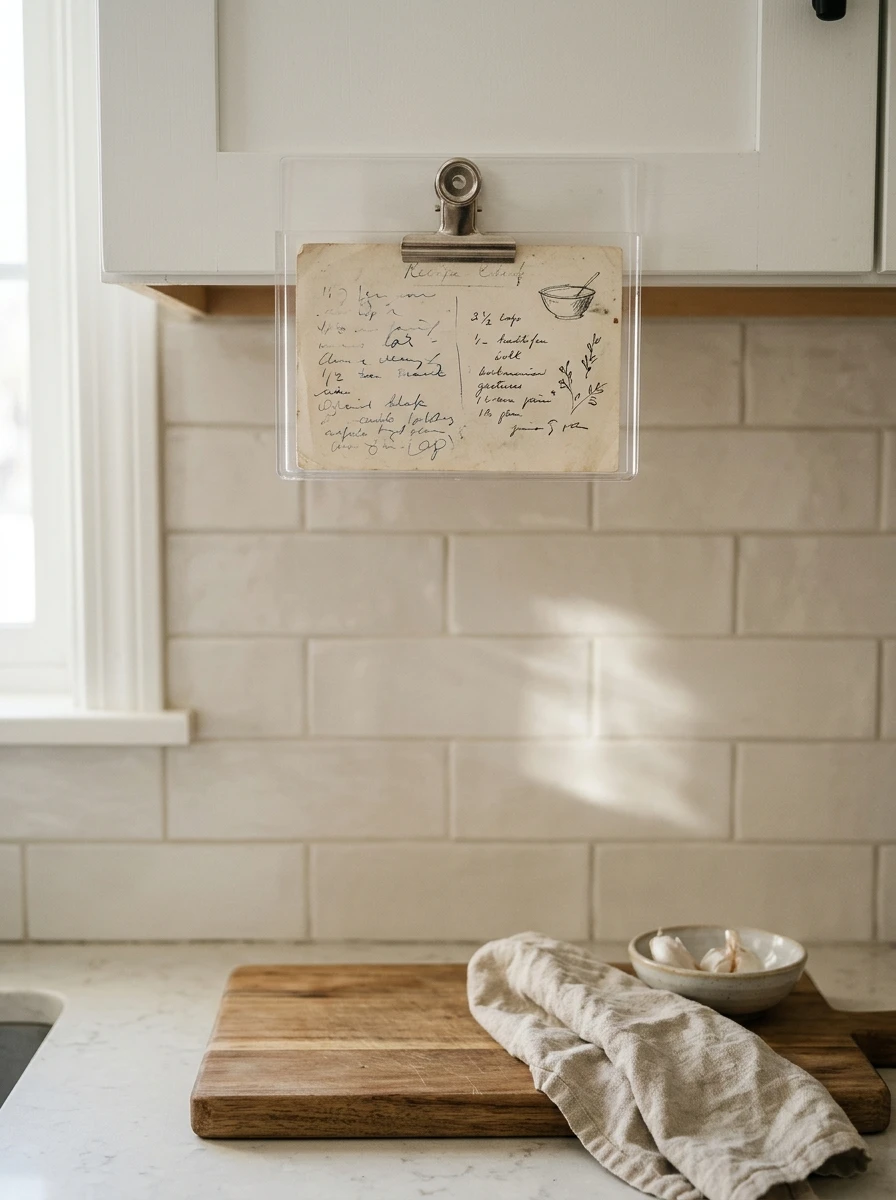
The recipe card props against the backsplash, slides down, and gets splashed with sauce. A small holder clipped to the underside of an upper cabinet grips the card at eye level, and your hands stay free for cooking. The card stays readable while you chop.
Clip the holder to the cabinet edge above the prep area, clear of steam and splashes. Slide the card in from the side, and it stays put until you pull it out. A holder with a clear front keeps the card dry, and it wipes clean with one pass of a cloth.
The counter below stays clear for the board and the bowls, and the recipe never disappears under a tea towel again.
📌 Good To Know
A holder with a clear front keeps the card dry when the pan spits, and it wipes clean with one pass of a cloth.
9. A Knife Sharpener Mounted Under the Cabinet, Always in Reach
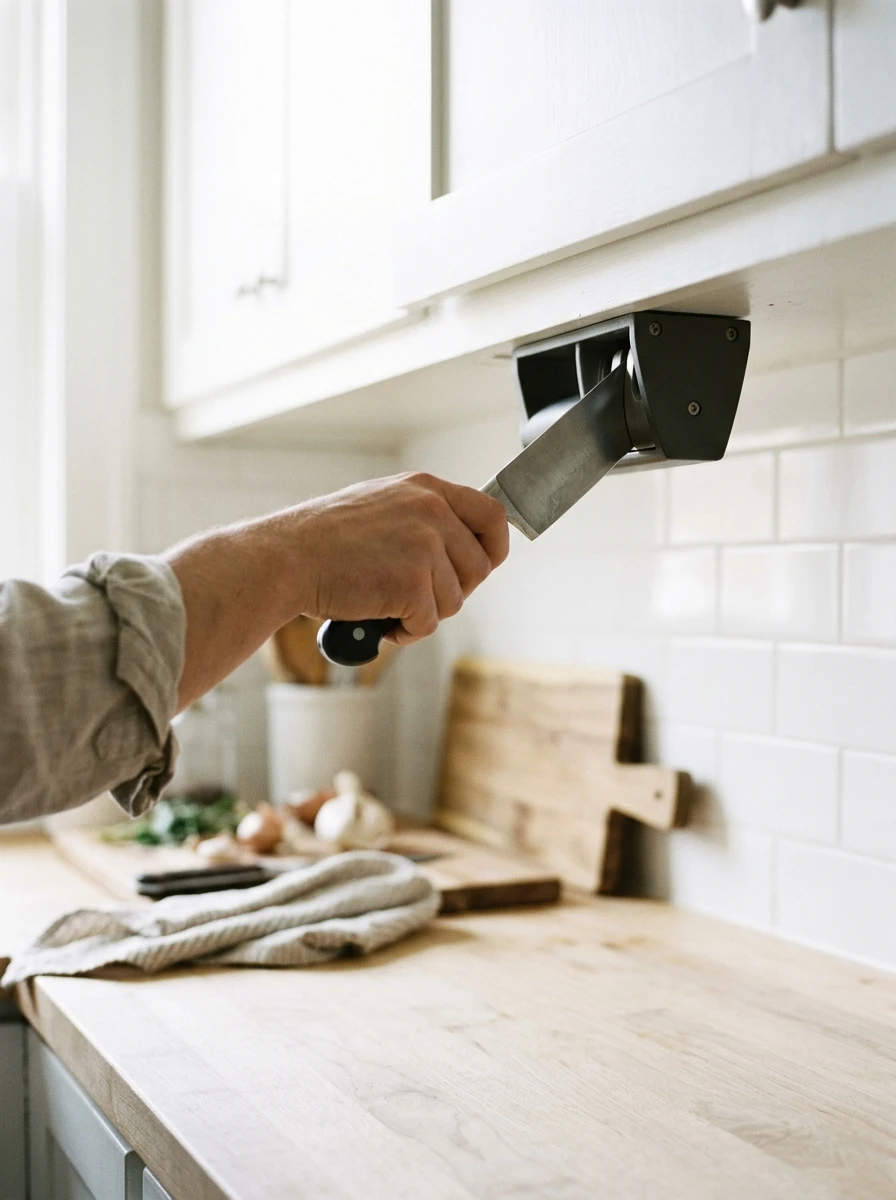
The knife sharpener lives in a drawer, and the knives go blunt because nobody digs it out. A sharpener mounted under the upper cabinet is always in reach, and sharpening takes ten seconds before you start chopping.
Fix the sharpener under the cabinet near the prep area, where your hand naturally reaches. Pull the blade through the coarse slot first, then the fine slot, and the edge comes back. Wipe the blade clean before you cut.
Sharp knives are safer than blunt ones, since they cut where you aim instead of slipping. Test the sharpener on an old knife first, so you learn the pressure it needs. Like most IKEA kitchen hacks, this one costs very little and makes every dinner easier.
Ten seconds before you chop beats ten minutes digging in a drawer. Sharp knives cut where you aim.
10. A Jar Opener Mounted Under the Cabinet for Stuck Lids
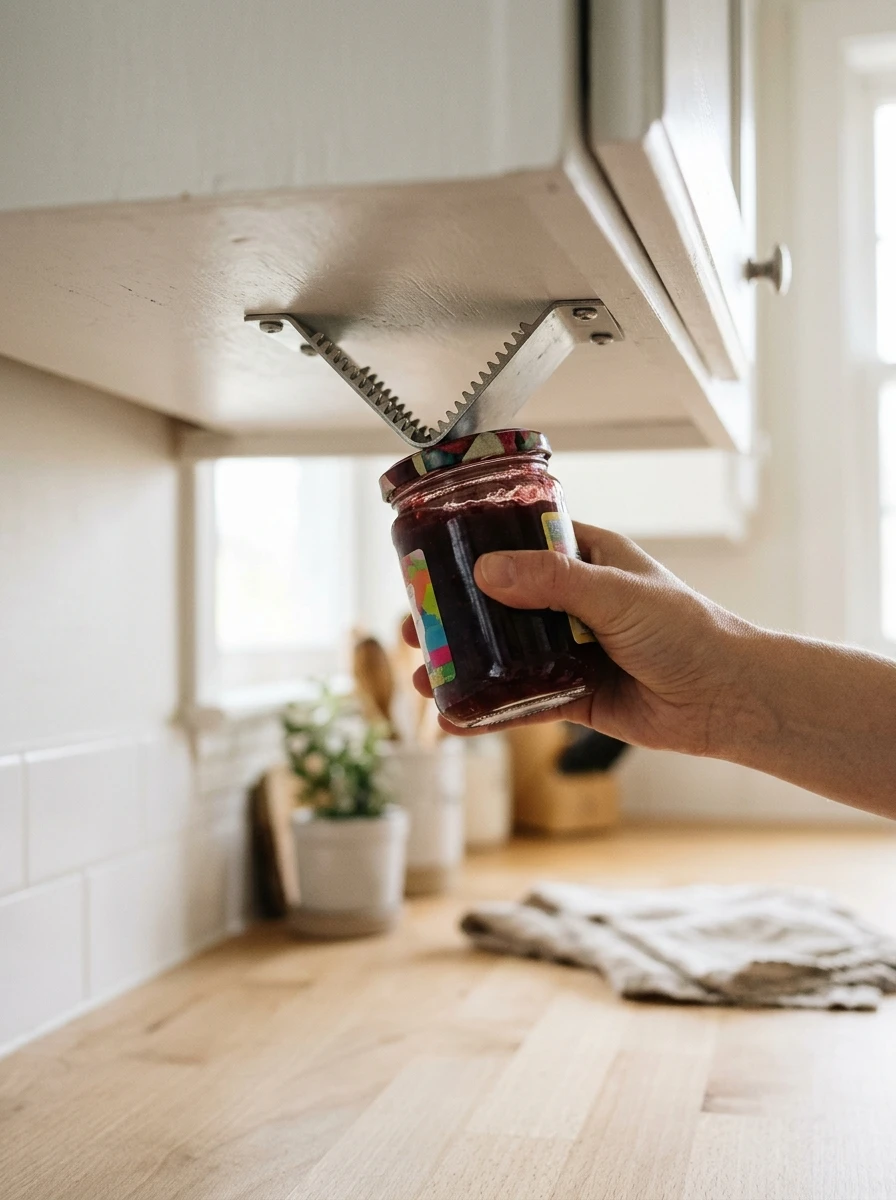
The stuck jar lid is a small daily defeat. You grip it, twist, and nothing moves, so the jar goes back in the cupboard. A jar opener mounted under the upper cabinet opens it in one move. Slide the lid into the grip, twist the jar, and the seal pops.
Fix the opener under the cabinet near the prep area, where your hands already work. It grips lids of all sizes, from small spice jars to big pickle jars, and it never needs batteries or strength. One twist and the jar is open.
The jars stop going back unopened, and the lid that always stuck becomes the easiest one in the kitchen.
What to grab first
11. A Bottle Opener on the Wall That Catches the Caps
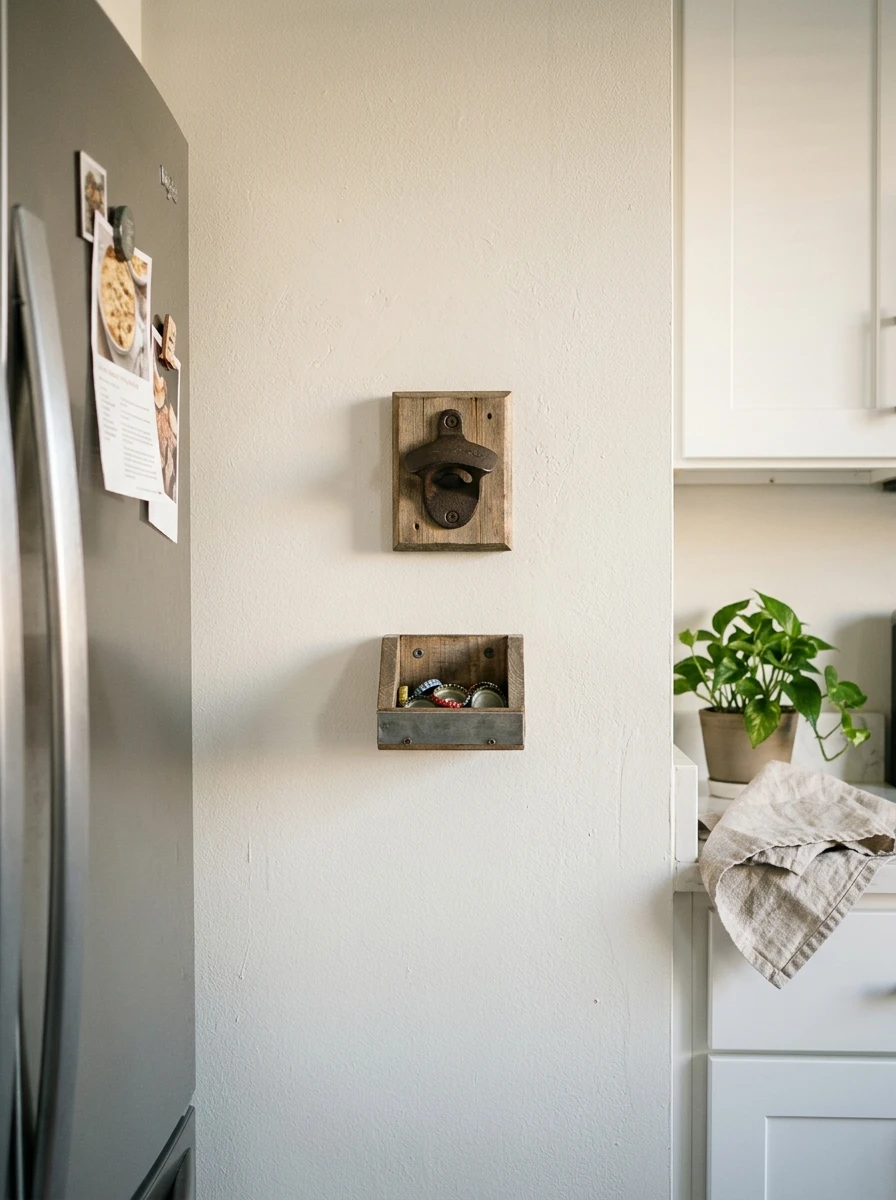
The bottle opener lives in a drawer, and the caps end up on the counter or on the floor. A wall-mounted opener with a cap catcher below it opens the bottle and catches the cap in one move. No drawer, no lost caps, no mess.
Fix the opener on the wall near the fridge, where cold drinks come from. Screw it at a height where the bottle hangs clear of the counter, and mount the catcher below it to catch the cap as it falls. Empty the catcher once a week into the recycling.
The opener is always where your hand expects it, and the caps stop turning up under the table.
| Wall Opener | Drawer Opener |
|---|---|
| Caps: caught below in one move | Caps: on the counter or the floor |
| Finding it: always on the wall | Finding it: digging in a drawer |
| Counter space: none used | Counter space: none, but the caps use it |
12. A Chalkboard on the Pantry Door for Shopping Lists
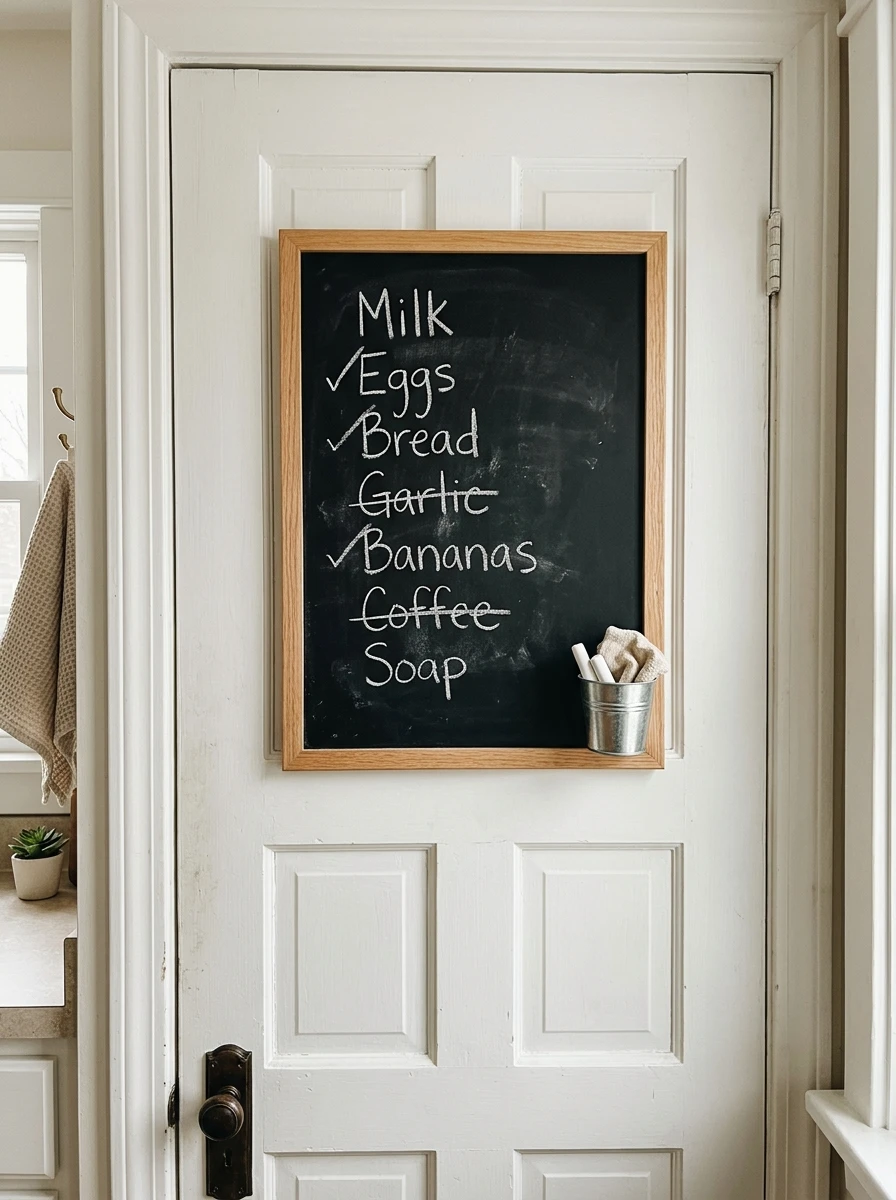
The shopping list lives on a scrap of paper that gets lost, or on the phone that runs out of battery. A chalkboard on the pantry door holds the list where everyone in the house can see it and add to it. Milk runs out, someone writes milk on the board.
Fix the board on the inside or the outside of the pantry door, where the family passes it daily. Keep a piece of chalk in a small cup beside it, and wipe the board clean after the shop. The list builds itself through the week, one item at a time.
The paper scraps are gone, and the shopping list is always where you expect it.
13. A Sink Grid That Protects the Basin and Doubles as a Drying Spot
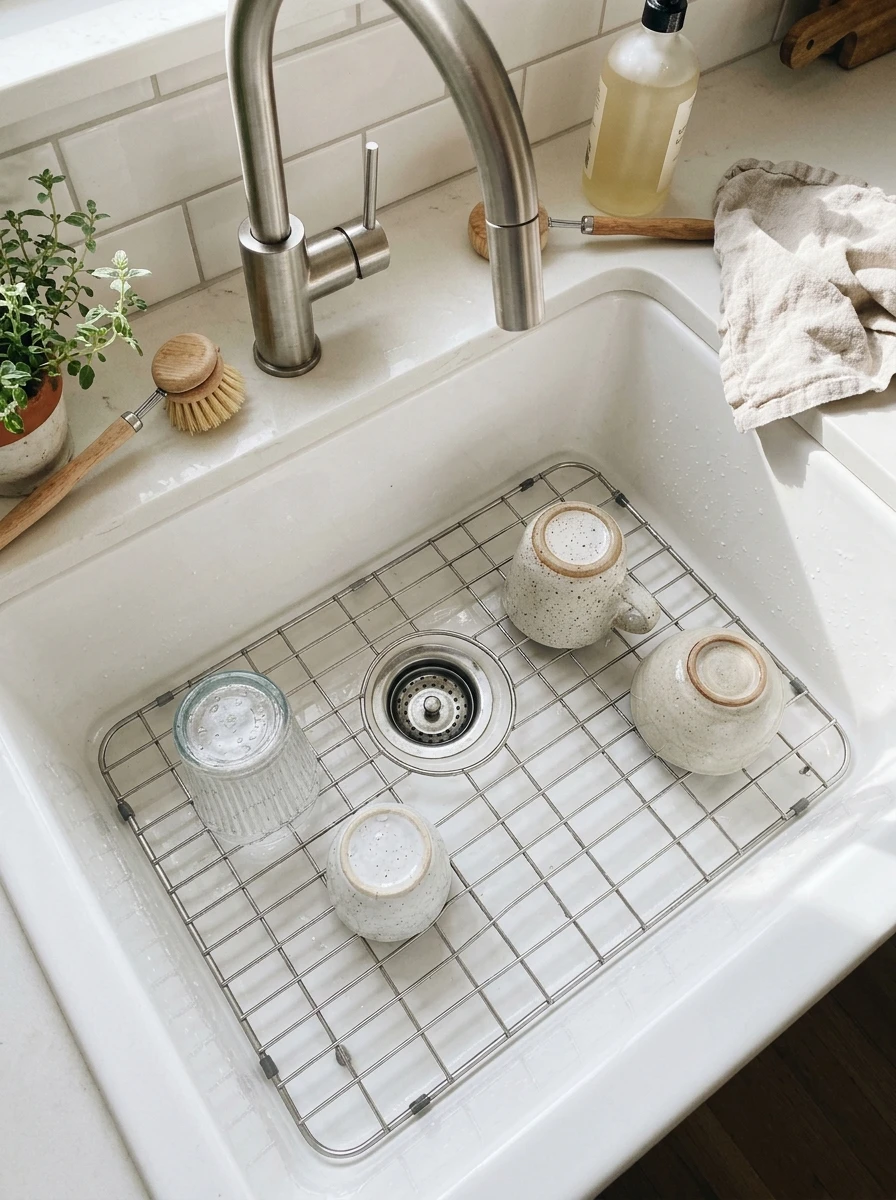
The sink basin scratches every time a pan slides across it, and the scratches collect stains that never come out. A sink grid sits in the bottom of the basin and takes the scratches instead. Pans rest on the grid, and the basin below stays clean.
Pick a grid sized to your sink, with rubber feet so it never slides or marks the basin. Lift it out to rinse the sink, and put it back when you are done. The grid doubles as a drying spot for cups and glasses, since air moves underneath them.
The basin stays new for years, and the grid costs less than a single takeaway dinner.
14. A Built-In Soap Dispenser at the Sink That Replaces the Bottle

The soap bottle lives on the counter beside the sink, in a small puddle, and it falls over every time you reach past it. A built-in dispenser fits through a spare hole in the sink or the worktop, and the bottle hides below. One pump gives the soap, and the counter stays clear.
Fit the dispenser in a spare sink hole, or drill one if your worktop allows it. Fill the bottle below from the top, and keep a spare bottle of soap under the sink for refills. The pump sits at the edge of the basin, where wet hands reach it first.
The bottle is gone from the counter, and the puddle it sat in goes with it.
💡 Quick Tip
Keep a spare bottle of soap under the sink, so refilling the dispenser takes a minute instead of a shopping trip.
15. A Cookbook Ledge on the Wall Above the Counter
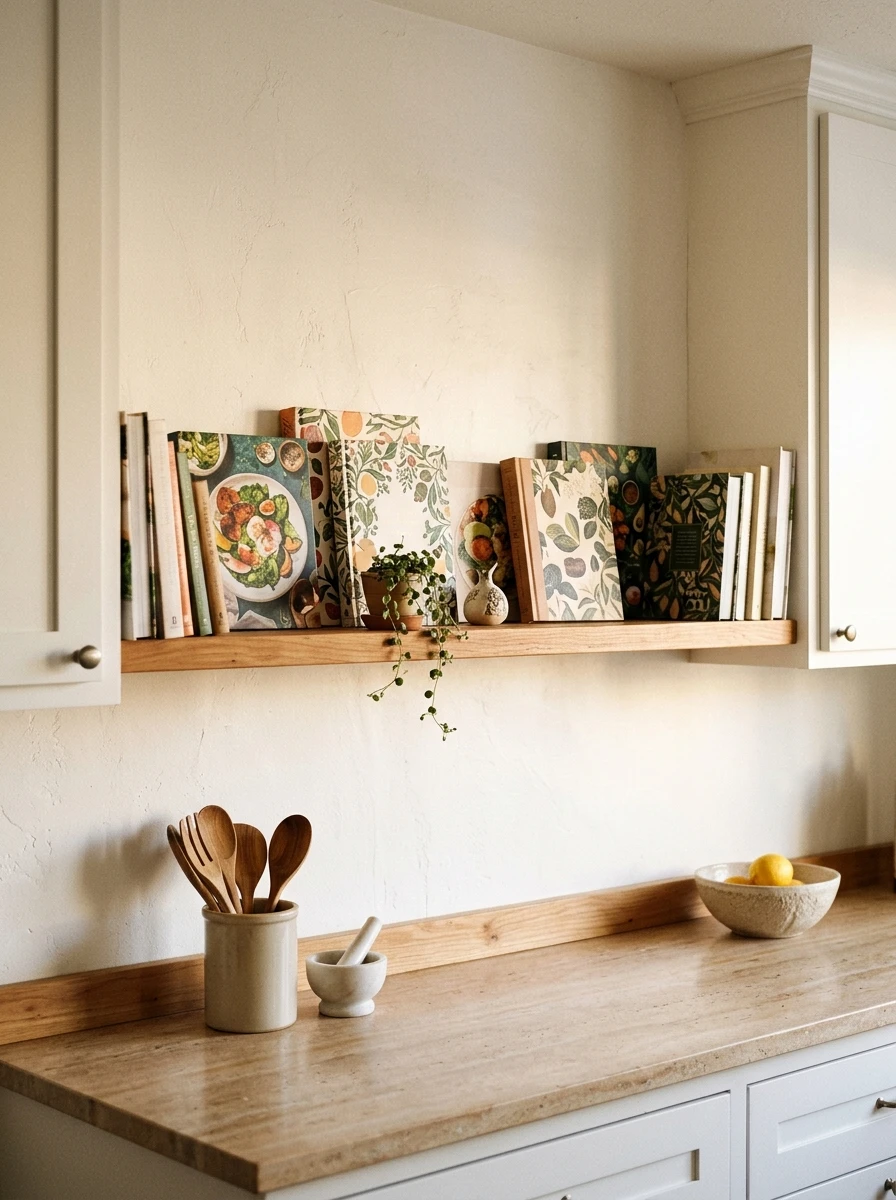
Cookbooks lean in a pile on the counter because there is no shelf for them near the stove. A ledge on the wall above the counter holds them upright like books on a shelf, and the pile on the worktop disappears.
Fix the ledge at eye level above the splash zone, and keep it shallow so the books lean back against the wall. The books you cook from most go at the front, and the rest stand behind them. A small lip at the front stops the books sliding off.
The counter they sat on is free for chopping now, and the books are within reach the moment a recipe calls.
Cookbooks leaning in a pile on the counter, sliding and gathering splashes.
Books upright on the ledge, easy to grab, and the counter is clear.
16. A Wall Dispenser for Dishwasher Tablets Beside the Dishwasher
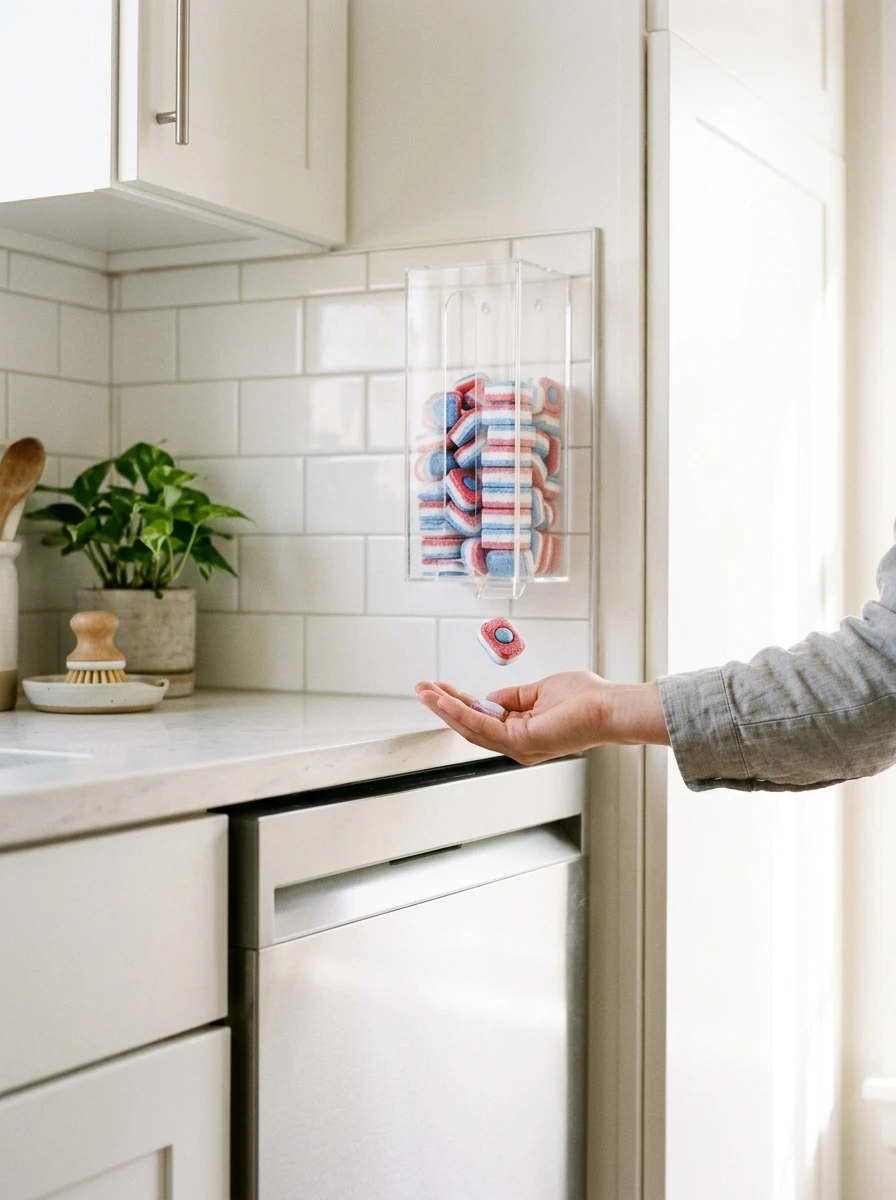
The dishwasher tablets live in a box on the counter, or in a cupboard you open with wet hands. A wall dispenser beside the dishwasher holds them in a neat stack, and one tablet drops out with a push. The box is gone, and the tablets are always where the dishwasher is.
Fix the dispenser on the wall beside the dishwasher, at a height where the tablet drops into your hand. Load the tablets in a stack, and keep the spare box on the shelf above for refills. The dispenser keeps the tablets dry, so they never stick together.
Loading the dishwasher takes seconds, and like many IKEA kitchen hacks, it keeps the tablets where the job happens.
Also view: 15 IKEA Kitchen Hacks for Small Kitchens With Limited Counter Space
What to grab first
Small Kitchen, Big Difference
A small kitchen does not need more counter. It needs fewer things sitting on the counter it already has. The sixteen ideas above all do the same quiet job. They find the wasted spots, the wall, the door, the side of the fridge, and put them to work.
Pick the one that fixes your biggest daily annoyance and try it this weekend. One small change is enough to feel the difference the next time you cook. When the counter stays clear for a whole dinner, you will know the system is working.
Save this list for the next time your kitchen feels crowded. These IKEA kitchen hacks are here whenever you are ready for the next one.
Before You Start
✅ Tape measure and the width of your walls, doors, and cabinet sides
✅ One hack picked, the one that fixes your biggest daily annoyance
✅ A note of the exact size before you shop, so nothing comes home wrong
✅ A free evening to fit it and live with it for a week
✅ A clear counter to start from, so you can see the difference right away