
10 IKEA Kitchen Hacks for Creating a DIY Coffee Station
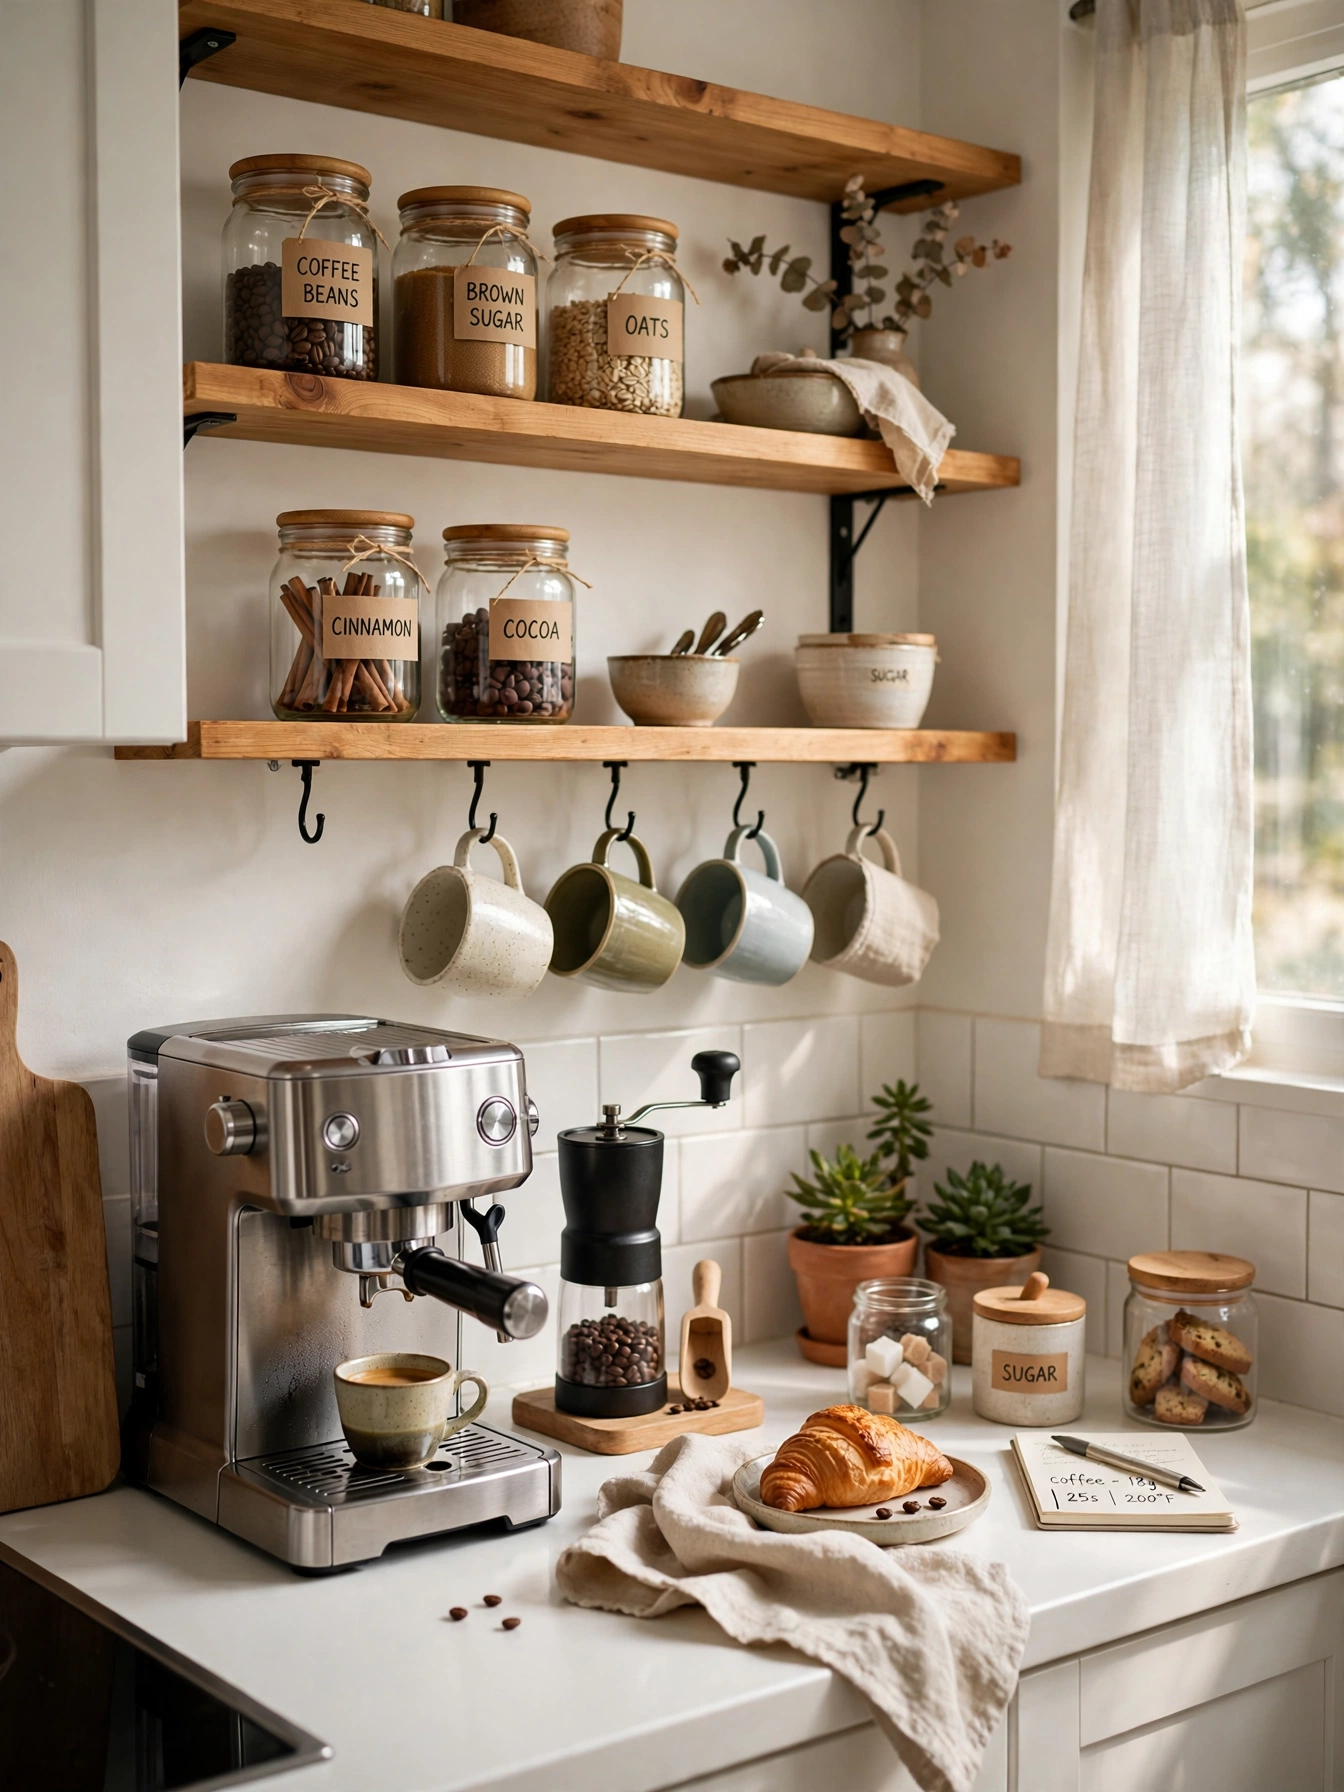
Morning coffee in a small kitchen usually means a hunt. The machine sits behind the toaster, the mugs live on a high shelf, and the beans are somewhere in the back of a cupboard. By the time everything is on the counter, the kettle has boiled and gone cold again.
The fix is not a bigger kitchen or a fancy coffee bar. It is giving coffee one small home of its own, a spot where the machine, the cups and the beans all live together. When everything sits in one place, making coffee takes minutes instead of a morning shuffle.
That is what these IKEA kitchen hacks do for a coffee station. Each idea uses a shelf, a door, a drawer or a corner you already have, and turns it into a small station that works every morning. Most of them cost little, and most need no drilling, so renters can use them too.
Pick one idea and try it this weekend.
1. A Fold-Down Wall Shelf That Opens Into a Coffee Station and Folds Away After Breakfast
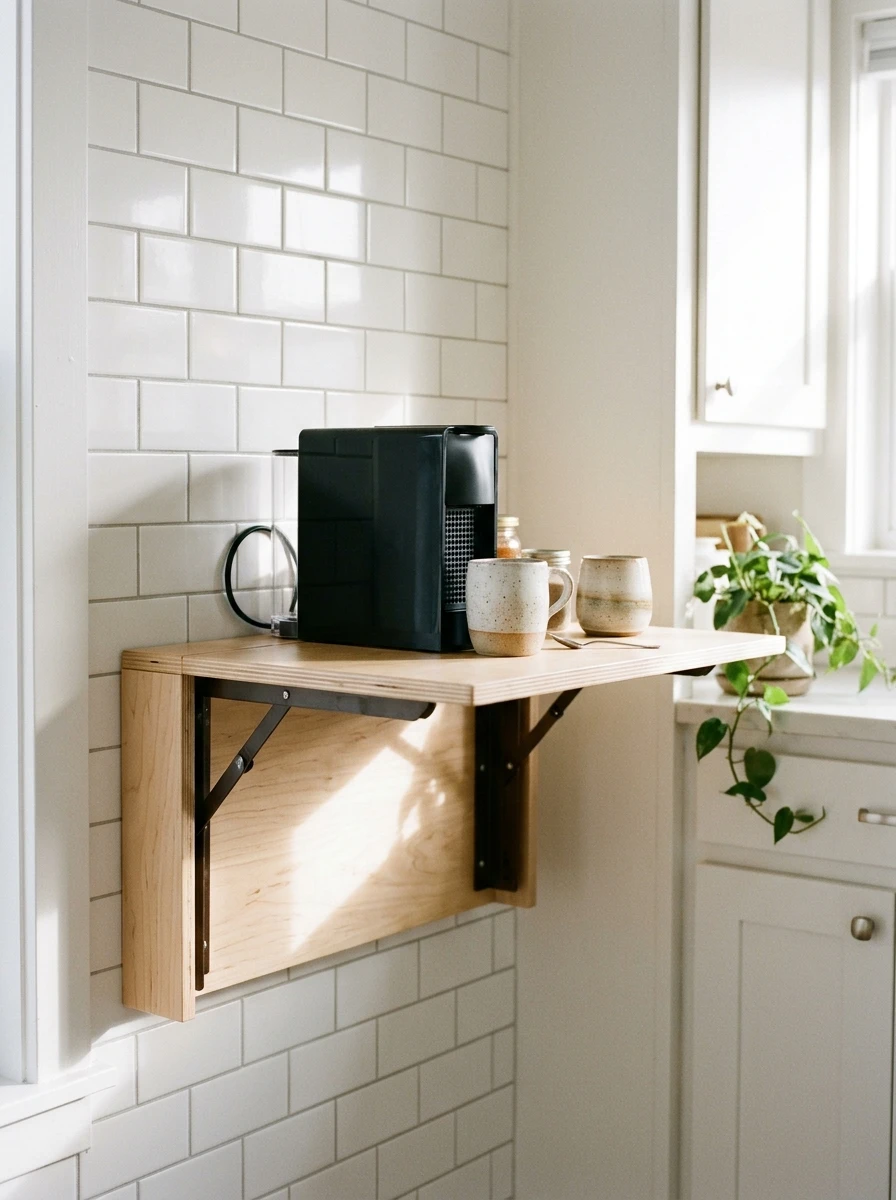
A small kitchen has no spare counter for a coffee bar, but it usually has a spare stretch of wall. A fold-down shelf on that wall gives you a coffee station only when you need it. Flip it down in the morning, set the machine and two cups on top, and flip it back up when breakfast is done.
Pick a shelf bracket rated for more weight than the machine, and fix it into a stud or with strong wall plugs. A shelf about sixteen inches deep holds a small machine and a cup with room to spare. Keep the beans and the scoop in a small box on the shelf above, so everything drops down together.
The wall stays clear all day, and mornings still get a station.
> Also view: 10 IKEA Kallax Makeover Ideas Using Paint for a Fresh New Look
Machine behind the toaster, mugs on a high shelf, beans lost in a back cupboard.
Shelf down, machine and cups in one spot, folded away again once breakfast is done.
2. A Mug Rack on the Inside of a Cabinet Door That Keeps Cups Off the Counter
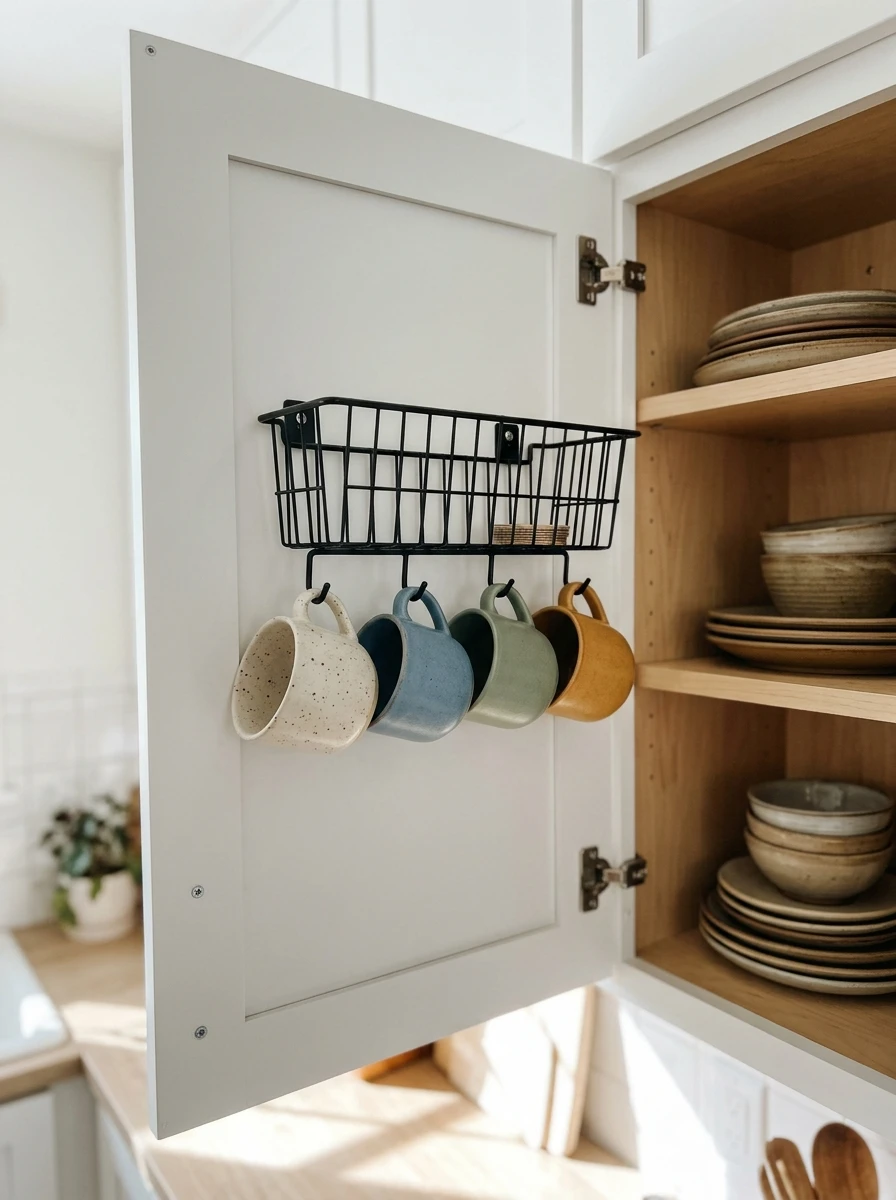
Mugs take up a whole shelf in most kitchens, and the shelf is usually the one at eye level. A small wire rack on the inside of a cabinet door moves them out of the way without hiding them. Open the door, take a cup, and close it again.
Choose a rack no deeper than two inches, so the door still closes over the shelf contents. Hang the mugs by their handles, with the biggest cups at the bottom and the small ones up top. Two racks on two doors hold enough cups for a whole household, and the shelf they left behind is free for plates.
It is a small change, but the counter stays clear and the morning cup is always in reach.
What to grab first
3. A Tall Pour-Over Stand That Brews One Cup at a Time
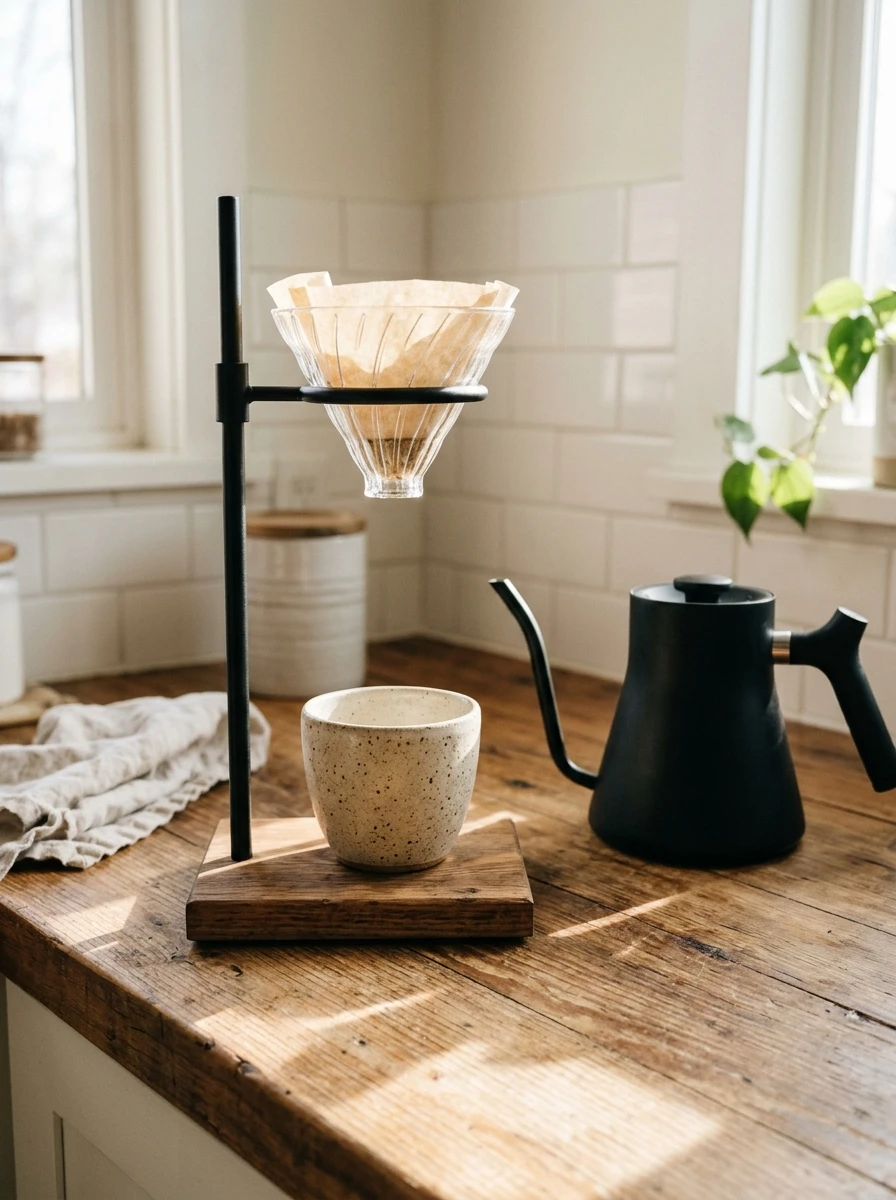
Pour-over coffee tastes best when the water moves slowly, and a tall stand makes that easy. The dripper sits on top, the cup waits below, and your hands stay free to pour in slow circles. It turns a rushed morning cup into a quiet two minute pause.
Pick a stand that fits your favorite cup underneath, with room for the dripper to sit steady on top. Keep the paper filters, the kettle and the beans beside it, in that order, so the brew follows the same steps every day. A small tray under the stand catches the odd drip before it reaches the counter.
One cup at a time is slower, but it tastes better and the station takes up almost no room at all.
4. A Milk-Frothing Corner With a Frother Dock and a Steel Jug Always in Reach

Frothed milk turns plain coffee into a cafe cup, but the frother usually ends up lost in a drawer. Give it a corner of its own beside the machine, with a dock for the frother and a steel jug beside it. Everything for a milky coffee sits in one small spot.
Keep the jug upside down on a small drying mat beside the frother, so it dries between uses and never rolls off the counter. Rinse the frother straight after each use and it stays clean with no scrubbing. This is one of the easiest IKEA kitchen hacks for a coffee corner that feels like a small cafe.
The corner costs little to set up, and it makes every morning cup feel like a treat.
💡 Quick Tip
Warm the jug with hot water first, so cold steel does not cool the milk before it froths.
5. A Cold Brew Jug That Lives in the Fridge Door and Brews Overnight
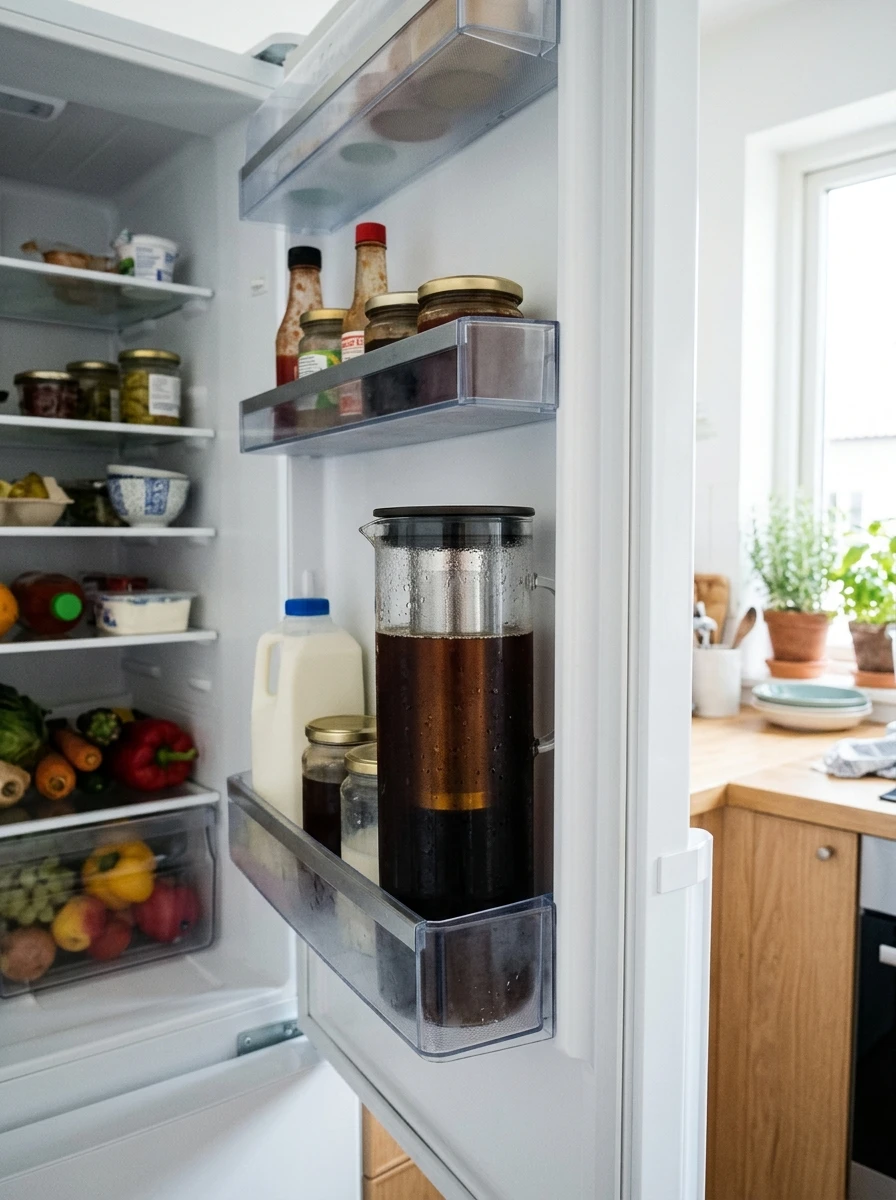
Cold brew needs hours, not minutes, and the fridge door is the one spot with room to spare. A tall jug with a built-in filter sits in the door shelf overnight, and the coffee is ready when you wake up. No machine, no waiting, and no counter space used at all.
Fill the filter with coarse grounds in the evening, pour cold water over them, and close the lid tight. In the morning, lift the filter out and pour the coffee over ice. The jug holds enough for two days, so you only brew every other night.
Keep a second jug for plain water in the same door, and the fridge door becomes a cold drinks shelf.
6. A Plug Timer That Has the Machine Ready Before You Wake Up
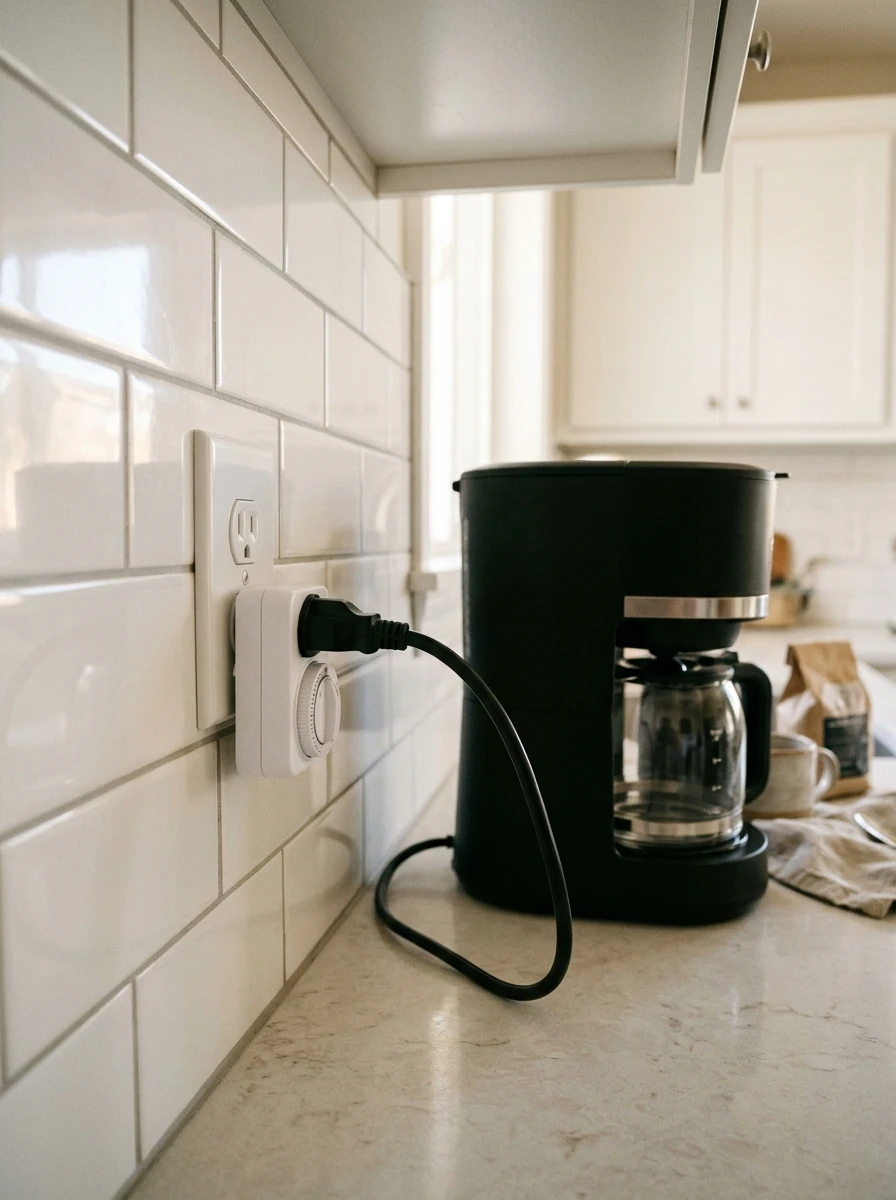
The hardest part of morning coffee is the wait while the machine heats up. A plug timer fixes that without touching the machine at all. It sits between the plug and the socket, and switches the machine on a few minutes before your alarm.
Set the timer to your usual wake-up time, and check that your machine starts brewing when the power comes back on. Some machines need a button press after power returns, so test it once on a weekend before you trust it on a workday. Once it works, the kitchen smells of coffee before your feet hit the floor.
A timer costs less than a bag of beans, and it gives you back five quiet minutes every morning.
Plug the timer into the socket by the machine.
Plug the machine into the timer, not straight into the wall.
Set the on time a few minutes before your alarm, then test it once.
7. A Filter Jug Beside the Machine So Every Cup Starts With Clean Water
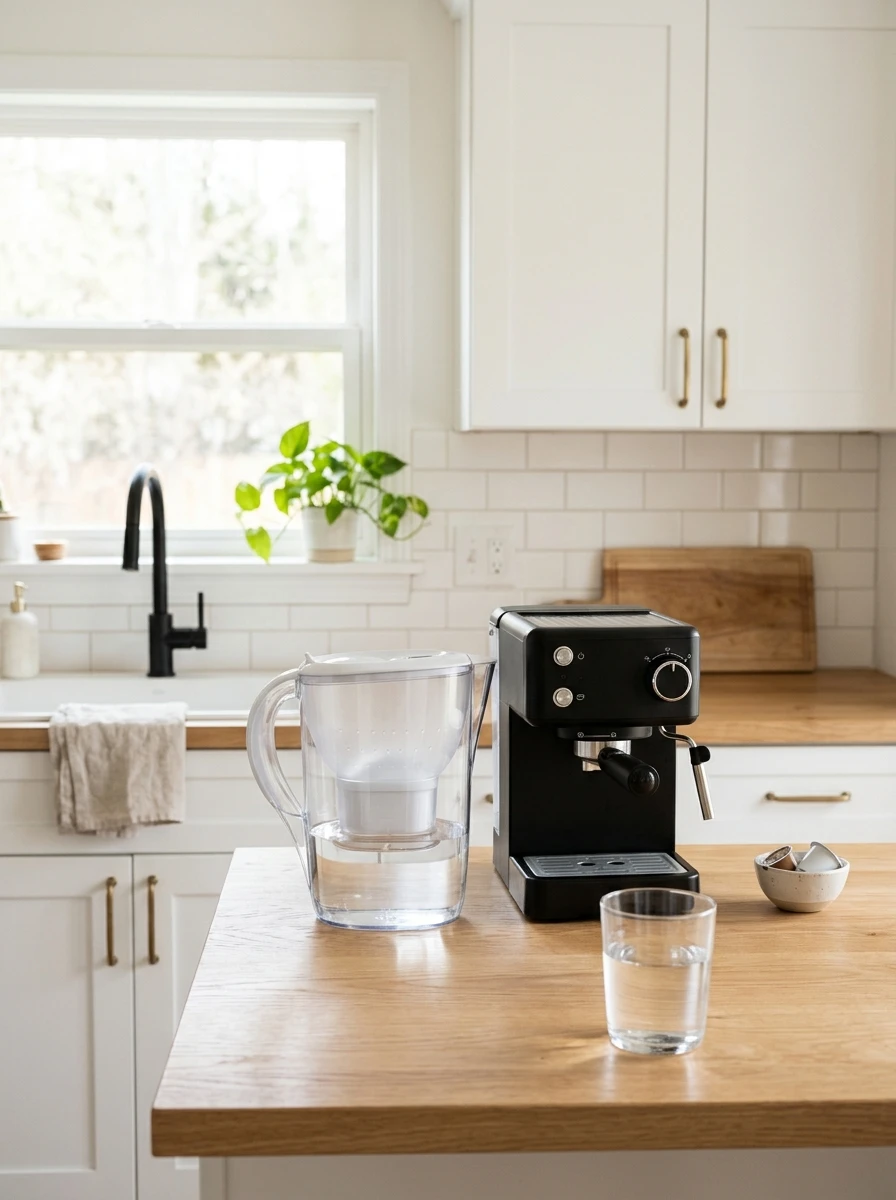
Hard tap water leaves scale in the machine and a flat taste in the cup. A filter jug beside the machine fixes both, and it takes no fitting at all. Fill it at night, let it filter while you sleep, and pour from it in the morning.
Pick a jug that fits on the counter beside the machine, not behind it, so you reach it without moving anything. Change the filter on the first of each month, and the machine stays cleaner for longer. It is a small habit, but it is one of those IKEA kitchen hacks that quietly makes every cup taste better.
Clean water also means less descaling, so the machine lasts longer and the coffee stays bright.
Change the filter on the first of each month. Clean water is the cheapest upgrade a coffee machine gets.
8. A Grinding Drawer That Keeps the Grinder, Beans and Scoop in One Place
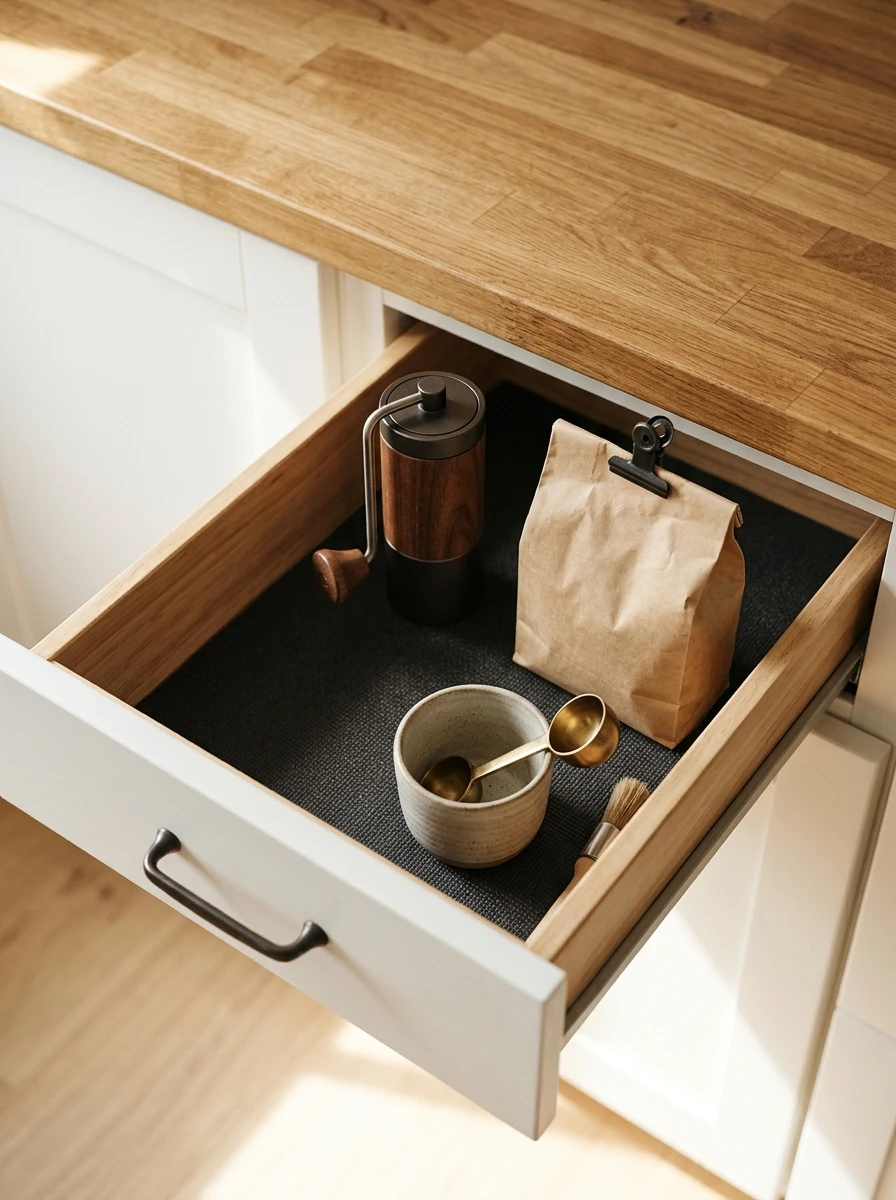
Fresh ground beans make a real difference to the taste, but the grinder, the bag and the scoop usually live in three places. Give them one shallow drawer near the machine, and grinding becomes part of the morning flow instead of a hunt through cupboards.
Line the drawer with a wipe-clean mat, and stand the grinder at the back with the bean bag beside it. Keep the scoop in a small cup at the front, so it never sinks to the bottom of the bag. Grind only what you need for one pot, and the beans stay fresh for the next morning.
Wipe the drawer once a week, and the grounds never travel further than the drawer itself.
| Grinding Drawer | Loose in Cupboards |
|---|---|
| Grinder: in the drawer, ready to lift out | Grinder: behind the baking trays |
| Beans: beside the grinder | Beans: in a back cupboard |
| Scoop: in a cup at the front | Scoop: at the bottom of the bag |
9. A Raised Platform Under the Coffee Machine That Stores Cups Below
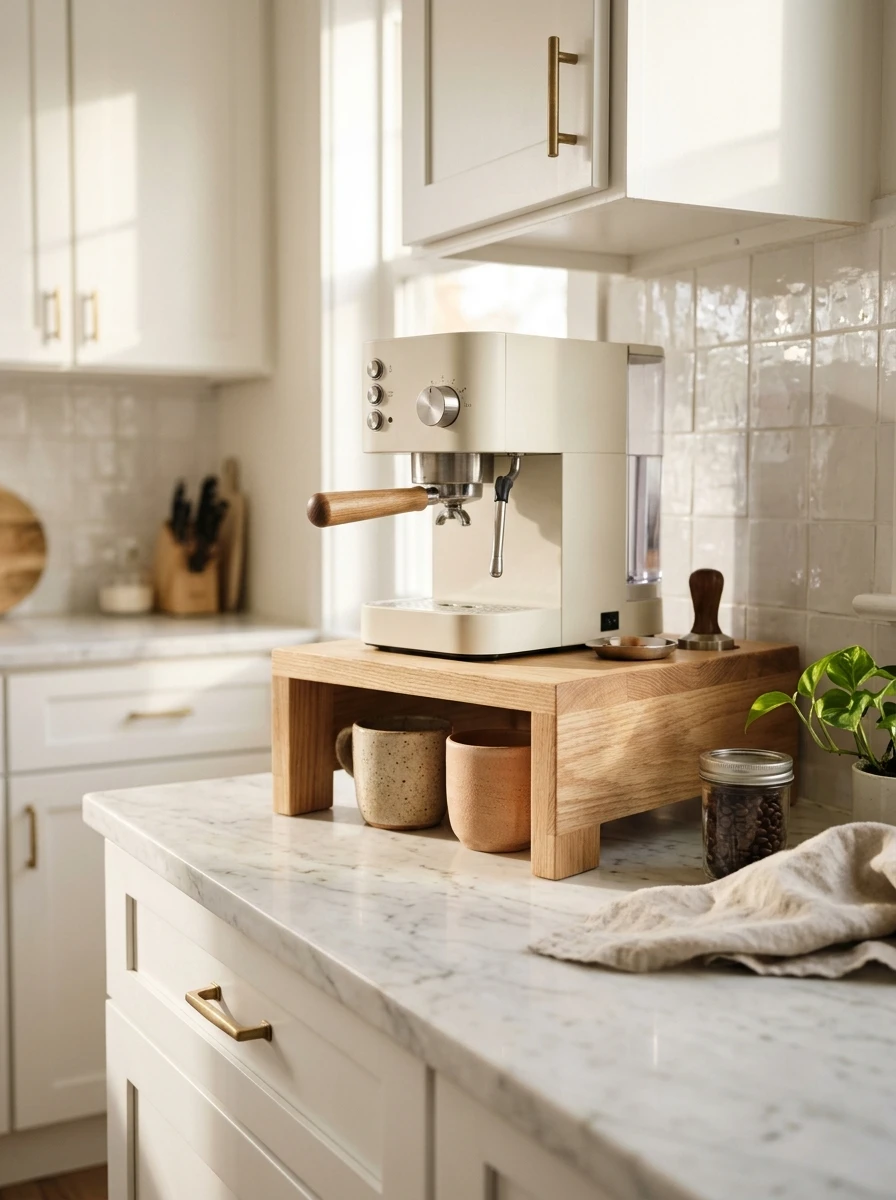
The machine takes up counter space, and the cups take up a shelf, so both fight for the same small kitchen. A raised platform solves it by stacking them. The machine sits on top, and two or three cups slide underneath, ready for the morning.
Pick a platform about four inches high, with a solid top and open sides so the cups slide in and out easily. Measure the machine feet first, so the platform sits flat and never wobbles. It is a simple build, and it is one of the most useful IKEA kitchen hacks for a counter that feels too small.
Two cups underneath and the machine on top means the whole station fits in one footprint.
Measure the machine feet first, so the platform sits flat.
Leave the sides open, so the cups slide out easily.
A platform taller than four inches, which makes the machine hard to reach.
A wobbly top that tips when you press the machine buttons.
10. A Sideboard in the Dining Room That Becomes the Morning Coffee Bar
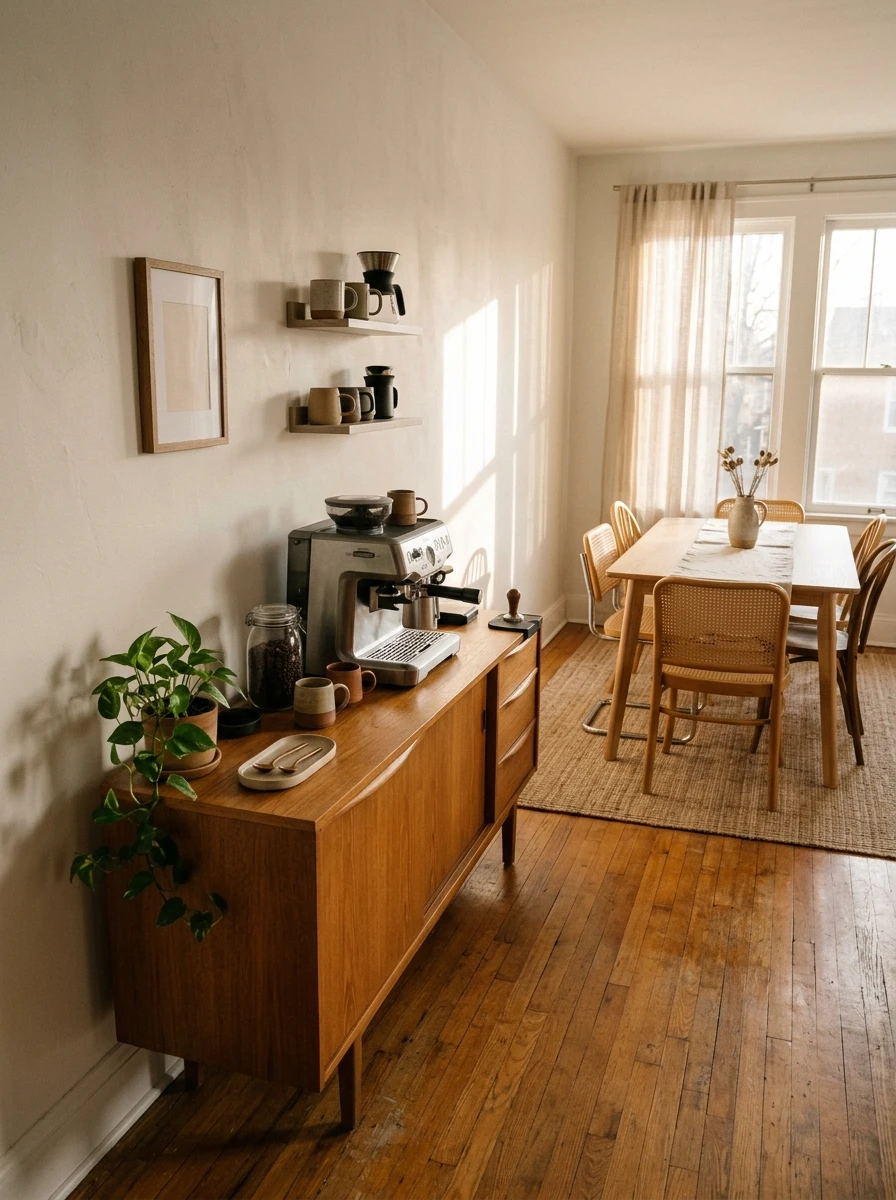
When the kitchen counter is full, the answer may be to leave the kitchen altogether. A low sideboard in the dining room makes a calm coffee bar, with the machine on top and the cups and beans in the drawers below. Mornings move out of the crowded kitchen and into a quieter room.
Pick a sideboard near a plug socket, and keep a small jug of water beside the machine so you never carry cups back and forth. A heat-proof mat under the machine protects the wood, and a small bin beside the sideboard catches the used grounds. Guests help themselves, and the kitchen stays clear while breakfast happens.
It works best in homes where the dining table is where everyone gathers anyway.
> Also view: 14 IKEA Kitchen Hacks for a Small Pantry and Better Food Storage
- ▸A heat-proof mat under the machine, so the wood stays safe.
- ▸A small jug of water beside the machine.
- ▸A bin beside the sideboard for used grounds.
Mornings Taste Better When Coffee Has Its Own Spot
A coffee station does not need a big kitchen or a big budget. It needs one spot where the machine, the cups and the beans all live together, and a habit that keeps them there. Once that spot exists, mornings run on their own, and the counter stays clear for cooking.
Start with the idea that fixes your biggest morning annoyance, and give it a week before you add the next one. These IKEA kitchen hacks work best one at a time, because each small change shows you what the next one should be.
Save this list for the next time your mornings feel rushed, and pin it now so the ideas are there when you are ready.
Before You Start
- ✅ A tape measure and the spot you want the station to live in
- ✅ One idea picked, the one that fixes your biggest morning annoyance
- ✅ A note of the machine size before you shop, so nothing comes home wrong
- ✅ A free morning to fit it and live with it for a week
- ✅ A clear counter to start from, so you can see the difference right away
One Comment