12 IKEA Kitchen Hacks for Making a Basic Kitchen Look More Expensive
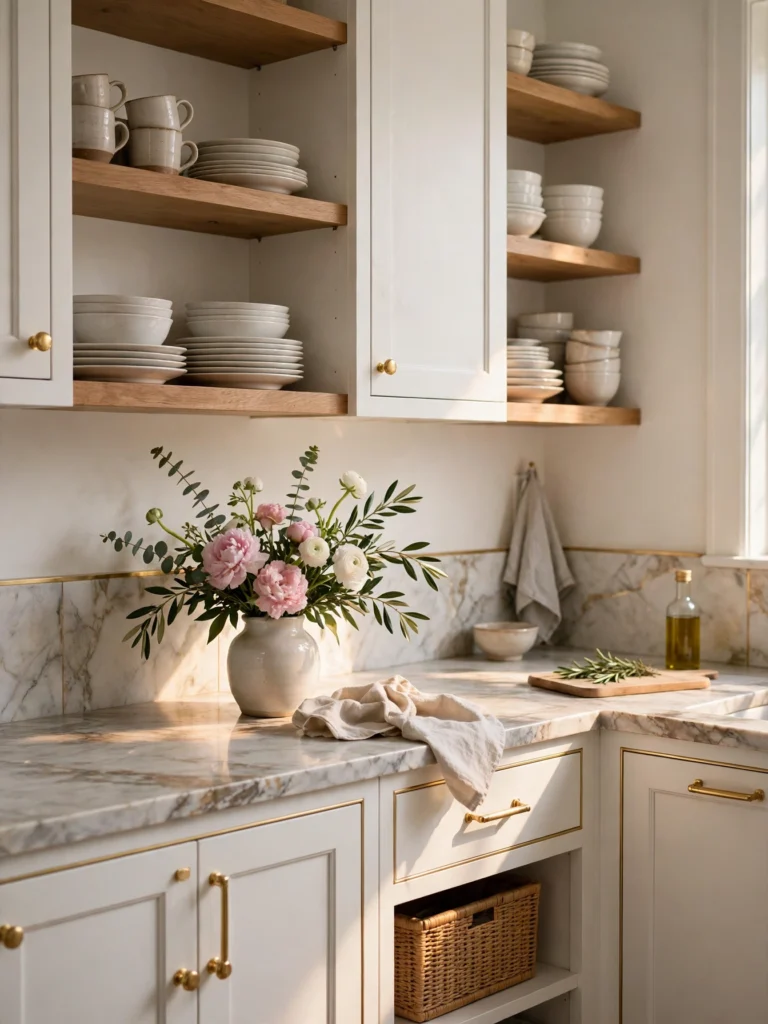
The kitchen works fine. The stove heats, the tap runs, the cabinets close. But every time you walk in, it looks plain. Builder cabinets, a tired faucet, a blank wall above the counter. Nothing is broken, yet nothing feels finished either.
A full remodel would fix it, but the price tag stops most people before they start. New cabinets alone can cost thousands, and weeks of dust and disruption come with them. Most kitchens do not need that much work. They need a few smart changes in the right places.
That is what these IKEA kitchen hacks do. Each one targets a single thing your eye notices first, the handles, the light, the backsplash, the faucet, and lifts it from plain to polished. The cost stays small, the work fits into a weekend, and most of the changes need no trade skills at all.
Pick three that fit your kitchen best and start with the easiest one tonight.
1. A Peel-and-Stick Backsplash That Looks Like Real Tile
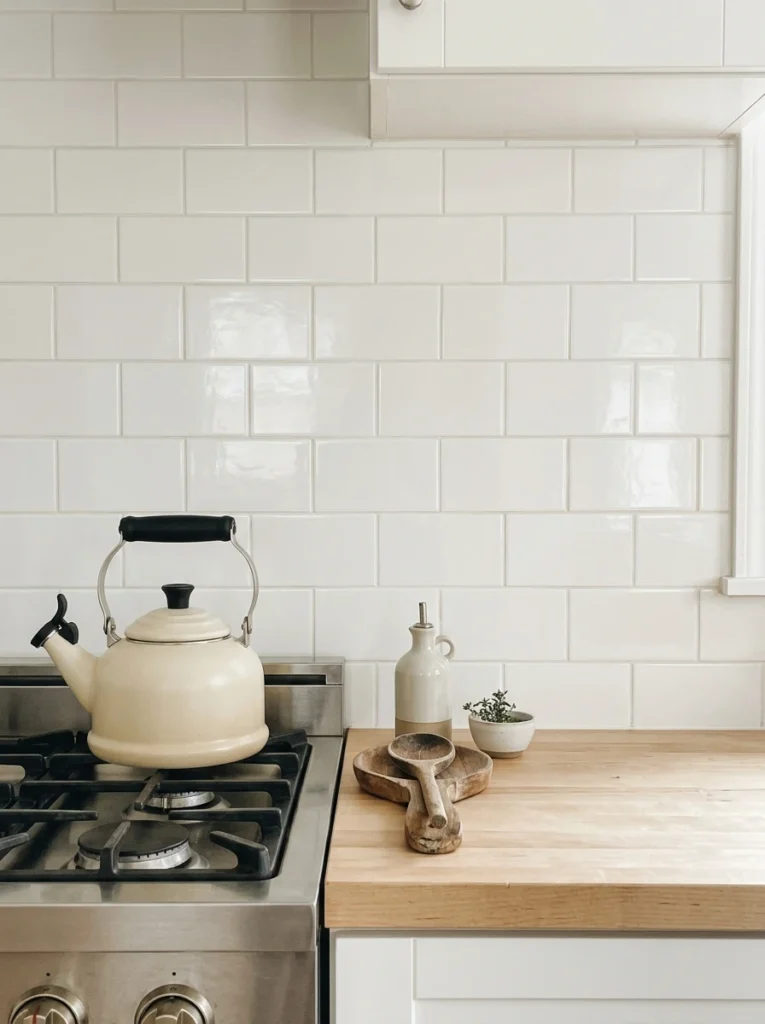
A plain painted wall behind the stove makes the whole kitchen look unfinished. Peel-and-stick tiles change that in a single afternoon. They look like real ceramic tile from a normal distance, and the grout lines are printed or moulded into each sheet.
Measure the wall first and buy two extra sheets for cuts around outlets. Clean the wall well, then press each tile on from the bottom edge upward, smoothing out air as you go. The sheets stick best on smooth, dry paint, so skip them on rough plaster.
A white subway pattern suits almost any kitchen, and it brightens the wall behind the hob. The whole job costs far less than a tiler, and you can peel a sheet off and redo it if it lands crooked.
Also view: 15 IKEA Kallax Makeover Ideas Using Baskets for a Clutter-Free Home
2. New Cabinet Handles That Change the Whole Look of the Kitchen
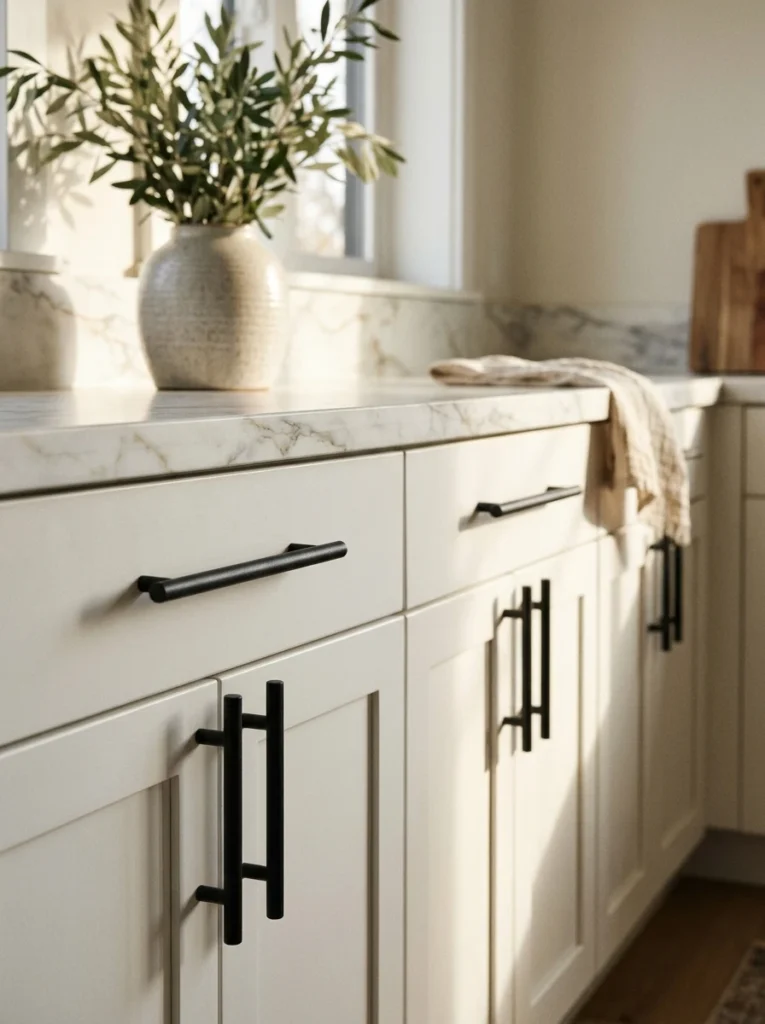
Old handles date a kitchen faster than almost anything else. The cabinets can be plain white and in good shape, but small plastic knobs from twenty years ago make them look tired. New handles are the fastest way to change that first impression.
Measure the hole spacing on one handle before you shop, since most handles fix through two screws set 96 mm or 128 mm apart. Matte black bars suit white cabinets, brushed brass suits cream ones, and both look far more costly than the price suggests. Match the drawer knobs too.
A screwdriver is the only tool you need, and most handles swap in minutes each. Work through the kitchen one cabinet at a time, and keep the old screws until the new ones are all seated.
What to grab first
3. A Fresh Coat of Paint on the Lower Cabinets in a Deep Colour
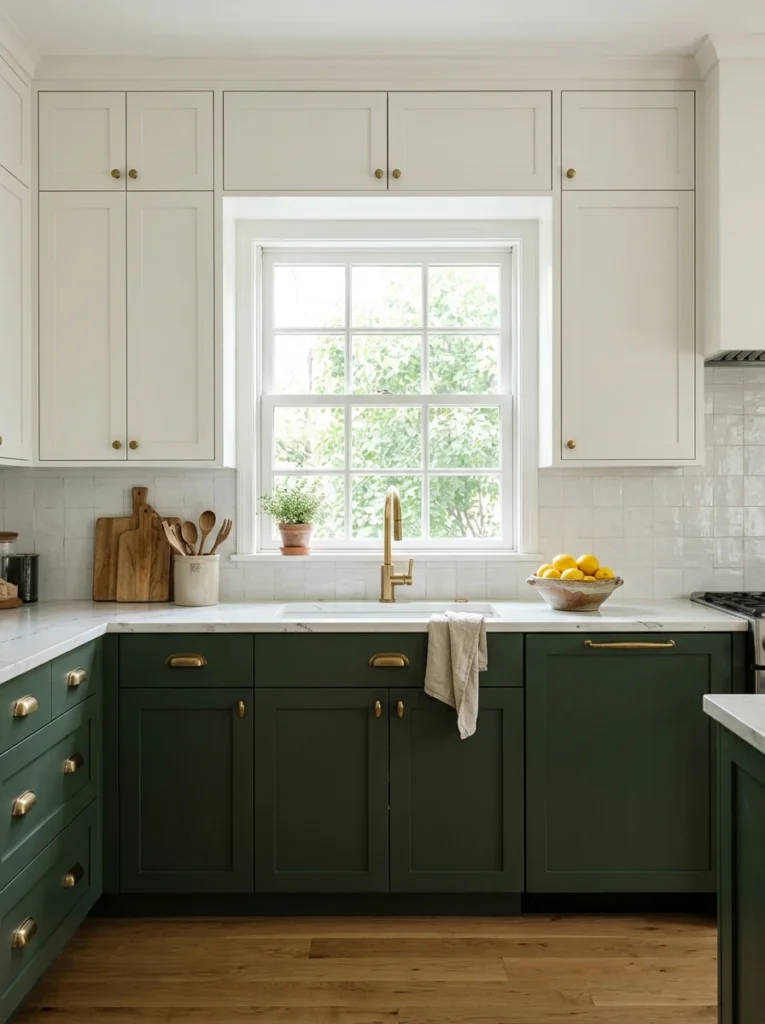
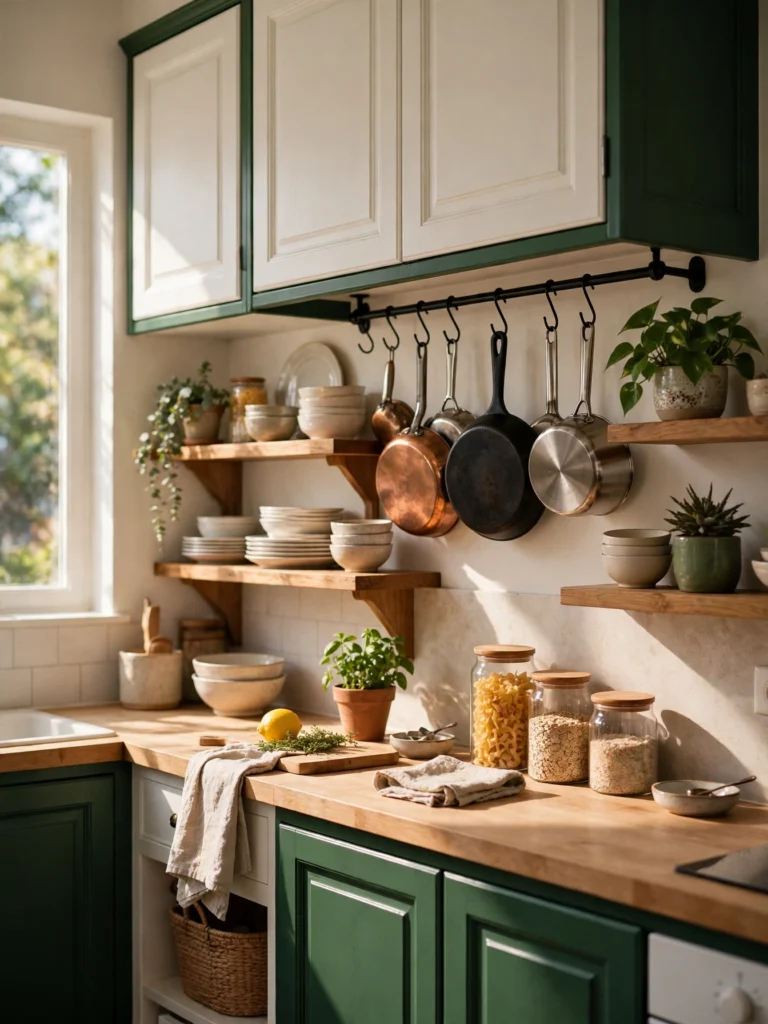
Two-tone cabinets are the look every expensive kitchen has, and paint gets you there for the price of a few tins. Keep the uppers white and paint the lowers a deep green, navy, or charcoal. The dark base grounds the room, and the white top keeps it feeling light.
Clean the doors with sugar soap, sand them lightly, and use a primer for glossy surfaces. Two thin coats of cabinet paint beat one thick coat, and a small foam roller leaves a smooth finish with no brush marks. Take the doors off their hinges and paint them flat on a table.
Let each coat dry fully before the next, and leave the doors off overnight so nothing sticks. The result looks like a new kitchen, not a painted one.
4. A Statement Light Over the Sink That Replaces the Builder Fitting

Most kitchens still have the plain builder fitting over the sink, a flat disc that gives flat light. A statement pendant in its place changes the whole mood of the room. One good light draws the eye, and suddenly the sink area looks styled instead of forgotten.
Pick a shade that matches the handles or the faucet. Brass works with warm wood, matte black works with white cabinets. Hang it low enough to light the sink, but high enough to clear your head.
Turn the power off at the breaker before you touch any wiring, and call an electrician if the fitting is old or the wires look worn. A new shade alone can be a ten minute job when the base already fits.
💡 Quick Tip
Match the shade metal to the handles or the faucet, so the light feels part of the kitchen, not an add-on.
5. Open Shelving That Replaces Two Upper Cabinets

Two heavy upper cabinets can make a small kitchen feel closed in. Taking them down and fitting open shelves in their place opens the wall up and makes the room feel twice as big. The shelves hold the pretty things, and the closed cabinets keep the rest.
Use solid wood shelves about ten inches deep, fixed to studs or with heavy duty wall anchors. Keep the display simple, a row of white plates, a few glasses, and one plant. The same trick appears in many IKEA kitchen hacks because it costs little and changes the room at once.
Leave the shelves a little emptier than you think they need. A shelf packed edge to edge looks like a cupboard with no doors, and the open feeling is gone.
Two heavy upper cabinets crowd the wall and block the light.
Open wood shelves hold the pretty things, and the wall feels twice as wide.
6. A Rug Runner That Adds Colour and Warmth to a Plain Floor

A bare floor between the counter and the stove reads as cold and unfinished. A rug runner down that stretch adds colour, pattern, and warmth in one move. It also softens the room underfoot, which matters when you stand there cooking for an hour.
Pick a flat weave runner that is easy to shake out and machine washable, since kitchen floors get splashed daily. Measure the gap first, and leave a few inches of floor showing on each side so the runner looks placed, not squeezed in. A pattern with a dark base hides crumbs between washes.
A runner in warm terracotta or deep blue pulls the whole room together. Swap it out when it fades, and the kitchen feels fresh again.
- ▸Flat weave, so it shakes out and washes easily.
- ▸Dark base, so crumbs hide between washes.
- ▸Floor showing on each side, so it looks placed, not squeezed in.
7. A Faucet Swap That Makes the Sink Look Brand New
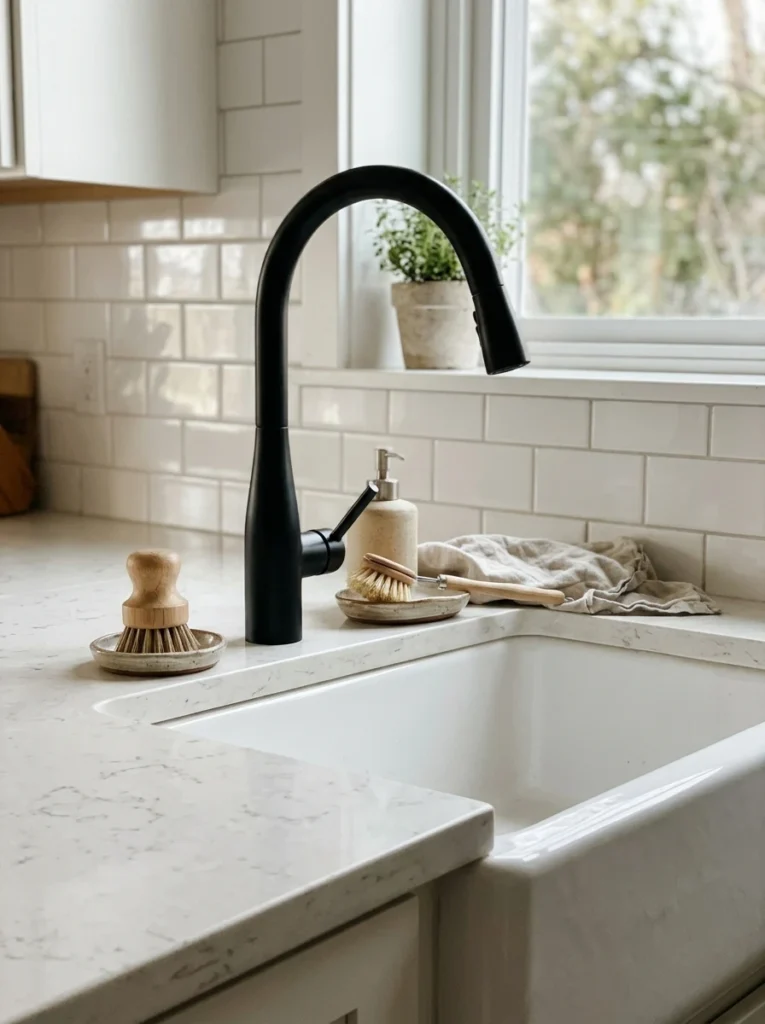
The faucet is the one thing you touch every time you use the kitchen, and an old one shows its age. A tall gooseneck faucet in matte black or brushed brass makes the sink look brand new. It is the single swap guests notice first.
Check the number of holes in your sink before you buy, since most faucets fit one or three holes. Turn the water off at the valves under the sink, then swap the old faucet for the new one. A basin wrench reaches the nuts that your hand cannot, and plumber tape on the threads stops drips.
Test every joint with the tap running before you tidy the tools away. One slow drip under the sink can ruin a cabinet floor in a month.
Check the hole count before you buy.
Turn the water off at the valves first.
Forcing a faucet that does not fit your sink.
Skipping plumber tape on the threads.
8. A Coordinated Colour Palette for Towels, Soap and Small Accessories
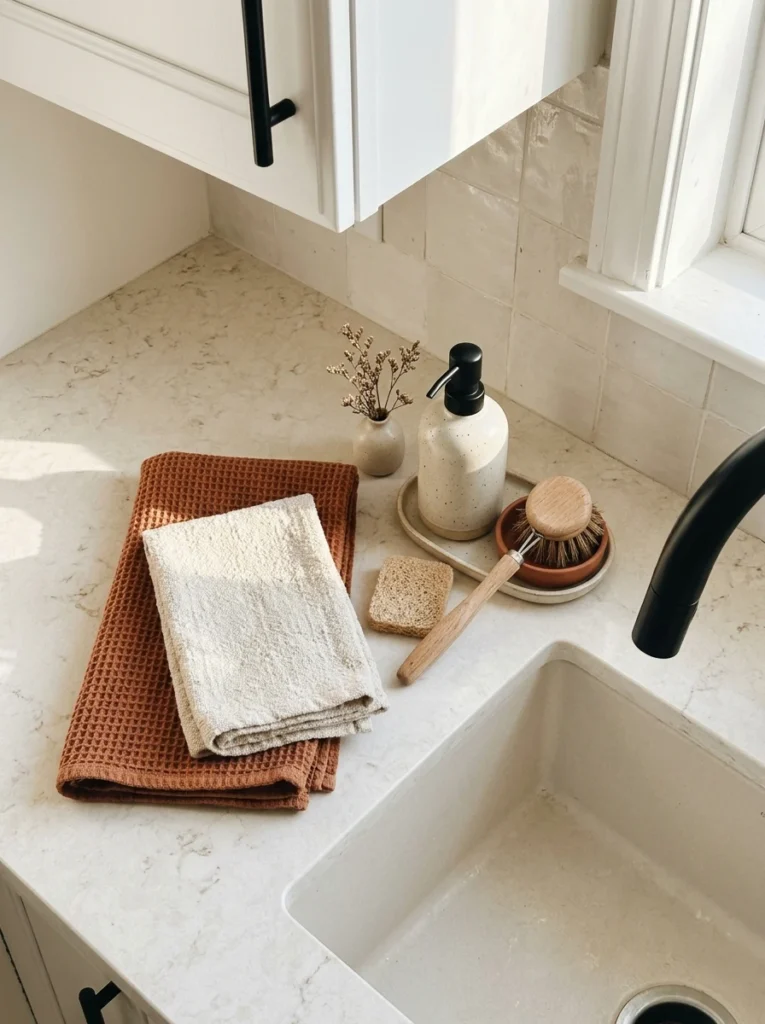
A kitchen with a red towel, a green soap bottle, and a blue sponge looks busy. Picking one small palette, two colours plus one metal, pulls the whole room together for almost no money. The eye reads it as styled, even though nothing structural has changed.
Terracotta and cream with matte black fittings suits a warm kitchen. Sage and white with brushed brass suits a cooler one. Buy the towels, the soap dispenser, and the dish brush in those colours, and keep everything else plain so the palette stays the star.
When a towel wears out, replace it with the same colour, not a random sale find. A palette only works when you protect it, and a single odd colour breaks the spell in a week.
Pick two colours plus one metal.
Buy the towels, the soap dispenser, and the dish brush in those colours.
Replace worn items in the same colour, not a random sale find.
9. Framed Prints on the Wall That Fill the Empty Space Above the Counter
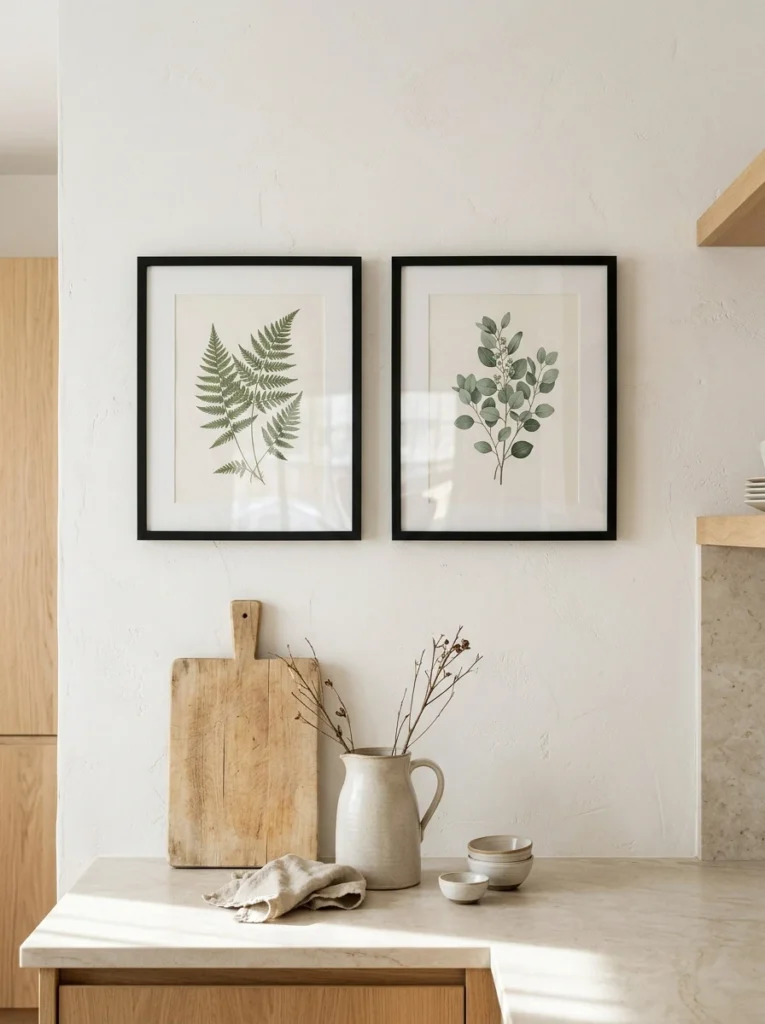
The blank wall above the counter is the biggest missed chance in most kitchens. It sits empty while the rest of the room works hard, and the eye slides straight past it. Two or three framed prints fill that space and make the kitchen feel finished.
Pick prints in one style, botanical drawings, food illustrations, or simple line art, and frame them all the same way. Matching thin black frames and white mounts look far more costly than mixed frames ever will. Hang them at eye level, spaced evenly.
Free printable art and cheap frames keep the cost tiny. These small styling moves are what IKEA kitchen hacks do best, turning a plain wall into the prettiest corner of the room.
Matching frames matter more than expensive art. One style, one frame, hung at eye level.
10. A Mirror on the Wall That Bounces Light Around a Dark Kitchen
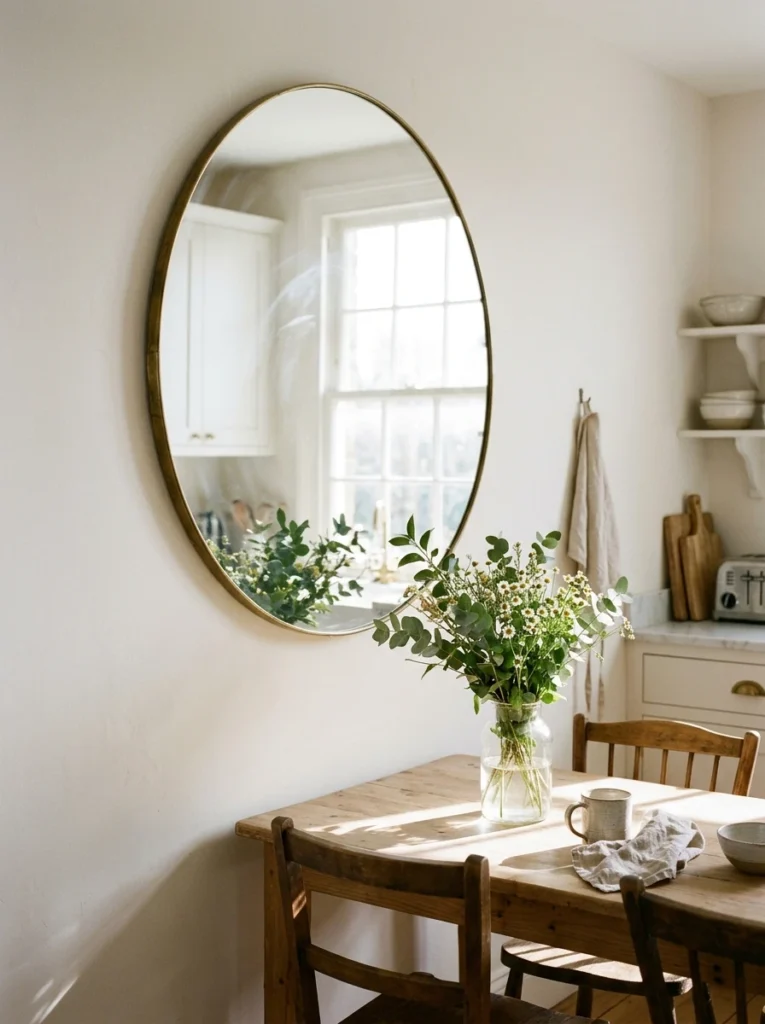
A dark kitchen feels smaller than it is, because the light has nowhere to bounce. A mirror on the wall opposite a window catches the daylight and throws it back across the room. The kitchen looks brighter, wider, and far more expensive than the mirror cost.
Pick a mirror with a slim frame in the same metal as your handles, so it reads as part of the kitchen, not an afterthought. Hang it where it reflects the window, not the bin or the cluttered counter. A large round mirror suits the wall above a small table.
Wipe the glass once a week, since kitchen grease dulls it fast. A clean mirror doubles the light, and a greasy one just doubles the gloom.
What to grab first
11. A Fresh Grout Pen That Makes Old Tiles Look New

Old grout turns grey and stained long before the tiles themselves wear out, and the whole backsplash looks dirty. A grout pen is a small marker filled with white or coloured grout paint, and it redraws the lines in an evening. The tiles look new again.
Scrub the grout lines with a stiff brush and a little bleach cleaner first, then let them dry fully. Draw the pen slowly along each line, and wipe any stray marks off the tile with a damp cloth before they set. Two coats cover the worst stains, and the colour lasts for months.
Work in small sections and keep the pen tip clean, since a clogged tip skips and leaves gaps. The difference is startling, and guests will think you retiled.
12. A Small Shelf With a Vase and a Candle That Styles the Counter Corner
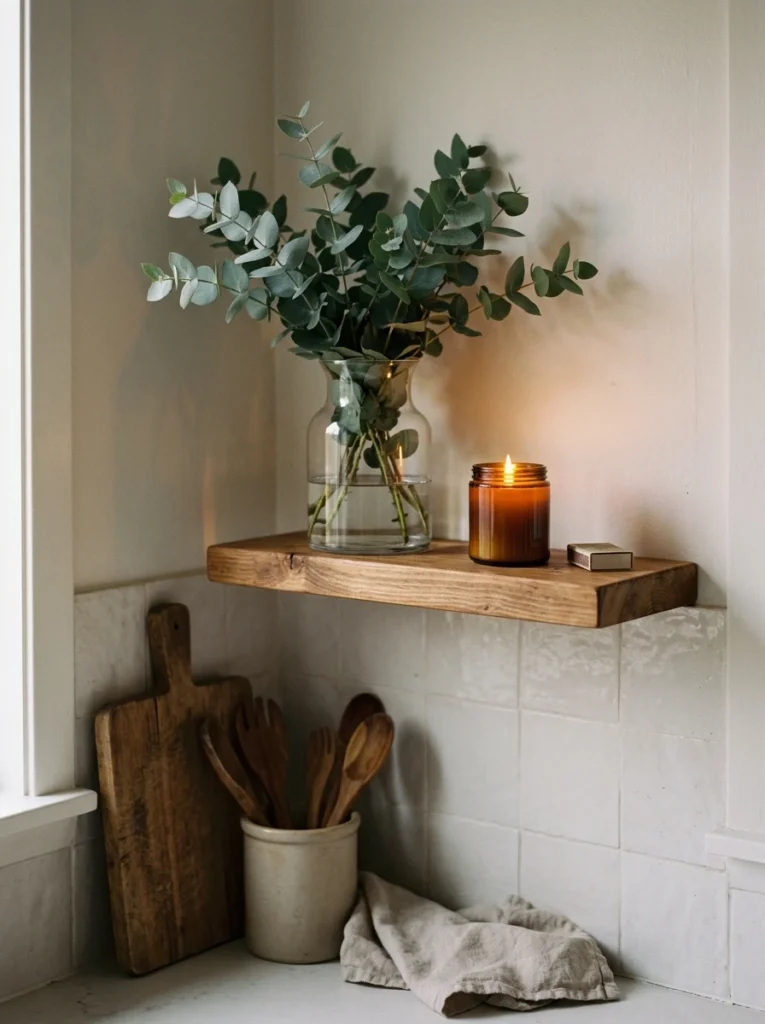
Every kitchen has a dead corner on the counter, the spot where nothing lives and dust collects. A small wall shelf just above it turns that corner into a styled moment. A vase with fresh stems and a candle beside it makes the whole counter look considered.
Keep the shelf small, about twelve inches wide, and mount it at a height where the vase clears the counter clutter. A trailing plant works as well as cut flowers, and it lasts longer. The candle should sit in a jar or a sturdy holder, well away from the hob and any paper.
Change the stems with the seasons and the corner never gets stale. It is the smallest of these IKEA kitchen hacks, and the one guests notice when they walk in.
Also view: 15 IKEA Kitchen Hacks for Organizing Pots, Pans, and Lids
💡 Quick Tip
Keep the candle in a jar or a sturdy holder, well away from the hob and any paper.
A Basic Kitchen That Looks Anything But Basic
A basic kitchen does not need a remodel to look expensive. It needs a few details done well, the handles, the light, the backsplash, the faucet, and one styled corner that shows someone cares about the room.
Start with the handles or the faucet, since both take under an hour. Pick the one hack that fixes the thing you notice every morning and try it this weekend. One change is enough to shift how the whole kitchen feels, and the next one will feel easy after that.
Save this list and pin it for the next time the kitchen feels plain. These IKEA kitchen hacks are here whenever you are ready for the next one.
Before You Start
✅ A tape measure and the hole spacing on your current handles
✅ One hack picked, the one you notice every morning
✅ A note of the exact sizes before you shop, so nothing comes home wrong
✅ A free weekend to fit it and live with it for a week
✅ A clear counter corner to start from, so you can see the difference right away