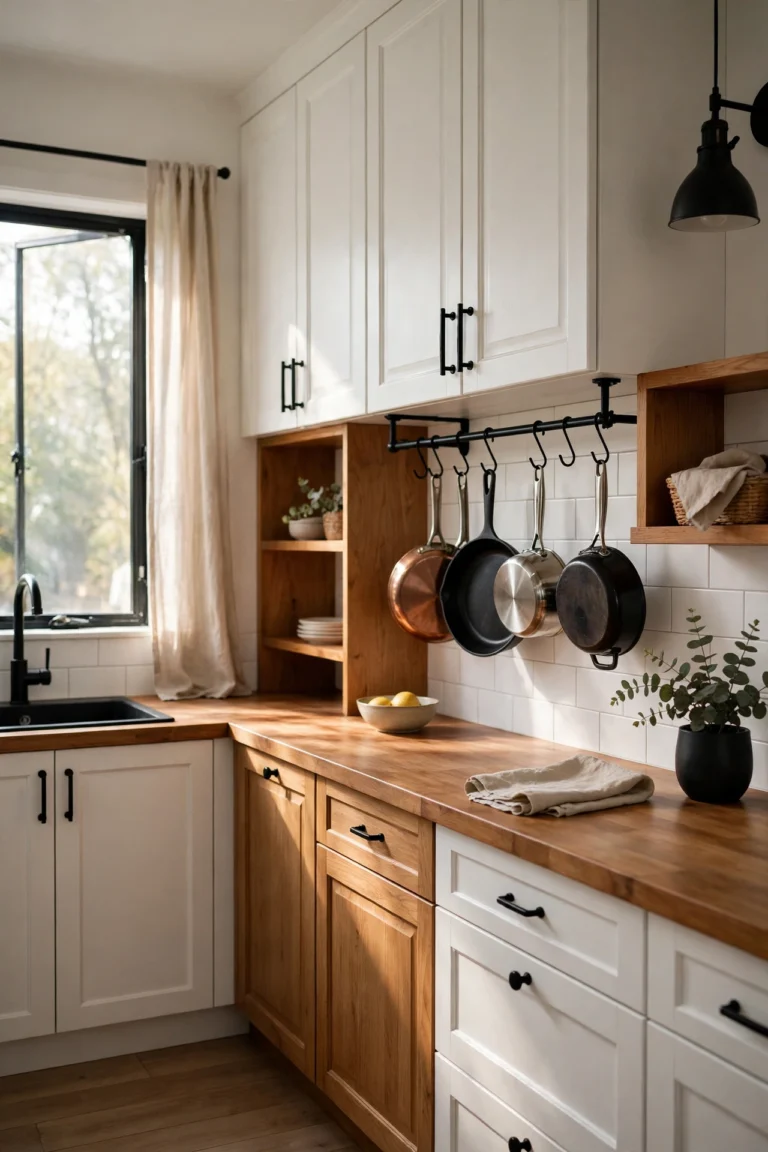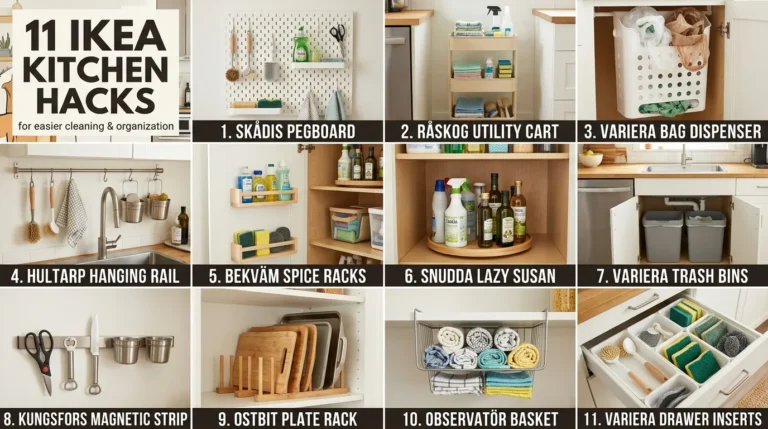
13 IKEA Kitchen Hacks for Small Kitchens With Limited Counter Space
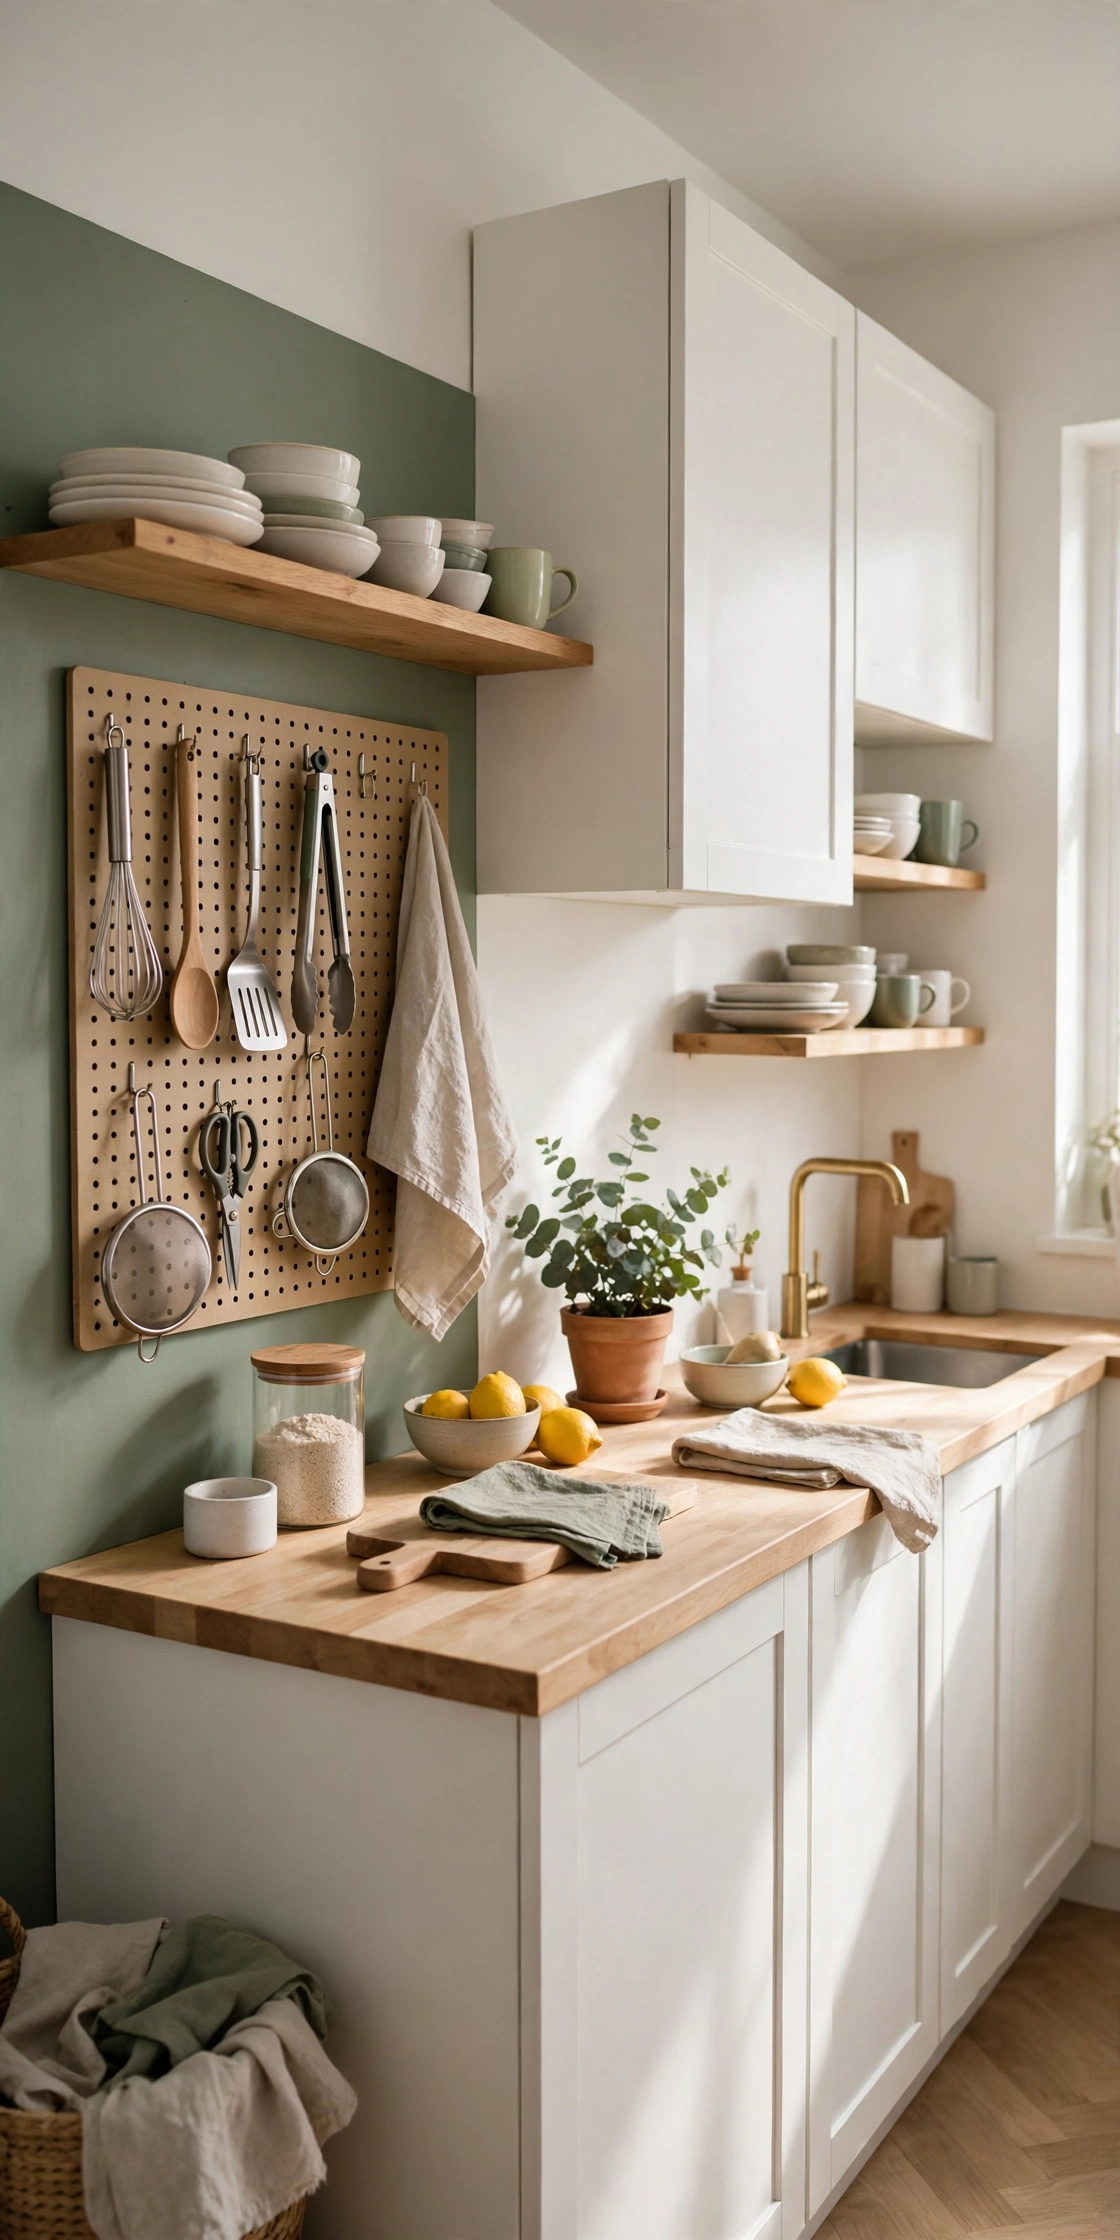
You set the chopping board down and there is nowhere for it to go. The kettle sits beside the toaster, the fruit bowl crowds the salt, and the mail from this morning is still in the way. Cooking in a small kitchen can feel like a puzzle where every piece is in the wrong place.
Most small kitchens do not need more cupboards. They need the things already in them to work harder. A wall that holds the mugs, a door that holds the lids, a corner that finally earns its keep. Small moves like that free the counter without a remodel or a big bill.
That is what these IKEA kitchen hacks do. Each one takes a spot you already have and puts it to work, and most of them cost less than a takeaway dinner. Pick the three that fit your kitchen best and start with the easiest one tonight.
1. A Paper Towel Holder on the Wall That Frees a Whole Stretch of Counter
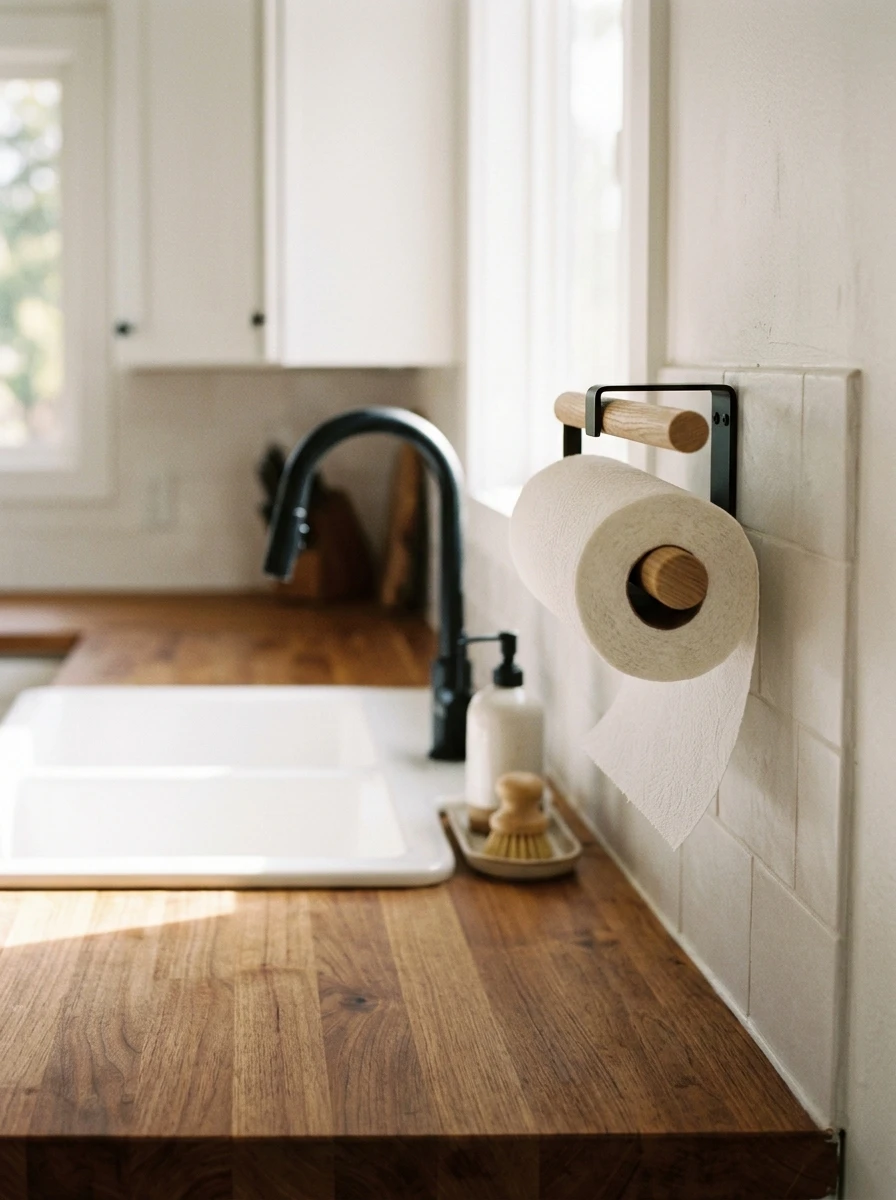
A paper towel holder on the counter eats the same space as a chopping board. Move it to the wall and that space comes back for cooking. A simple holder fixes beside the sink or near the stove, where your hands already reach.
Tear off a sheet with one hand while the other holds the pan. Mount it at arm height, clear of the hob so steam never softens the paper. Renters can use heavy duty adhesive strips instead of screws.
Best spots for it:
- Beside the sink, near wet hands
- Near the stove, away from heat
- On a cabinet side, out of the splash zone
The roll ends up closer than it ever was on the worktop, and the counter below stays clear.
> Also view: 11 IKEA Kallax Makeover Ideas for a Cozy Reading Corner
2. Screw-In Hooks Under the Upper Cabinets That Hold Every Mug
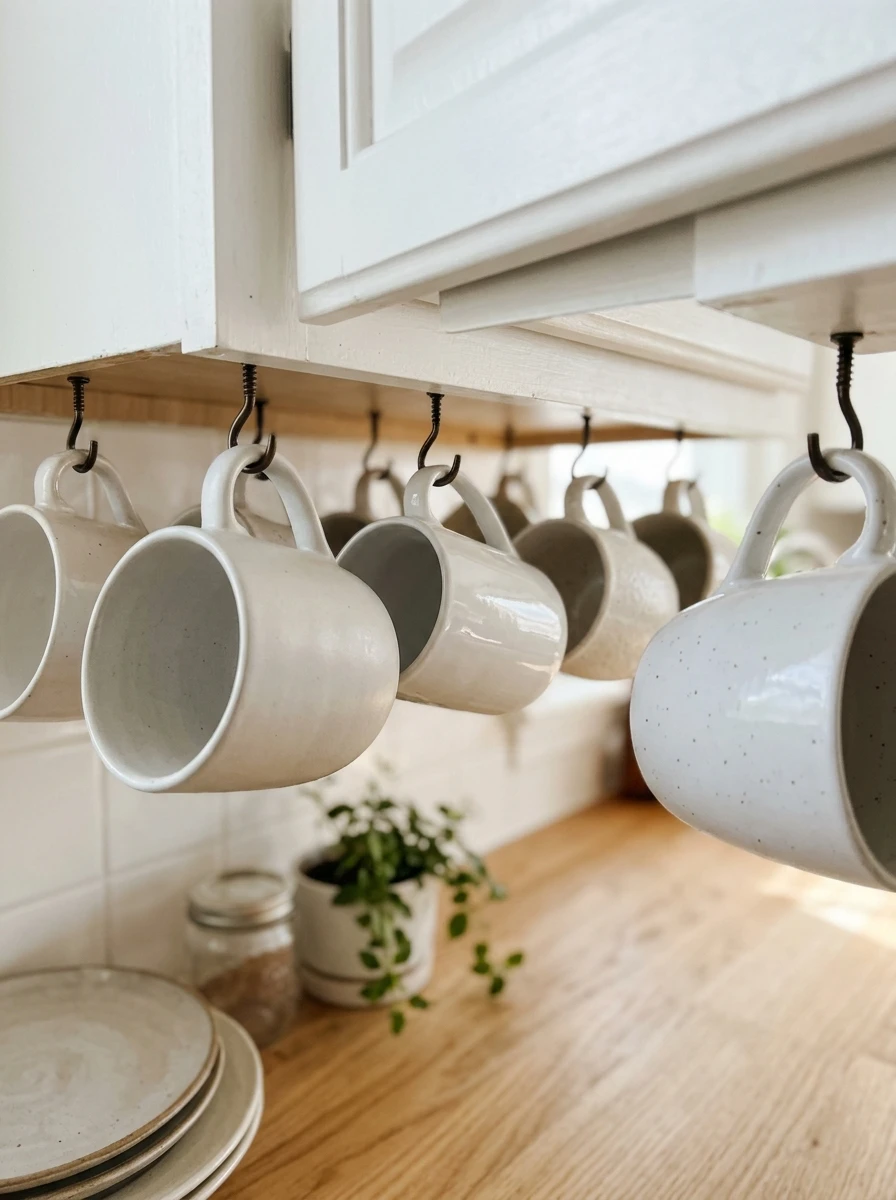
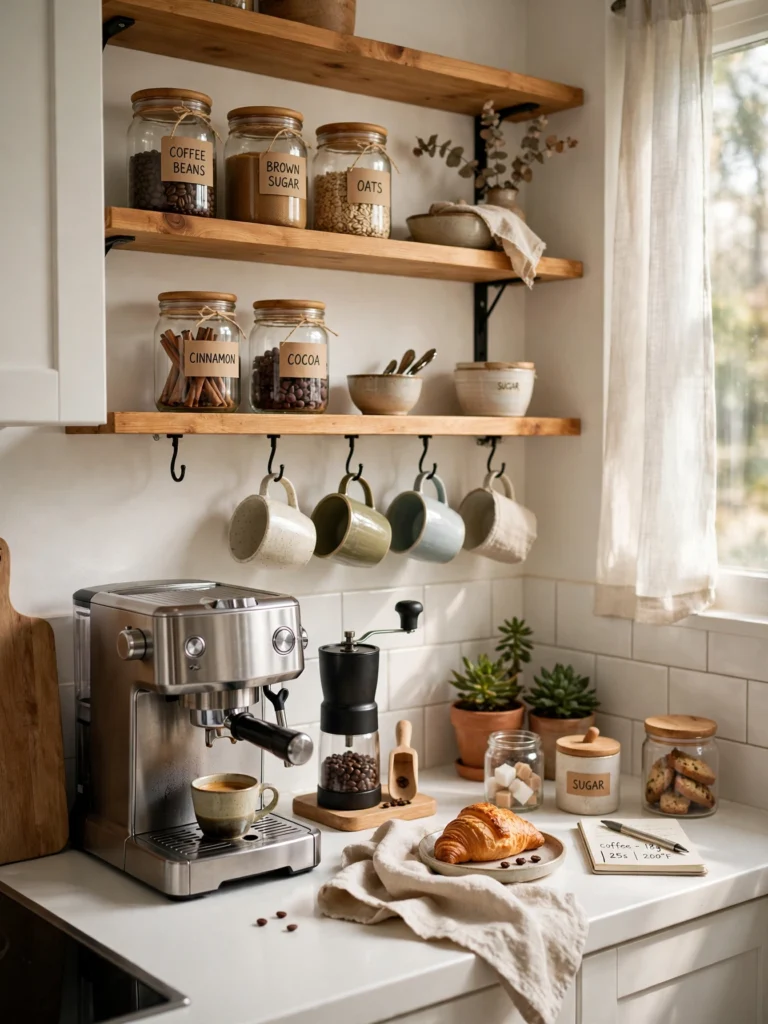
The mugs live in a cupboard, stacked two high, and the one you want is always at the bottom. Screw a row of small cup hooks into the underside of an upper cabinet and every mug gets its own hook. You can see them all at a glance, and the cupboard shelf they sat on is free for plates.
Measure the mug handles first so the hooks sit far enough apart, about four inches. Keep the row clear of the cabinet door swing. A mug that hangs by its handle dries faster too, since air moves all around it.
Hang the mugs you use daily at the front. The fancy ones for guests can live at the back, still easy to reach.
What to grab first
3. A Turntable in the Corner Cabinet That Ends the Reach-In Shuffle
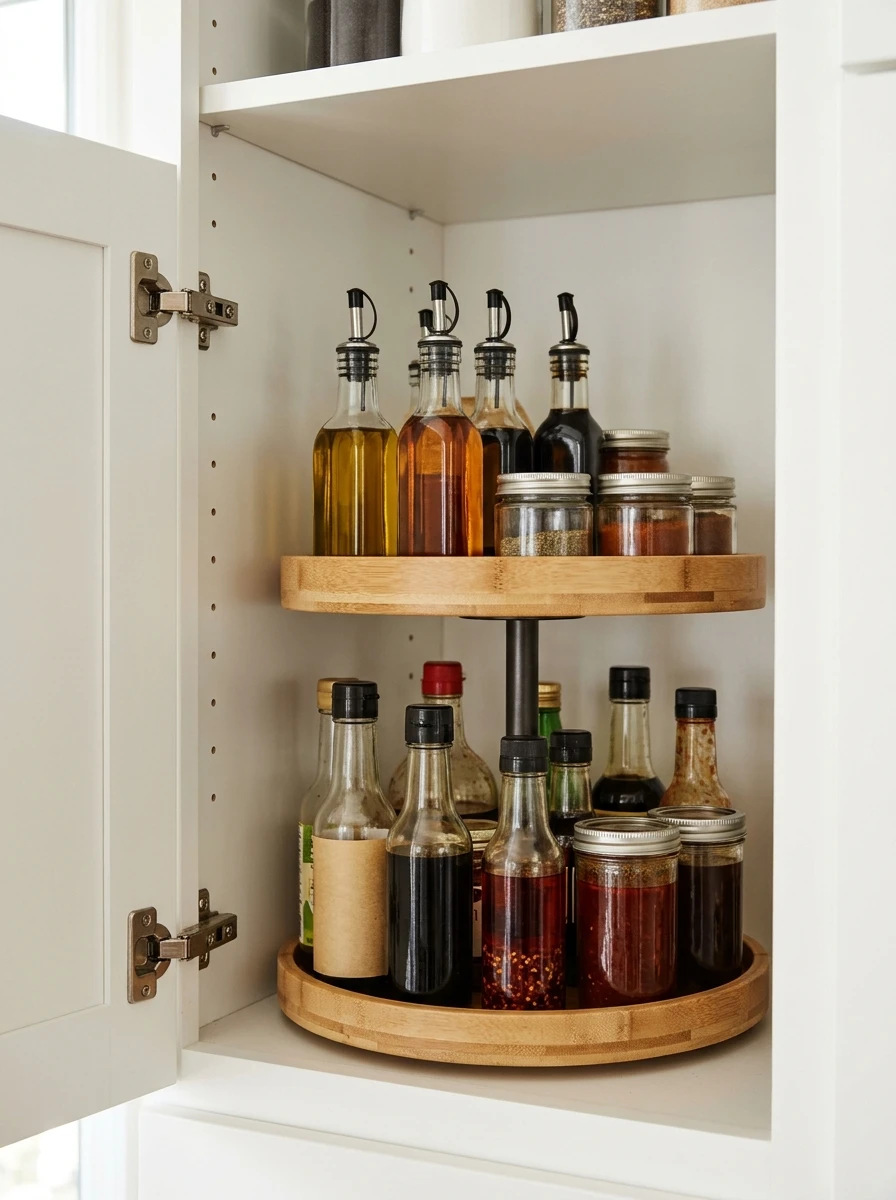
Corner cabinets swallow things. You push a jar to the back in January and find it again in June, long after you bought a second one. A turntable changes that. Spin the shelf and everything in the corner comes to the front.
Pick a turntable that fits the cabinet floor with a little room to spare. Two tiers work well for short jars and tins, while a single deep tier suits tall bottles. Keep the heaviest jars near the centre so the spin stays smooth.
Group like with like on the turntable, oils on one side and sauces on the other, so a single spin brings the right group forward. Nothing hides at the back anymore.
Jars pushed to the back of the corner cabinet, out of sight and out of reach.
One spin brings every jar to the front, and nothing gets bought twice.
4. Vertical Dividers in a Deep Cabinet That File Baking Sheets Like Books
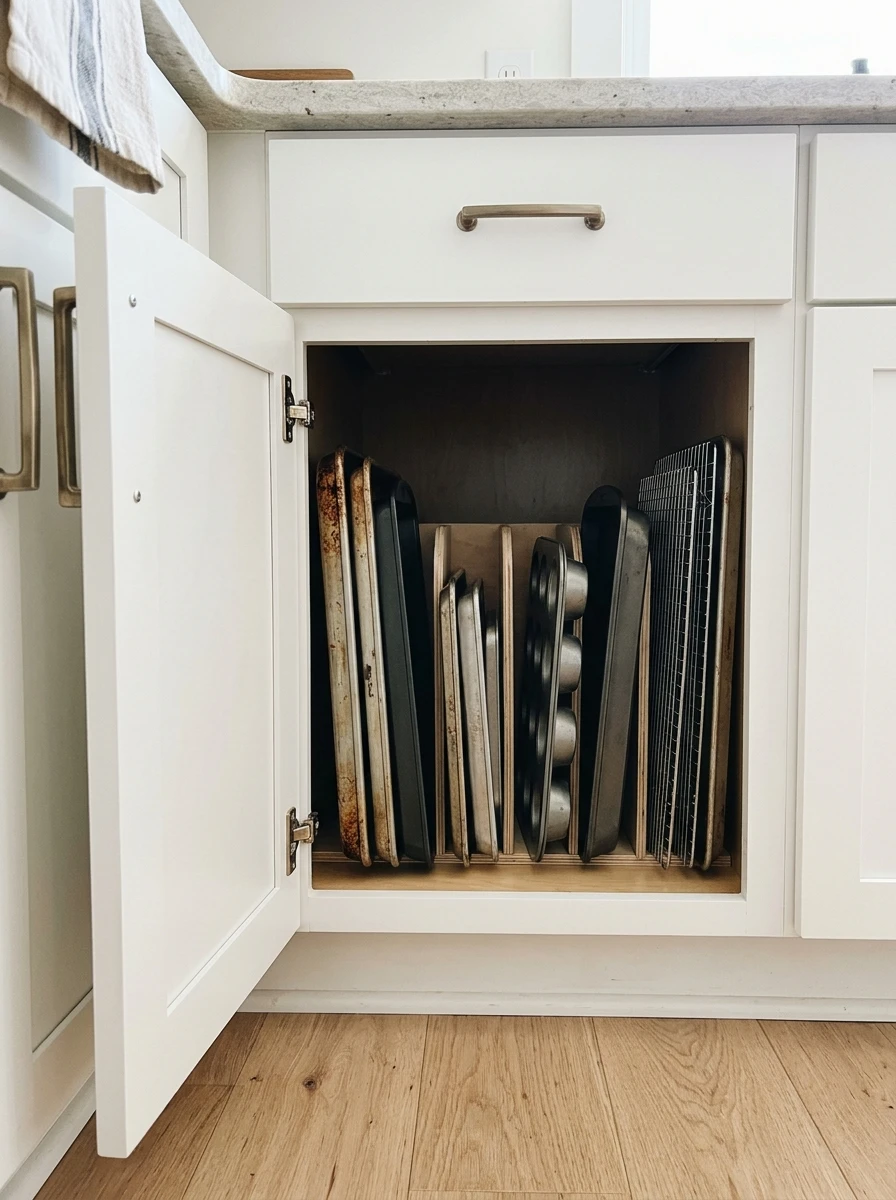
Baking sheets stacked flat are a small daily annoyance. You need the one at the bottom, so the whole pile comes out and goes back in a mess. Stand them upright instead. A set of vertical dividers inside a deep cabinet turns the pile into a row of files you can flip through.
Measure the cabinet height first and pick dividers that leave a finger of space above the tallest tray. Slide the trays in one per slot, tallest at the back and smallest at the front. Muffin tins and cooling racks fit the same way.
The trays stop leaning against the wall behind the door, and the shelf above them stays free for mixing bowls.
- ▸Tallest trays at the back, smallest at the front.
- ▸One tray per slot, so nothing sticks together.
- ▸Cooling racks and muffin tins file the same way.
5. A Slide-Out Caddy Under the Sink That Keeps Cleaning Bottles Upright
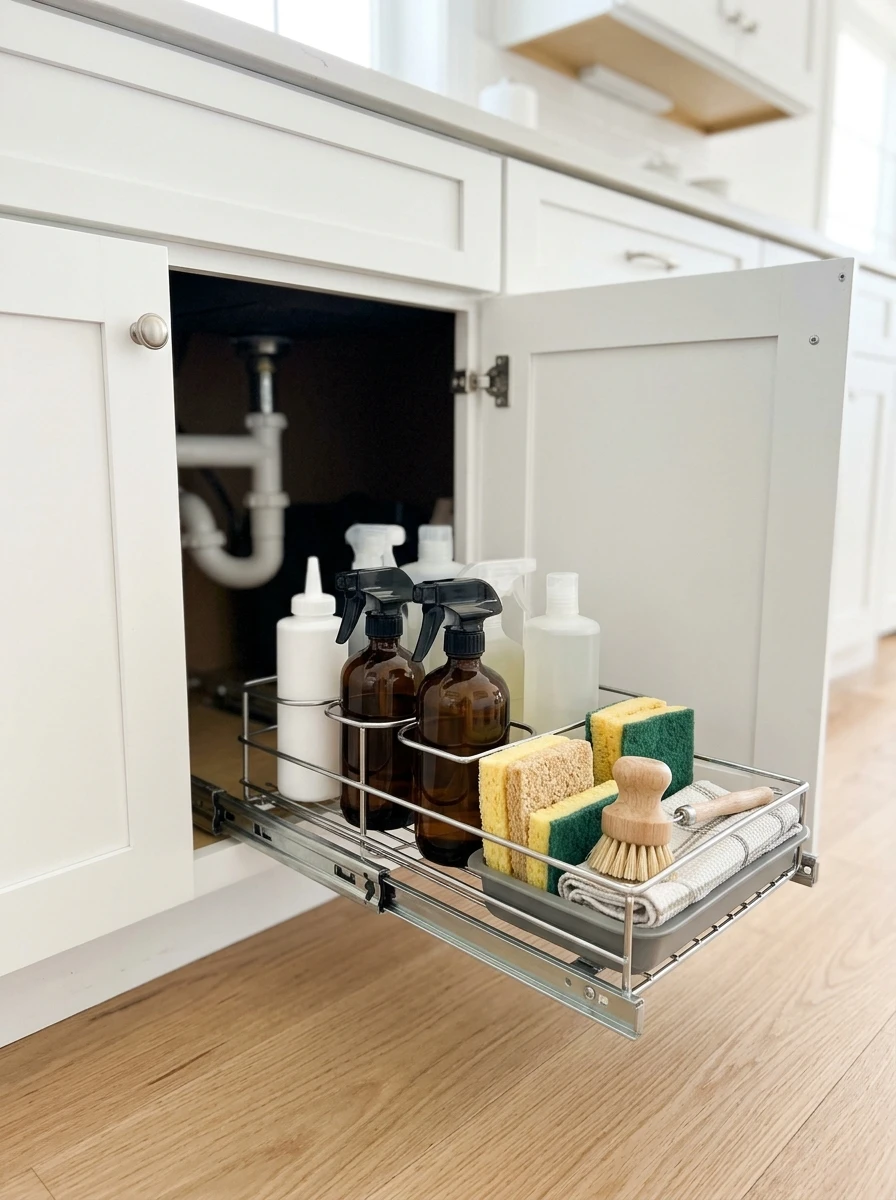
The space under the sink is where bottles go to fall over. You reach for the washing up liquid and three bottles topple, and the sponge ends up soaked. A slide-out caddy on rails fixes that. Pull it out and every bottle stands upright in its own slot.
Measure the cabinet width and height first, and check the pipes before you buy. Most caddies fit around standard plumbing with room to spare. Keep the bottles you use daily at the front and the spares at the back.
Like most IKEA kitchen hacks, this one costs little and needs no drilling, so renters can fit it too. The cabinet floor stays dry, and the bottles stop falling every time you open the door.
> Also view: 12 IKEA Kitchen Hacks for Small Kitchens With Limited Counter Space
6. An Appliance Garage That Hides the Toaster and Coffee Maker
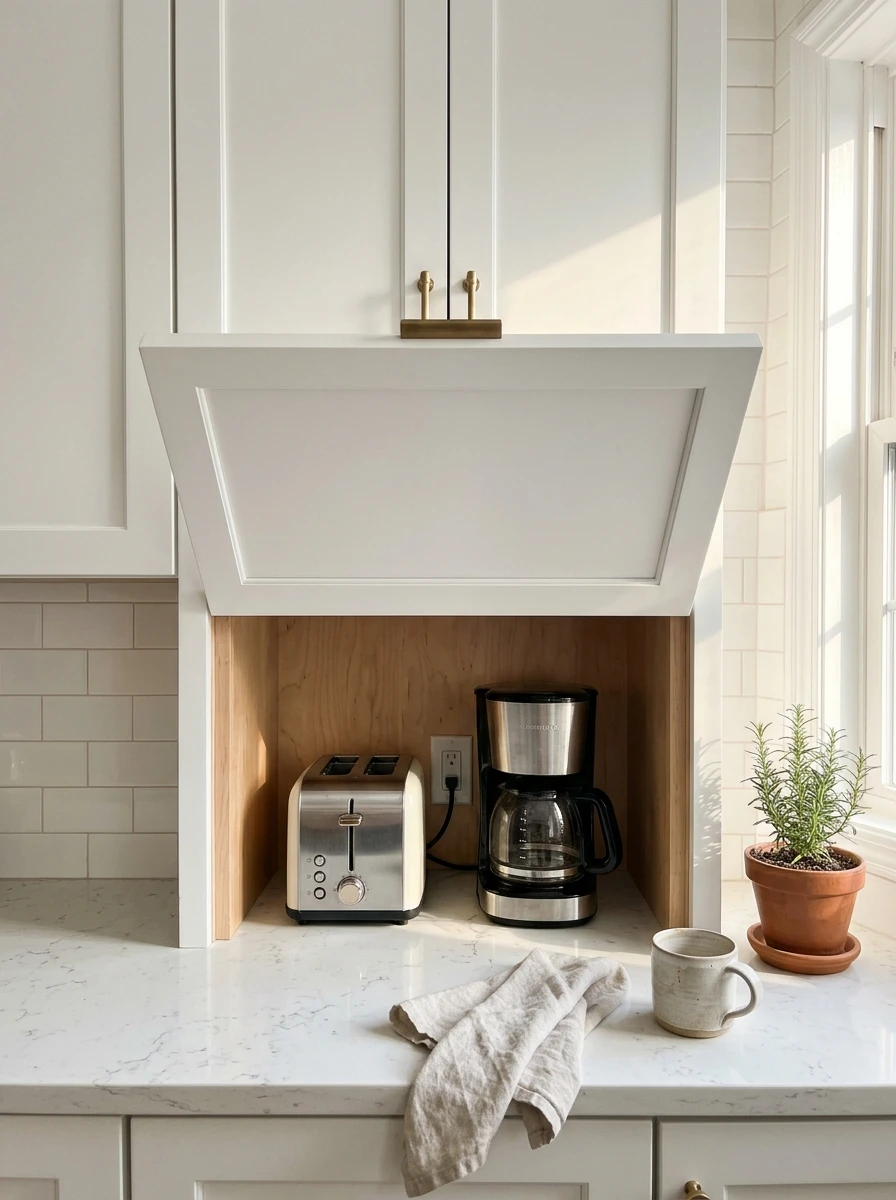
The toaster and the coffee maker sit on the counter all day, even though you use them for ten minutes each morning. An appliance garage gives them a home with a door. Lift the door, make breakfast, close it, and the counter looks clear again.
A garage is a small cabinet with a lift up or roll top door, sized to fit under your upper cabinets. Measure the height of your tallest appliance first, and leave room for the door to open fully. Keep the coffee maker near the outlet so the cord never stretches across the worktop.
The machines stay plugged in and ready, but out of sight. The counter they stood on becomes prep space again.
Toaster, coffee maker and kettle lined up across the counter all day long.
One door hides them all, and the counter is clear until breakfast.
7. A Spinning Utensil Crock That Puts Every Tool One Turn Away
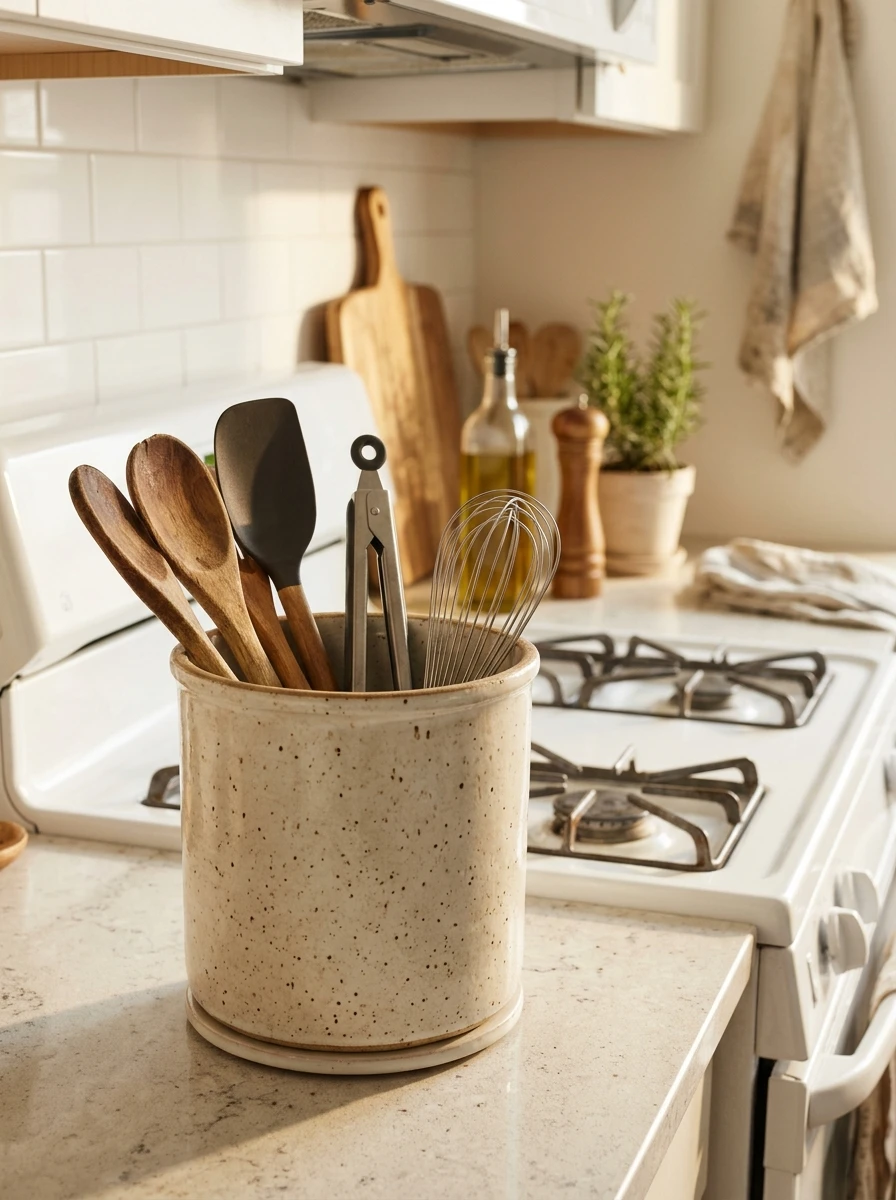
A drawer full of utensils means digging. The spatula is under the whisk, the tongs are at the back, and dinner waits while you search. A spinning crock on the counter ends the dig. One turn brings the tool you want to the front.
Pick a crock wide enough that the handles do not jam together. Wooden spoons, spatulas, tongs and a whisk all fit, and the heavy tools sit at the back of the spin so the crock stays steady. Keep it beside the stove, within reach while you cook.
The drawer they came from is free now, and the tools you reach for most are always one turn away.
💡 Quick Tip
Keep only the tools you use every week in the crock. The rest can live in a drawer, out of the daily spin.
8. A Suction Caddy on the Sink That Holds Sponges Off the Counter
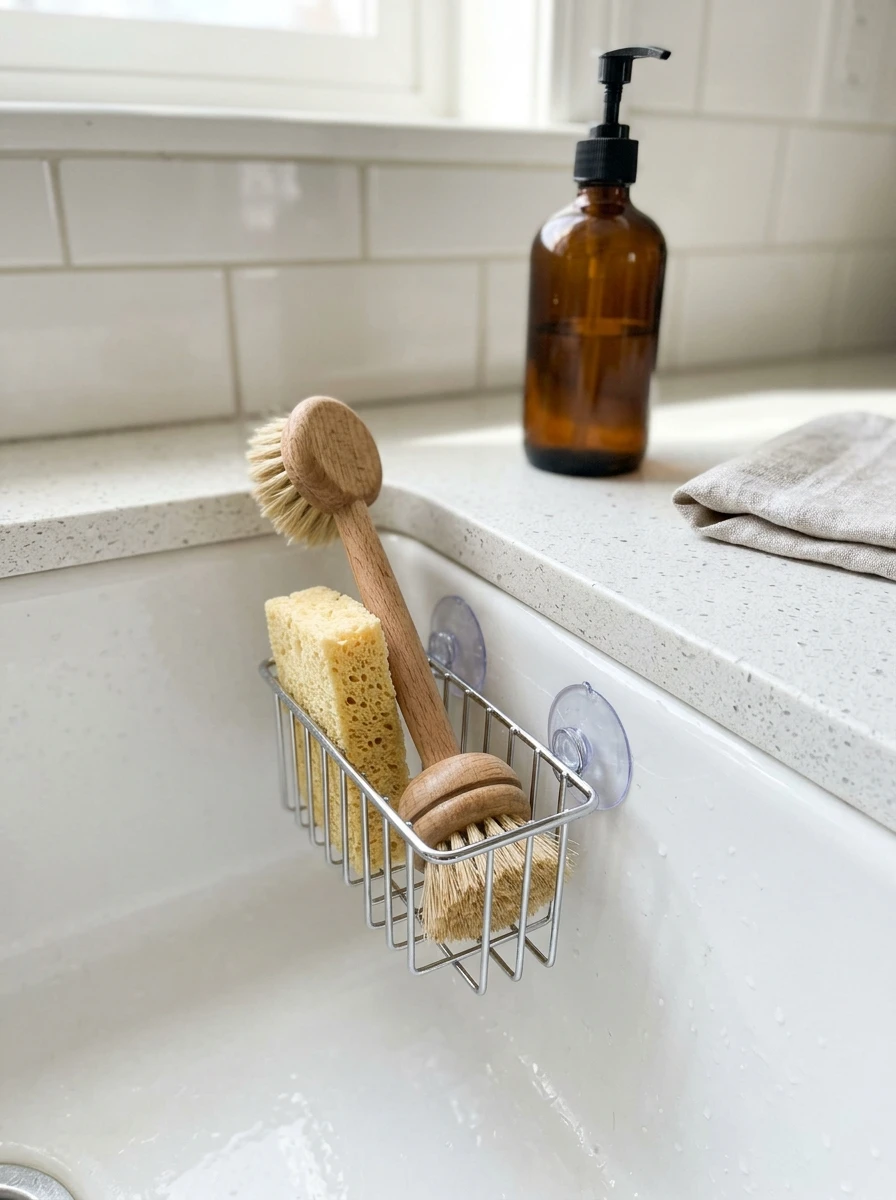
The sponge lives on the counter beside the sink, in a small puddle of its own making. A suction caddy stuck to the side of the sink lifts it up and lets it drain. The sponge dries faster, smells fresher, and the counter stays dry.
Press the suction cups onto a clean, dry patch of the sink wall and give them a firm push. Two cups hold a caddy with room for a sponge and a dish brush. Rinse the cups once a month so they keep their grip.
A caddy like this costs very little and fits in minutes, which makes it one of the easiest IKEA kitchen hacks to try first.
| Suction Caddy | Sponge on the Counter |
|---|---|
| Counter space used: none | Counter space used: a wet patch |
| Sponge dries: yes, air moves around it | Sponge dries: slowly, sitting in water |
| Fitting: press on, no tools | Fitting: none, and it shows |
9. A Lid Holder Inside the Cabinet Door That Stops the Clatter
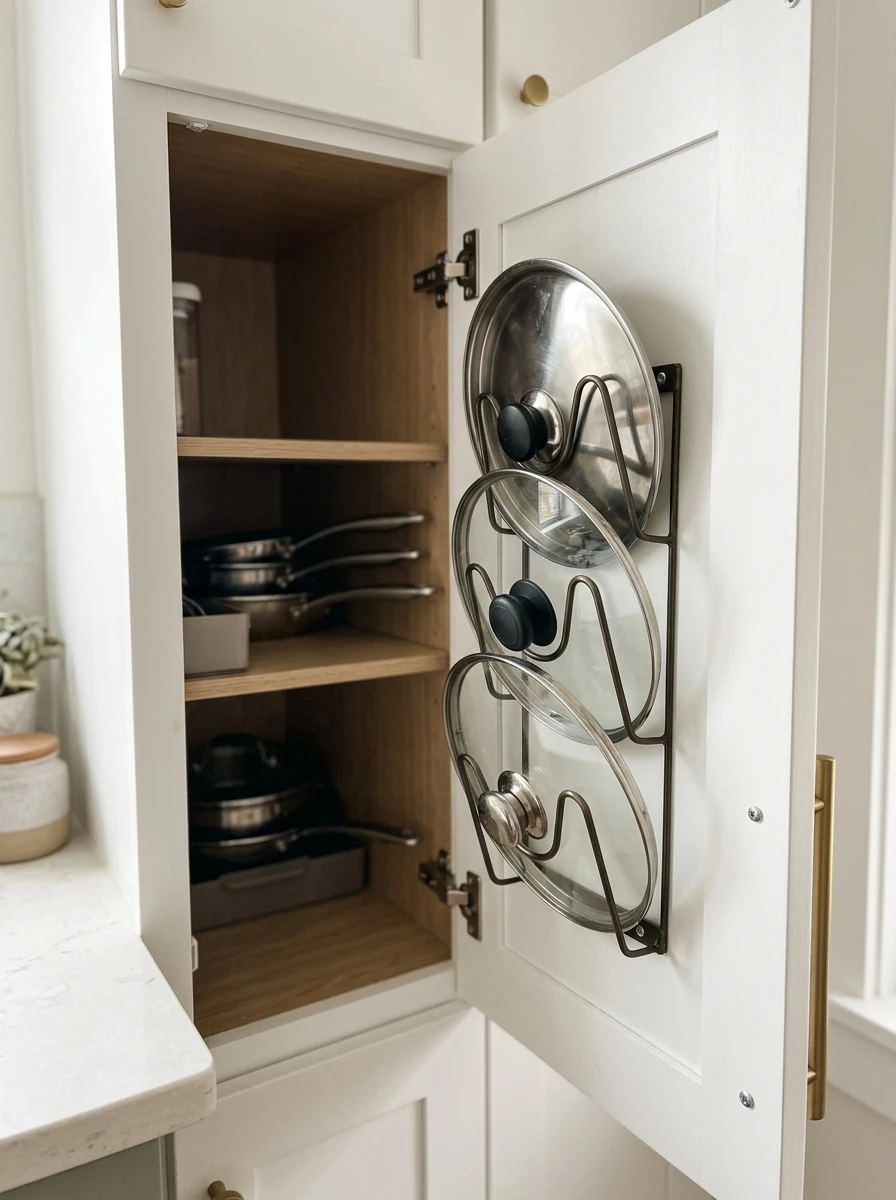
Pot lids are the noisiest things in the kitchen. They slide, they clatter, and they fall every time you open the cabinet. A lid holder fixed to the inside of the cabinet door gives each lid its own slot, and the clatter stops.
Measure the biggest lid first, then pick a holder with slots wide enough to take it. Fix it low on the door so the lids clear the shelf when the door closes. Small lids go at the front of the holder and big ones at the back.
The shelf the lids sat on is free for pots now, and opening the cabinet sounds like nothing at all.
Measure the biggest lid before you buy the holder.
Fix the holder low so lids clear the shelf.
Fitting it high, where lids hit the shelf.
Cramming two lids into one slot.
10. A Countertop Compost Caddy That Keeps Scraps Out of the Trash
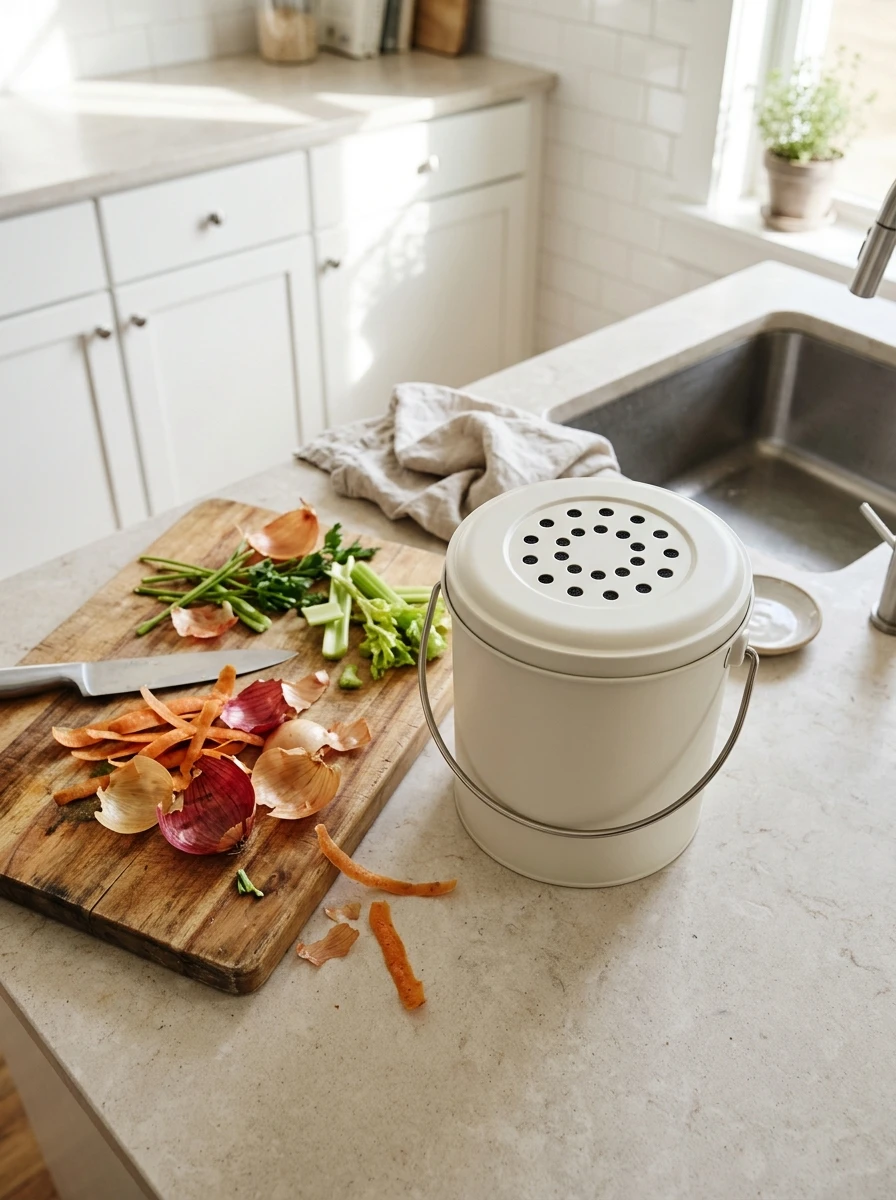
Peeling vegetables means a walk to the bin with every handful of scraps, or a pile on the counter that grows while you chop. A small compost caddy beside the board catches the peels as you work. Scrape, chop, scrape again, and the board stays clear.
Pick a caddy with a tight lid and a charcoal filter in the lid. The filter keeps smells in, and the lid keeps fruit flies out. Line it with a compostable bag so emptying it takes seconds.
Empty it each evening and the caddy never smells, even on warm days. The bin under the sink fills slower too, since the wet scraps go elsewhere.
Line the caddy with a compostable bag.
Scrape peels straight off the board as you chop.
Tie the bag and empty it each evening.
11. A Wine Glass Rack Under the Cabinet That Frees a Whole Shelf
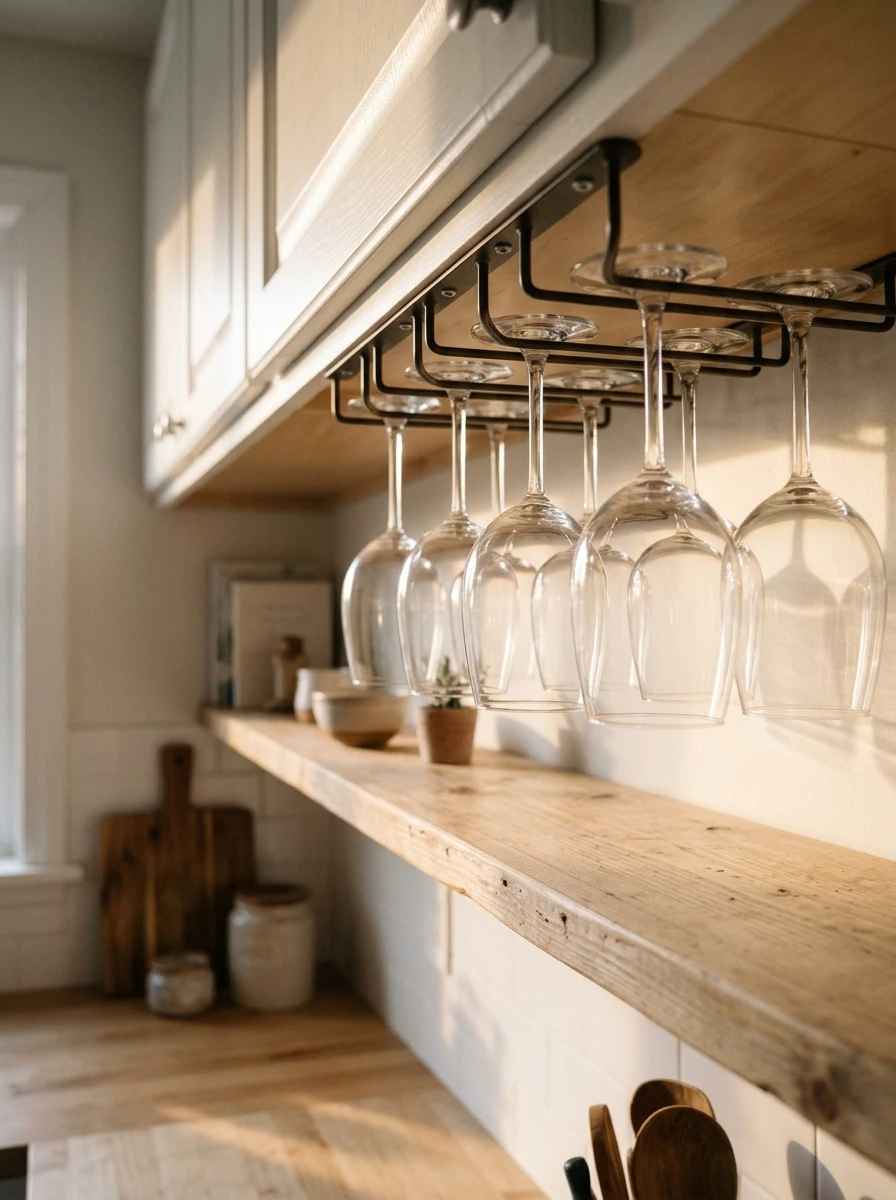
Wine glasses take up a full cupboard shelf, and they chip every time you reach past one to grab another. A rack screwed under an upper cabinet holds them upside down by their stems, and the shelf they sat on is free for plates and bowls.
Measure the stem width before you buy, since racks come in different slot sizes. Fit the rack near the edge of the cabinet so the glasses hang clear of the worktop. Wash the glasses, let them drip dry for a minute over the sink, then slot them in upside down so they dry without water marks.
The glasses stay safe up high, and the cupboard below holds a whole extra stack of plates.
Hang glasses by their stems with room to breathe. Crowded glasses chip, spaced glasses last.
12. A Towel Bar Over the Cabinet Door That Dries Towels Without a Hook
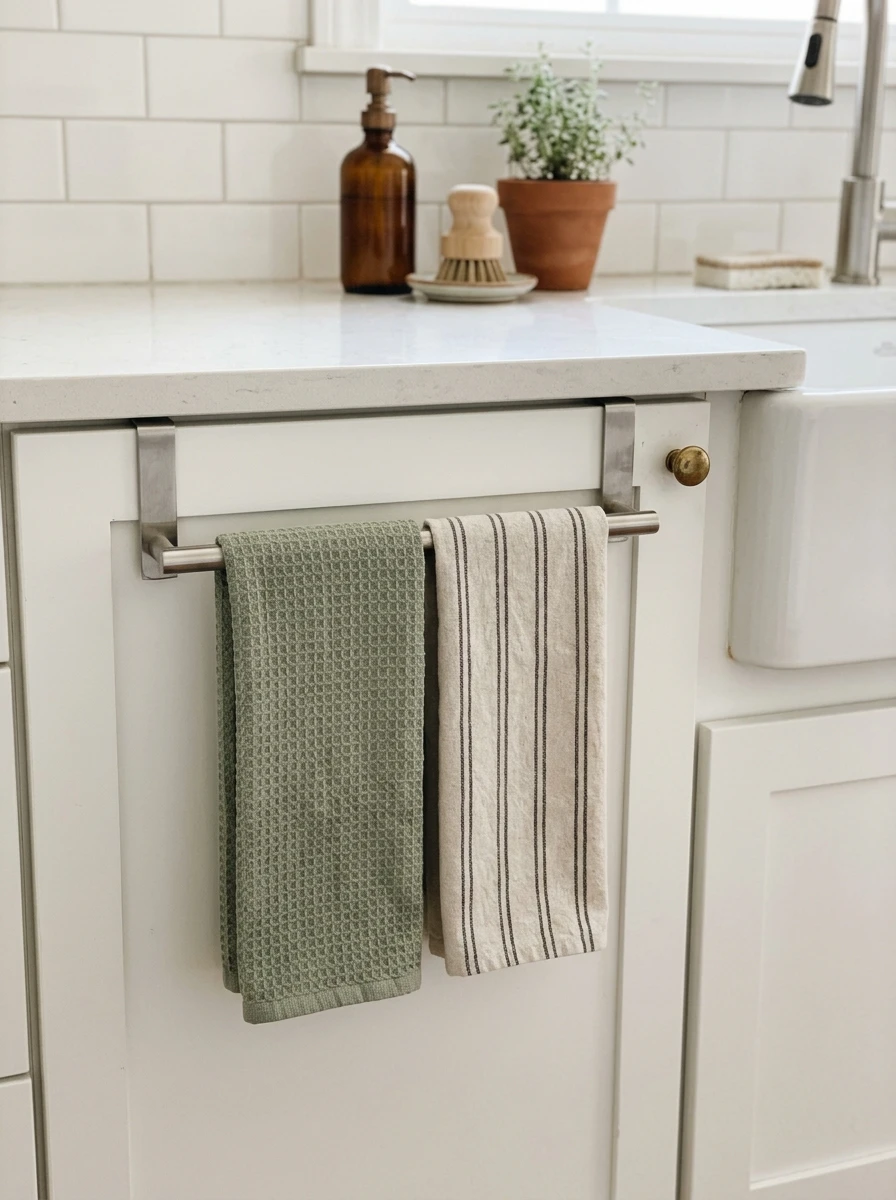
The dish towel ends up on the counter, on the oven handle, or on the floor. A towel bar that hooks over the top of a cabinet door gives it a fixed home. The towel hangs flat, dries fast, and stays where your hands expect it.
Pick a bar that fits the door thickness so it sits snug and never rattles. A bar with rubber ends grips the door well. Hang it on the cabinet nearest the sink, where wet hands reach first. Two towels fit side by side, one for hands and one for dishes.
No screws and no drilling, so renters can use it too. The towel stops wandering, and the counter stays dry.
What to grab first
13. A Charging Shelf That Gets Phones and Cords Off the Worktop
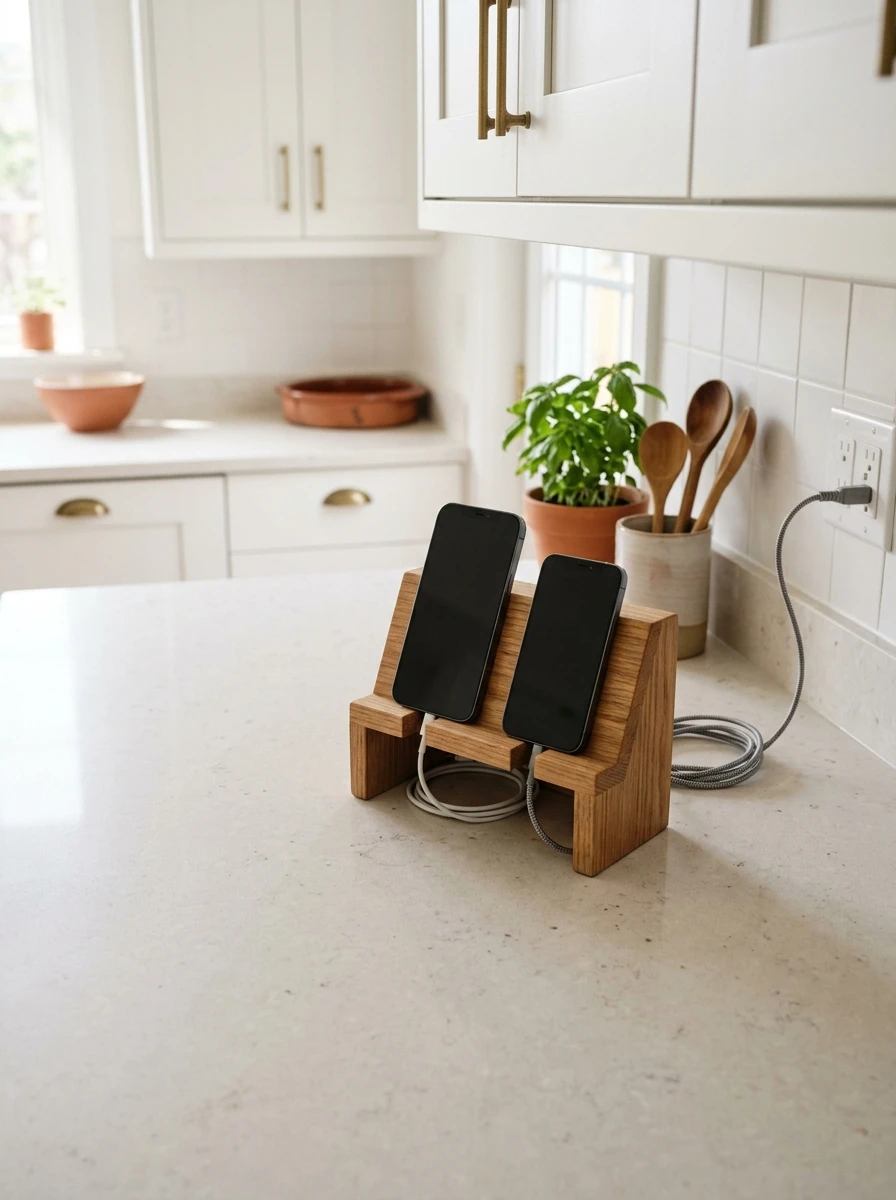
Phones and chargers spread across the counter like a small nest of cables. A charging shelf with a power strip tucked behind it gives them one tidy home. Phones charge, cords stay hidden, and the worktop is for cooking again.
Fit the shelf near an outlet but away from the sink, so water never meets the plugs. A short shelf holds two phones and a small speaker. A shelf with a raised edge at the front stops a phone sliding off when the counter shakes. Coil the spare cable length behind the shelf with a twist tie.
The kitchen stays the place where people check recipes, not the place where cables live. Dinner prep gets its counter back.
Your Small Kitchen, With Room to Cook
A small kitchen does not need more counter. It needs fewer things sitting on the counter it already has. The thirteen ideas above all do the same quiet job. They find the wasted spots, the wall, the door, the corner, the strip under the cabinets, and put them to work.
Pick the one that fixes your biggest daily annoyance and try it this weekend. One small change is enough to feel the difference the next time you cook. When the counter stays clear for a whole dinner, you will know the system is working.
Save this list for the next time your kitchen feels crowded. These IKEA kitchen hacks are here whenever you are ready for the next one.
Before You Start
- ✅ Tape measure and the width of your cabinet doors, shelves, and under-sink space
- ✅ One hack picked, the one that fixes your biggest daily annoyance
- ✅ A note of the exact size before you shop, so nothing comes home wrong
- ✅ A free evening to fit it and live with it for a week
- ✅ A clear counter to start from, so you can see the difference right away