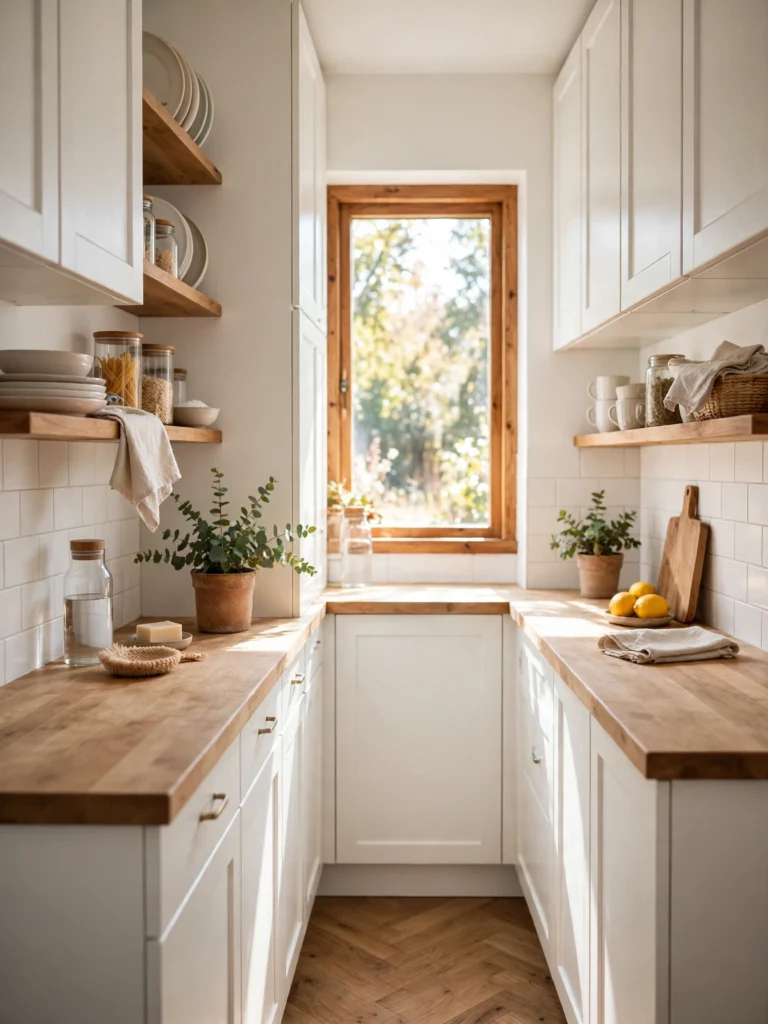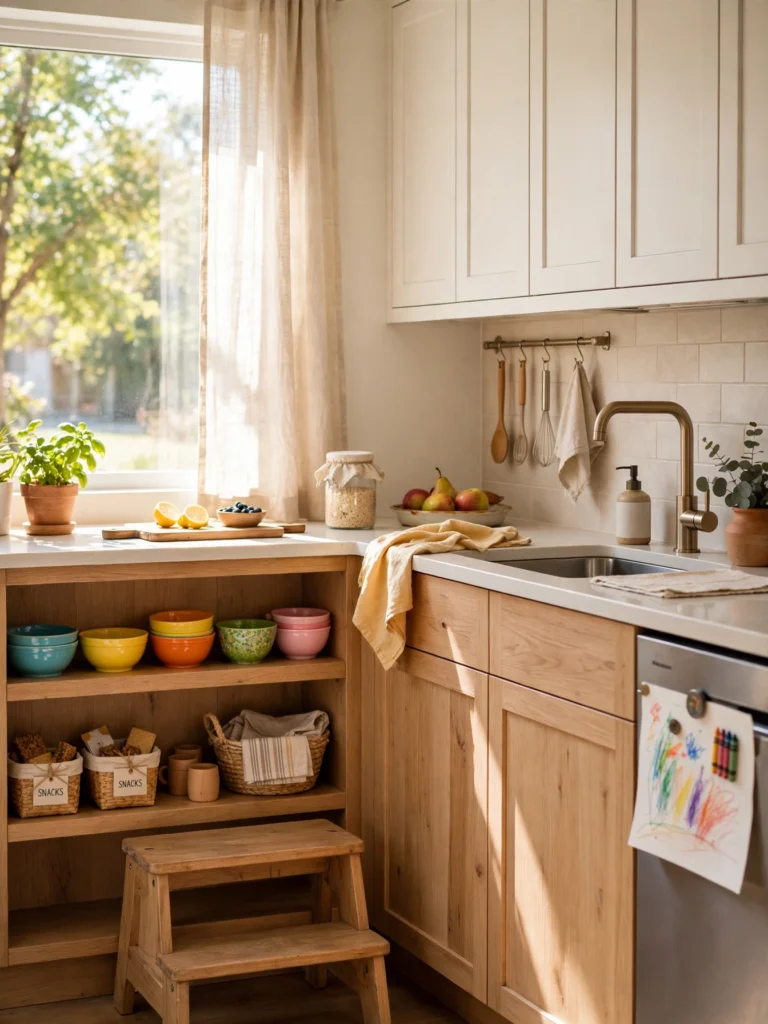
12 IKEA Kitchen Hacks for Small Kitchens With Limited Counter Space
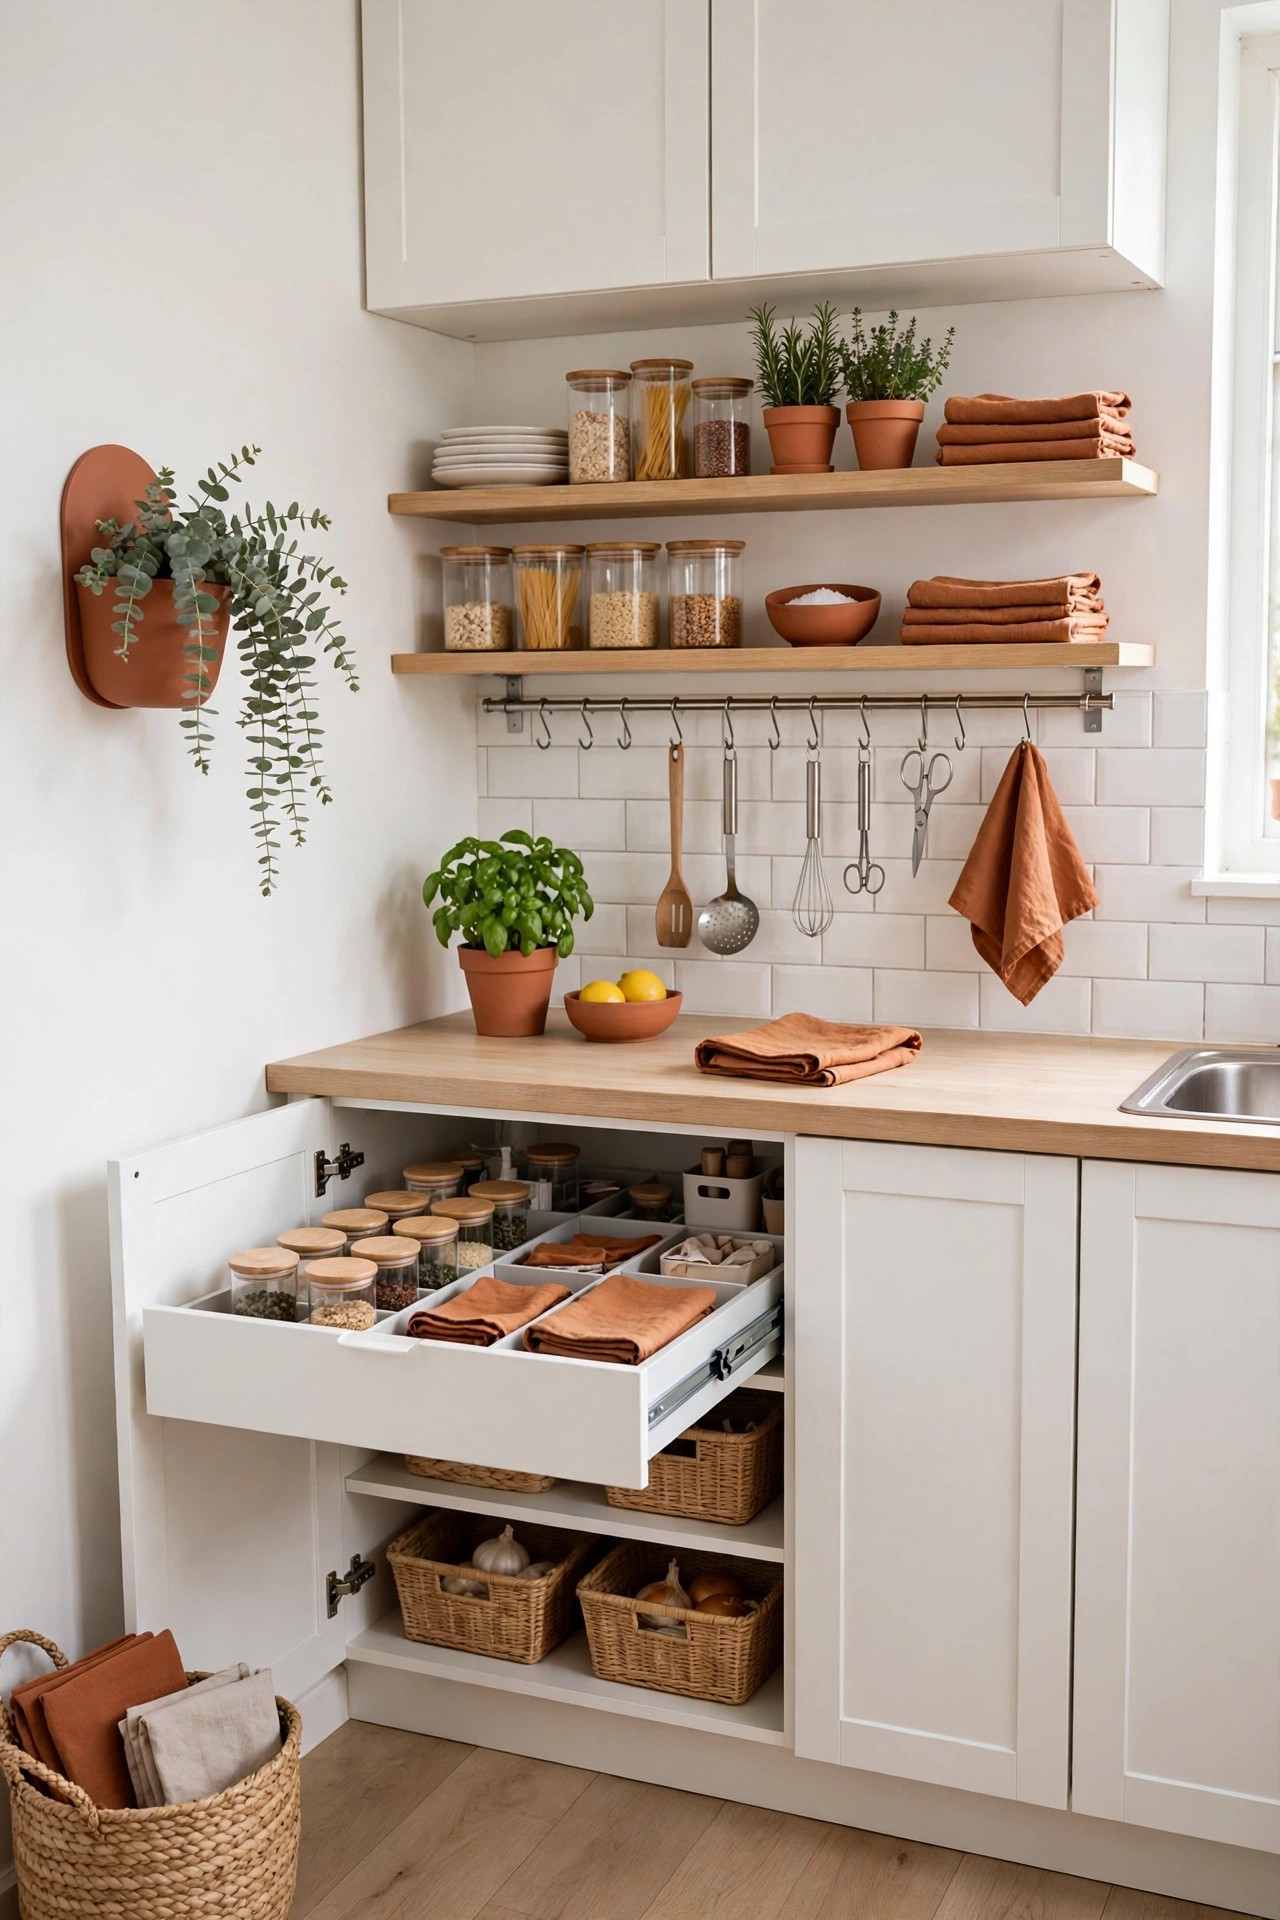
You cook dinner, and by the time the pan is on the stove, the counter is already full. The cutting board sits on top of the mail. The fruit bowl crowds the kettle. You move one thing to reach another, and the whole kitchen feels like a traffic jam.
Most advice for small kitchens tells you to buy more storage. But another shelf on the wall or a bigger rack on the counter just moves the clutter around. What actually helps is giving every single thing a home that is not the counter.
That is what these IKEA kitchen hacks do. Each one takes a small, wasted spot in your kitchen, the gap beside the fridge, the inside of a cabinet door, the strip of wall above the sink, and turns it into working storage. Most of them cost less than a weekly grocery run, and most need no drilling, so renters can use them too.
Work through the list, pick the three that fit your kitchen best, and start with the easiest one tonight.
1. The 4-Inch Gap Beside the Fridge That Becomes a Pull-Out Pantry
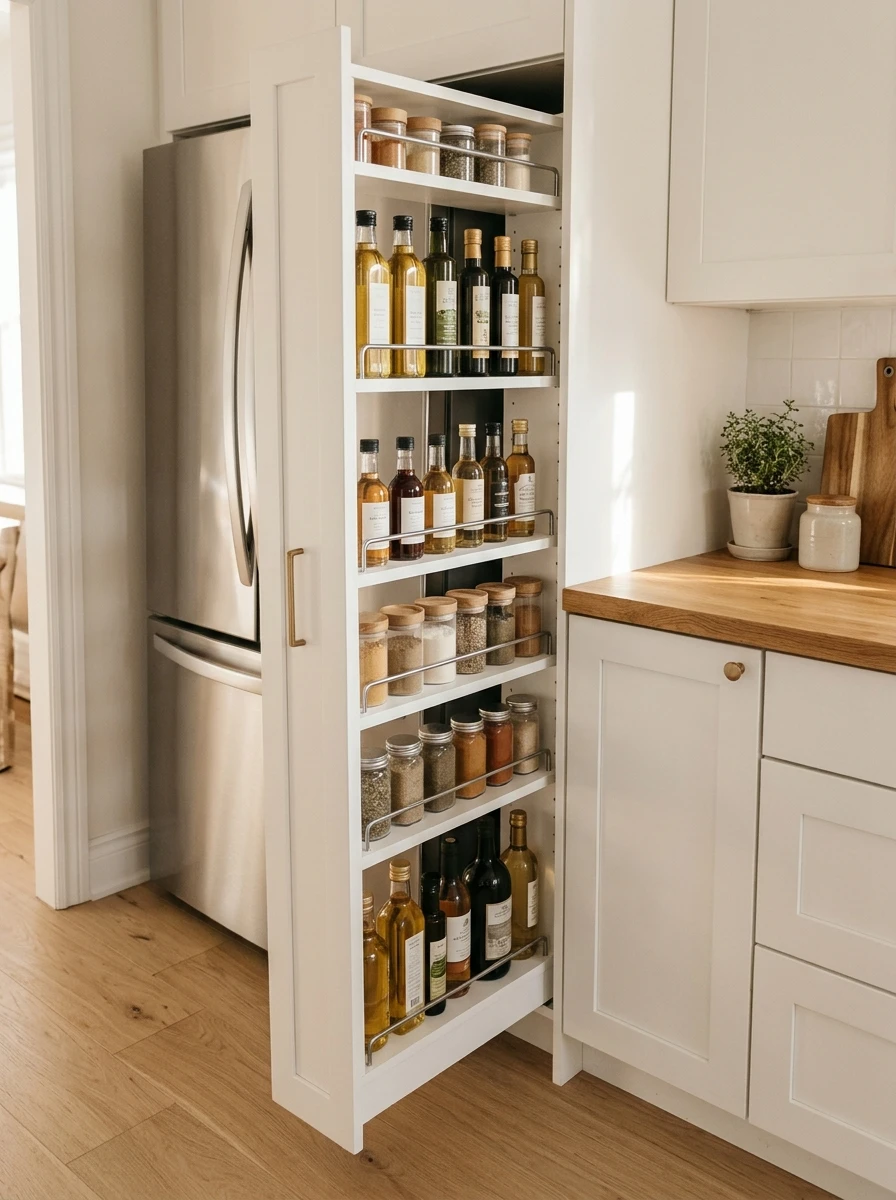
That narrow gap between the fridge and the wall is the most ignored spot in the kitchen. It collects dust and a lost lid, nothing else. A slim pull-out unit turns it into a pantry for the tall, thin things that never fit anywhere.
Measure the gap first. Most are four to six inches wide. Look for a narrow rolling shelf unit on casters that slides out without scraping the fridge.
What fits best on it:
- Cooking oils and vinegar bottles
- Spice jars in a single row
- Canned tomatoes and beans
Keep the heaviest items low so it stays steady, and leave a finger of space on each side. Closed, the gap looks like part of the kitchen. Open, dinner is right there at arm height.
> Also view: 12 IKEA Kallax Makeover Ideas for Organizing a Small Bedroom
A dusty four inch gap beside the fridge. Lost lids, no use, wasted space.
A slim pull-out pantry on casters. Oils, spices, and cans slide out at arm height and tuck away again.
2. A Pegboard Wall That Holds Pans, Tools and Measuring Cups Off the Counter
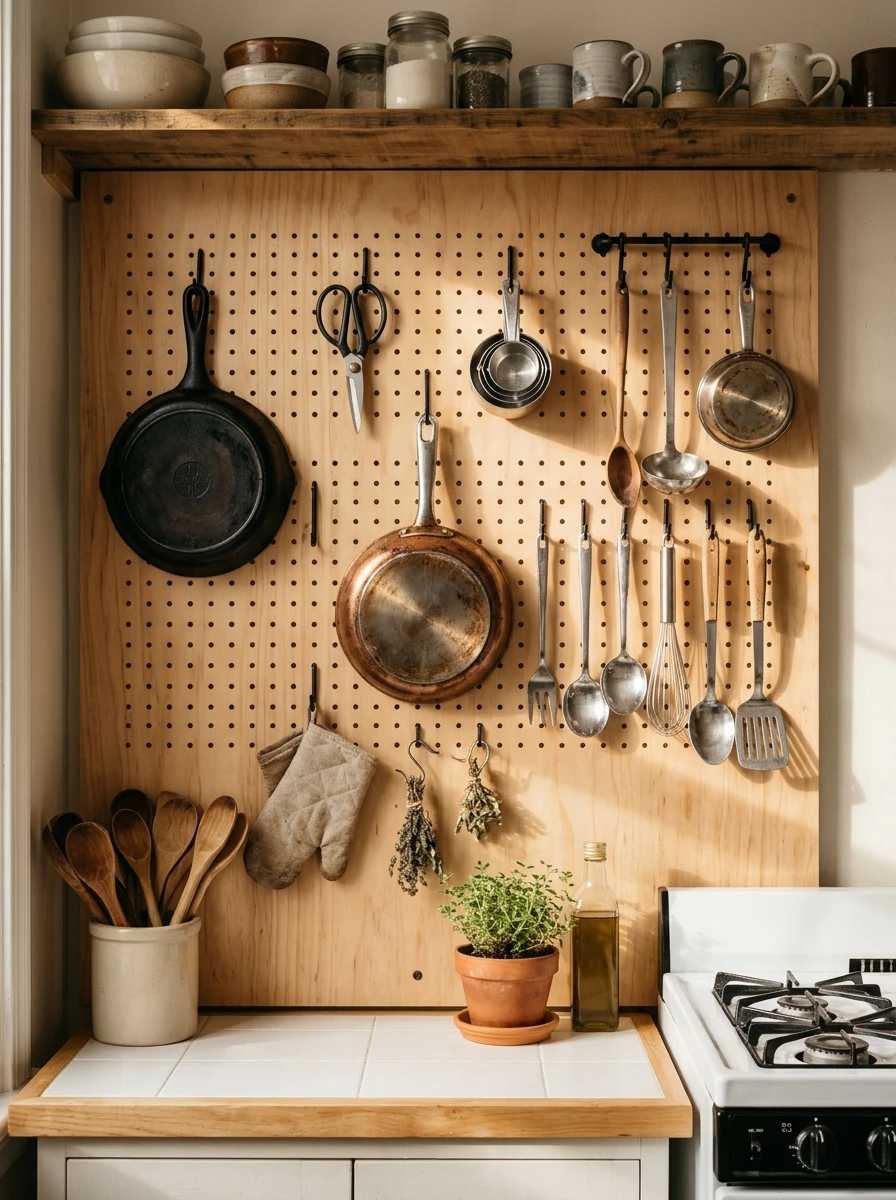
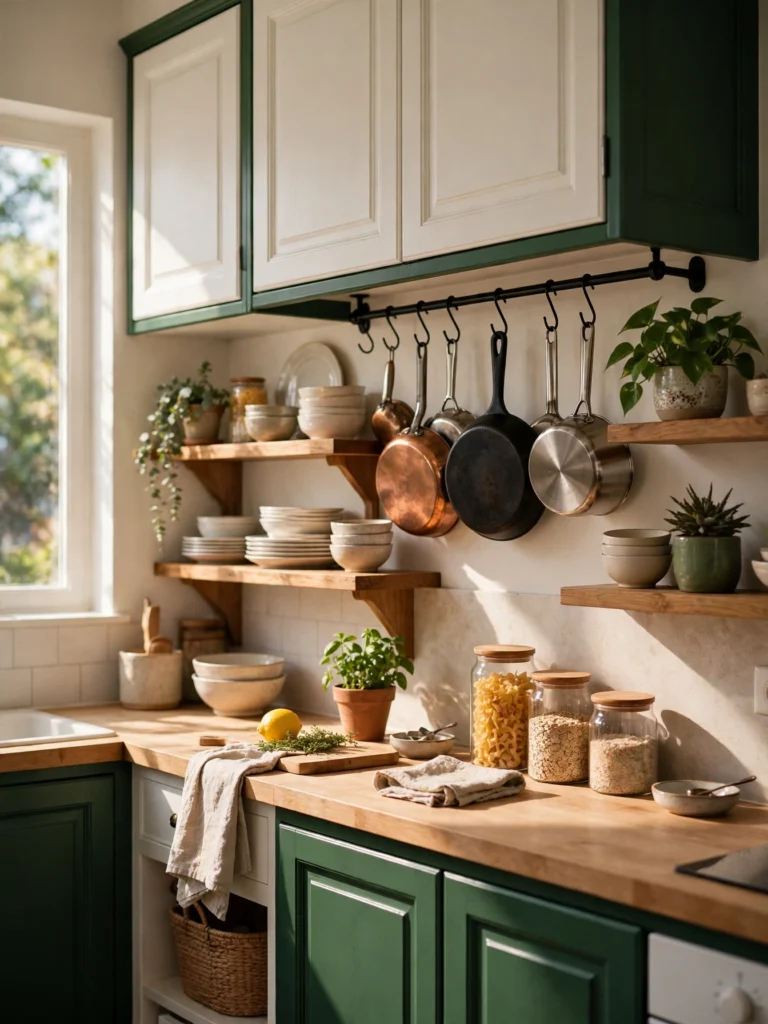
A wall of hooks above the stove holds more than a whole drawer, and you can see every piece at a glance. A SKÅDIS pegboard from IKEA is the simplest way to build it. Fix the board to the wall, add hooks and small containers, and hang the tools you reach for daily.
Hang it in this order:
- Heavy pans on the lowest row, by their handles
- Everyday tools at eye level, ladles, tongs, and scissors
- Light cups and small jars up top
Keep the board beside the stove rather than directly over the burners, so handles stay cool and easy to grab. The counter below stays clear because nothing on the board needs a home anywhere else.
3. A Tension Rod Under the Sink That Hangs Every Spray Bottle
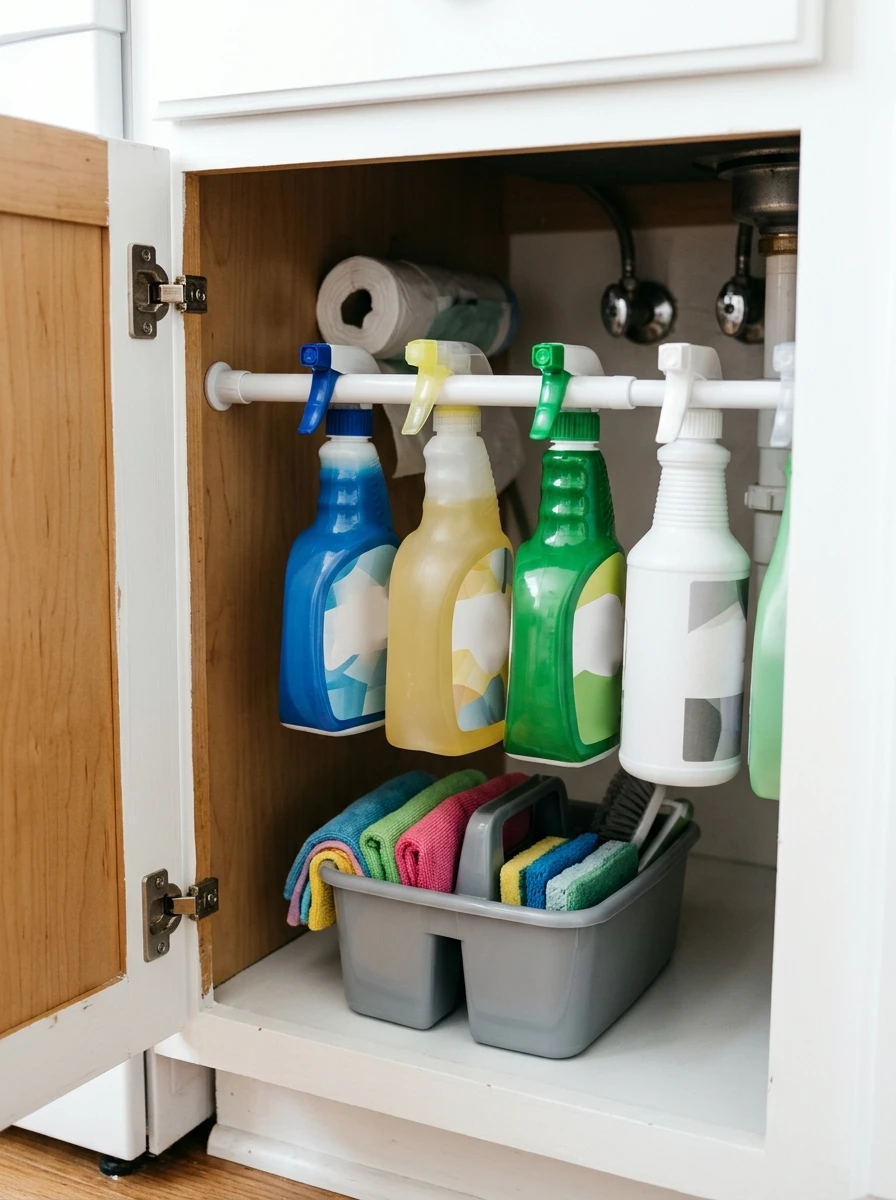
Slide a spring tension rod across the inside of the sink cabinet, and every spray bottle gets a hook of its own. The bottles hang by their trigger handles, and the cabinet floor frees up for a bin and cleaning cloths.
Measure the cabinet width first. Pick a rod that extends a little past it so it grips tight. No screws and no drilling, so it suits renters.
Hang these from the rod:
- Kitchen spray bottles
- Window cleaner
- Plant mister
The bottles stop falling over every time you reach for the bin, and you can see at a glance which one is running low.
💡 Quick Tip
Set the rod high enough that hanging bottles clear the bin below. Measure the cabinet width first, and pick a rod that extends a little past it so it grips tight.
4. A Magnetic Strip on the Side of the Fridge for Knives and Metal Tools
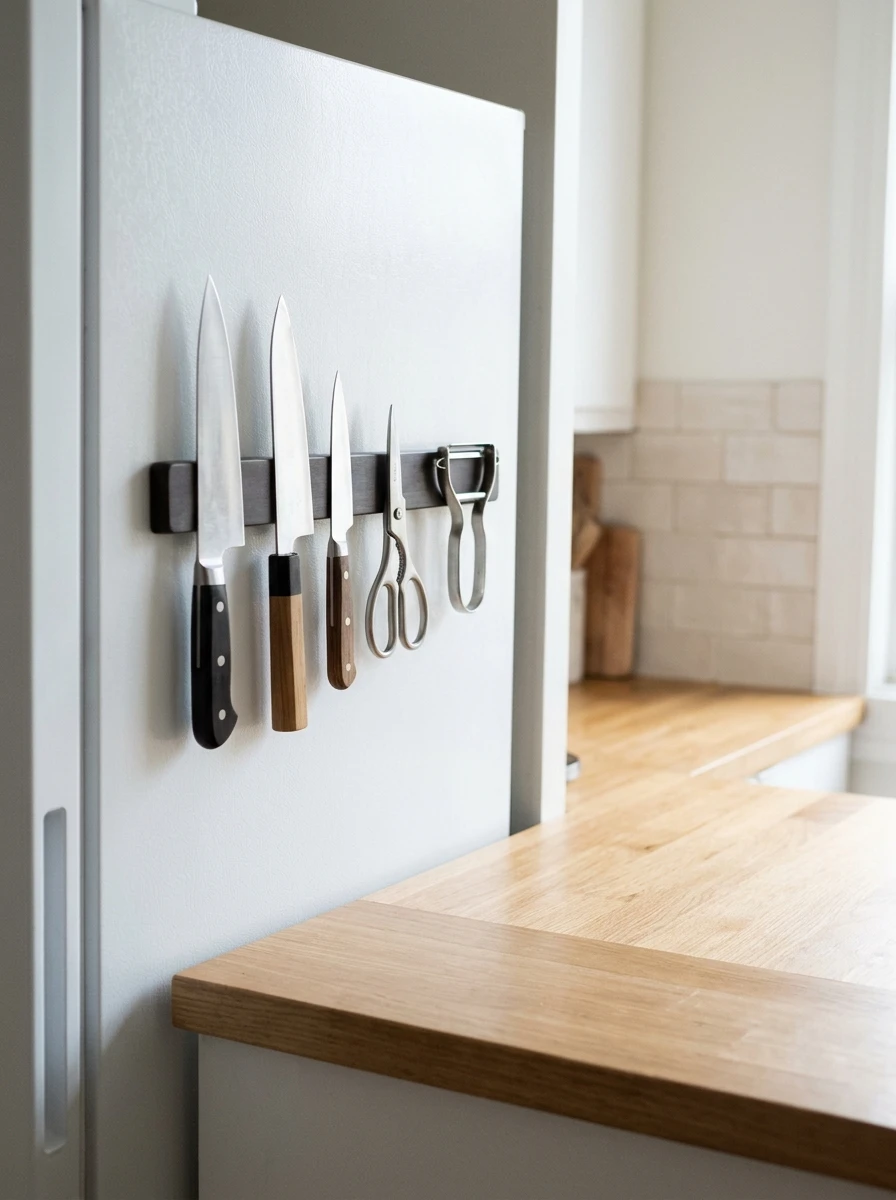
A knife block takes up a full square foot of counter. A magnetic strip on the side of the fridge takes up none. A KUNGSFORS magnetic knife rack holds the knives flat against the metal, blades in view, easy to grab while you chop.
If you rent, fix the rack with heavy-duty adhesive strips. If you own, use screws for a firmer hold. Metal tools like kitchen shears and a peeler stick to it too.
The side of the fridge was blank space before. Now it does real work, and sharp edges stay away from small hands reaching across the worktop.
| Fridge-Side Strip | Countertop Block |
|---|---|
| Counter space used: none | Counter space used: about a square foot |
| Reach: at arm height, blades in view | Reach: across the counter, blades hidden |
| Best for: small kitchens and renters | Best for: large kitchens with spare counter |
5. A Cutting Board Made to Sit Over the Sink
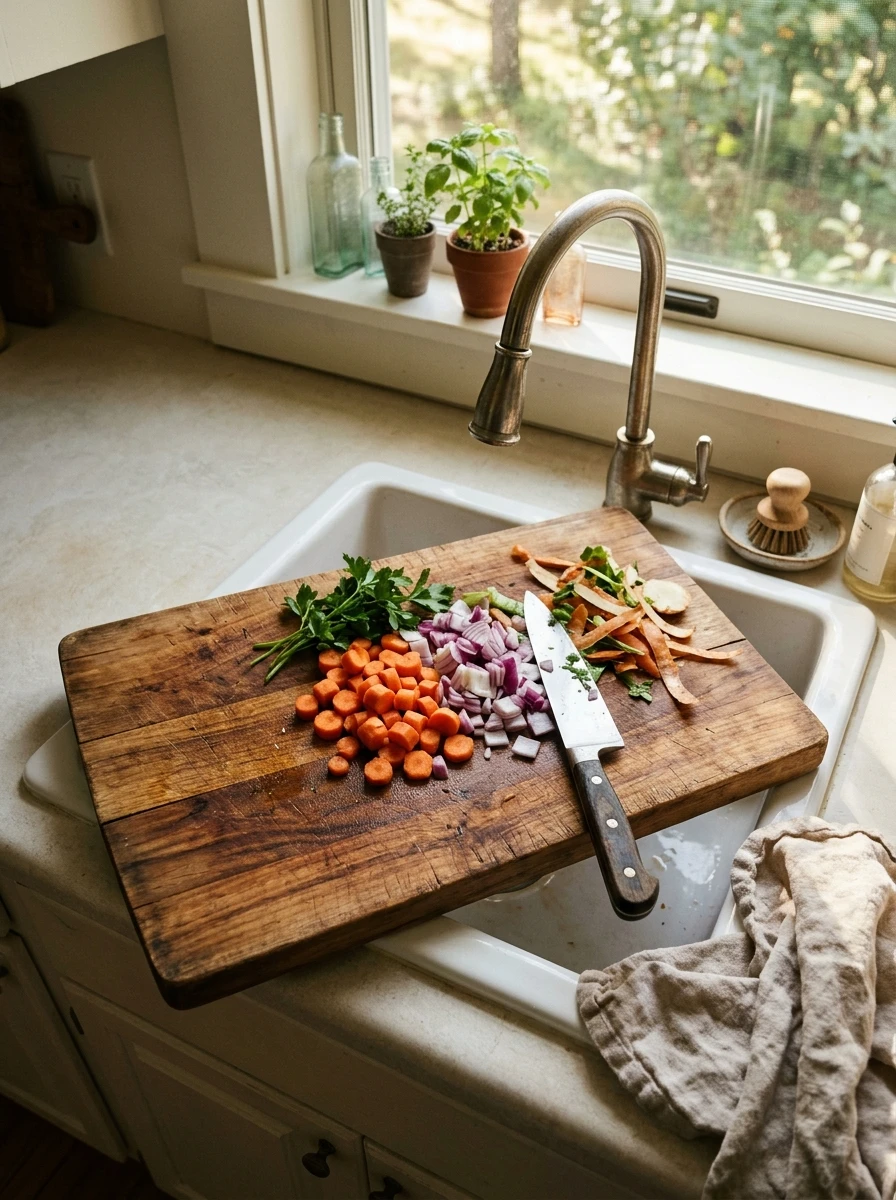
One board across the sink adds a whole extra stretch of counter, exactly where you chop. Measure the sink from rim to rim, then get a board cut to sit on the rim with a small lip underneath.
Use it for chopping vegetables, then slide the scraps straight into the sink. Hardwood holds up best, and a rub of food-safe oil now and then keeps it from drying out.
Pick a board that:
- Spans the sink with a lip on each side
- Is thick enough not to bend under pressure
- Dries standing up, not flat in a puddle
Store it upright when it is dry, and keep it off the heat. It is the cheapest extra counter you will ever buy.
6. Clip-On Baskets Under a Shelf That Add a Whole Hidden Layer
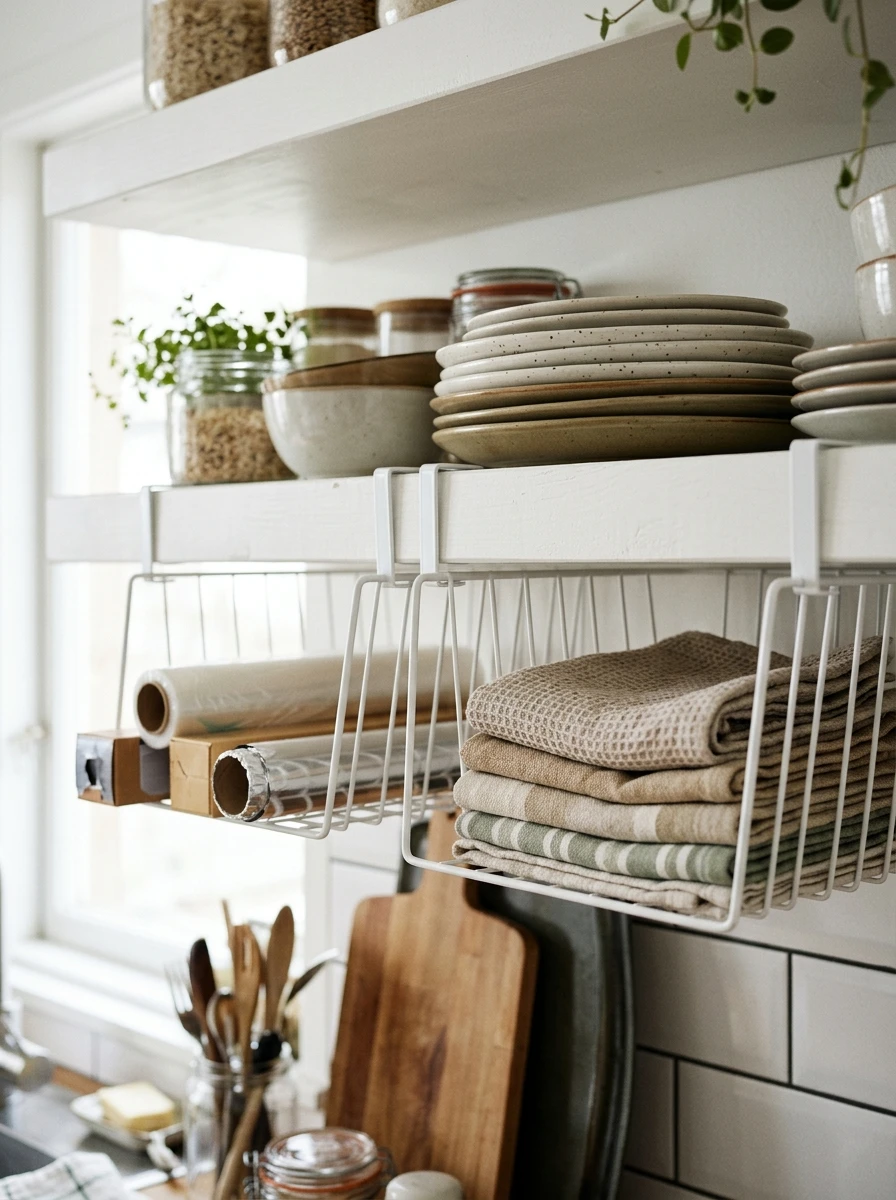
If a shelf has empty air under it, that air is storage. Clip-on wire baskets hook onto the shelf above and hang below it, holding cling film, foil, sandwich bags, and tea towels. No screws, no tools, and nothing to drill.
Measure the shelf thickness first so the clips grip properly. Put the things you grab most in the front basket, and the spares behind it. They also work inside a pantry, under the shelf that holds the cereal boxes. Check the weight limit before you load one with cans.
The shelf above still holds plates. The space below it finally earns its keep.
> Also view: 15 IKEA Kallax Makeover Ideas Using Baskets for a Clutter-Free Home
What to grab first
7. A Pull-Out Board Under the Counter That Works as a Second Chopping Spot
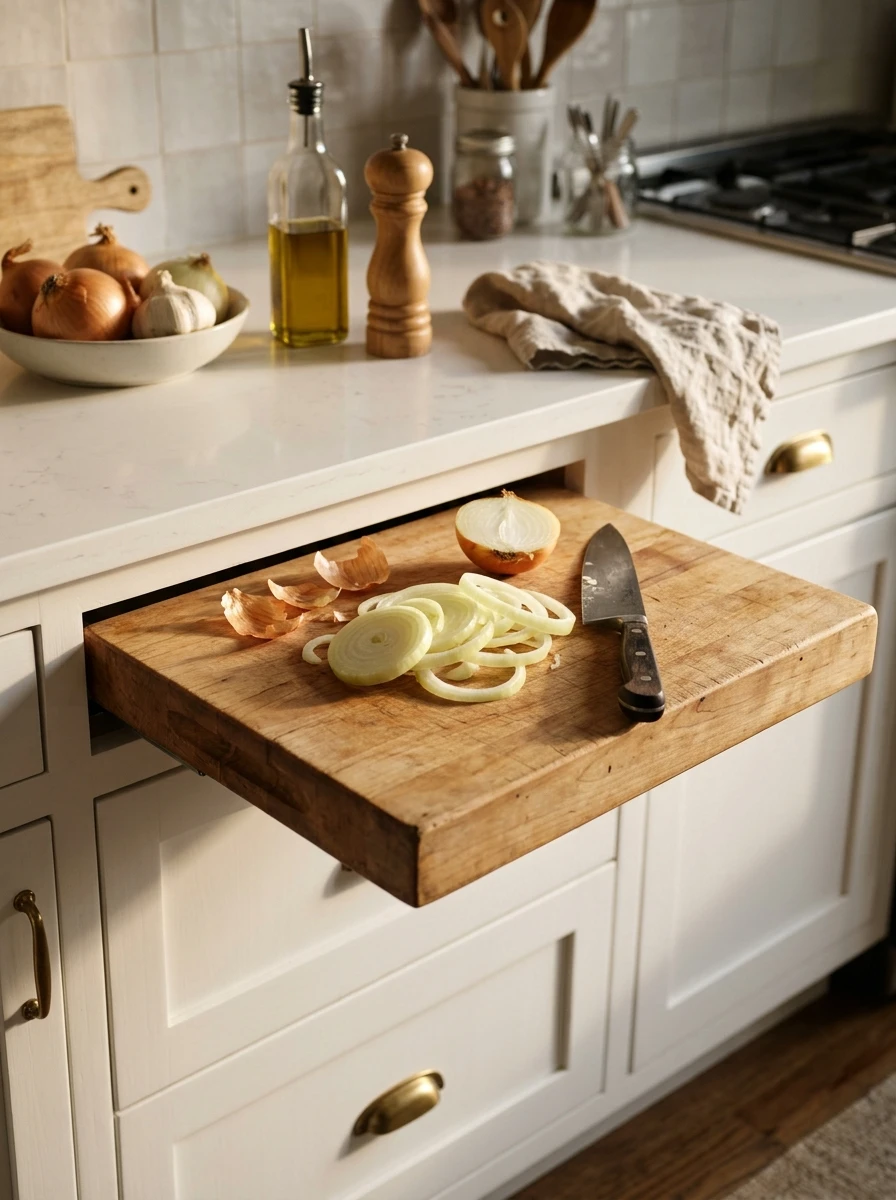
Two people cooking, one chopping board, and nowhere to put the onions. That is a normal Saturday in a small kitchen. A thin board mounted on full-extension slides under the countertop edge pulls out when you need it and slides back when you don’t.
Mount it where the counter overhangs, clear of the dishwasher door. A board about twelve inches wide suits most counters, and a narrower one still helps for onions and herbs. Sand the edges smooth and add a small stopper so it cannot slide all the way out.
It is a second worktop that only exists when dinner is happening.
Measure the overhang depth before you buy the slides.
Sand every edge of the board smooth.
Mount it where the dishwasher door swings.
Load it with a heavy mixer or skip the stopper.
8. A Ceiling Hook and Hanging Basket That Keeps Fruit Off the Counter
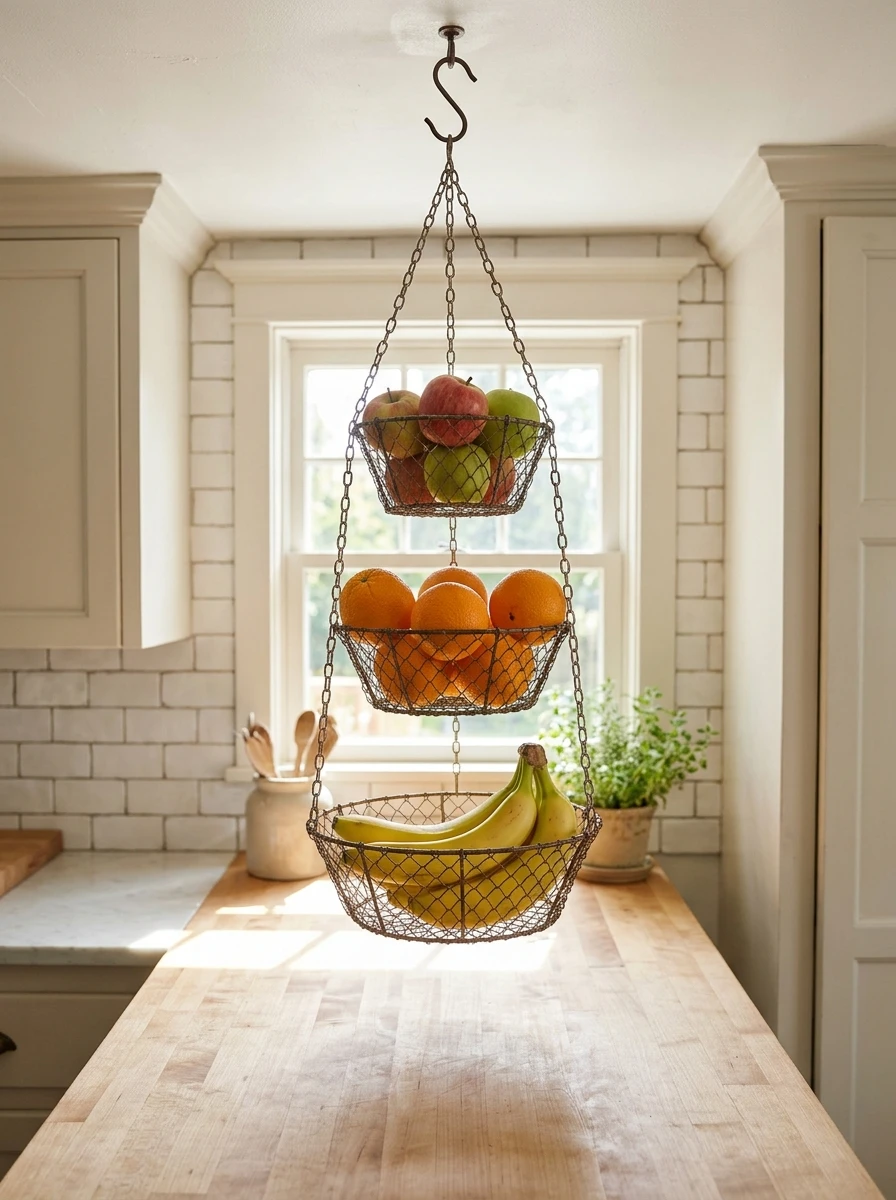
The fruit bowl is the first thing to eat counter space and the last thing anyone moves. A ceiling hook and a two or three tier hanging basket lift the fruit up and out of the way, and the counter below gets a full square foot back.
Find a ceiling joist with a stud finder and use a screw hook if you own the place. If you rent, hang the basket from a sturdy wall-mounted rail hook or a strong shelf bracket instead.
Keep heavy fruit like apples at the bottom tier and light fruit like bananas up top. The fruit stays in sight, so it actually gets eaten.
Find a ceiling joist with a stud finder, away from the stove.
Hang a two or three tier basket from the hook with an S-hook.
Load heavy fruit at the bottom and light fruit at the top.
9. A Toe-Kick Drawer That Hides Baking Trays Under the Base Cabinets
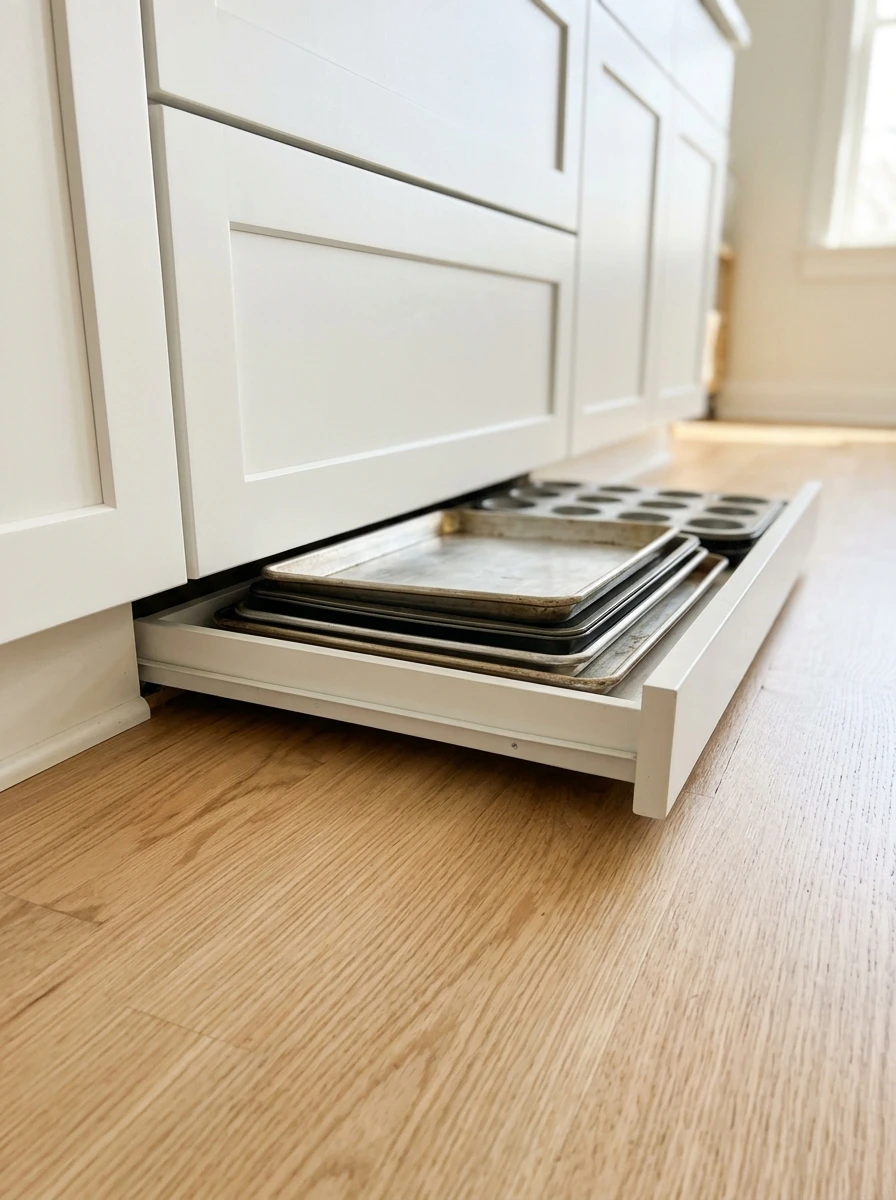
Most people assume the strip under the base cabinets is dead space. It is a shallow drawer waiting to happen. The toe-kick is the recessed strip at the bottom of the cabinets, usually about four inches high.
A shallow drawer on small slides fits baking trays, muffin tins, and flat cutting boards lying down. Measure the height and depth first, and check that nothing runs through that space, like pipes or wiring.
Flat trays slide in easily and stay out of the way until baking day. Your baking trays stop leaning against the wall behind the door.
Measure the toe-kick height before you buy anything. Most trays fit flat if the drawer is at least three inches deep inside.
10. A Fold-Down Rack on the Wall That Dries Dishes and Towels Without a Mat
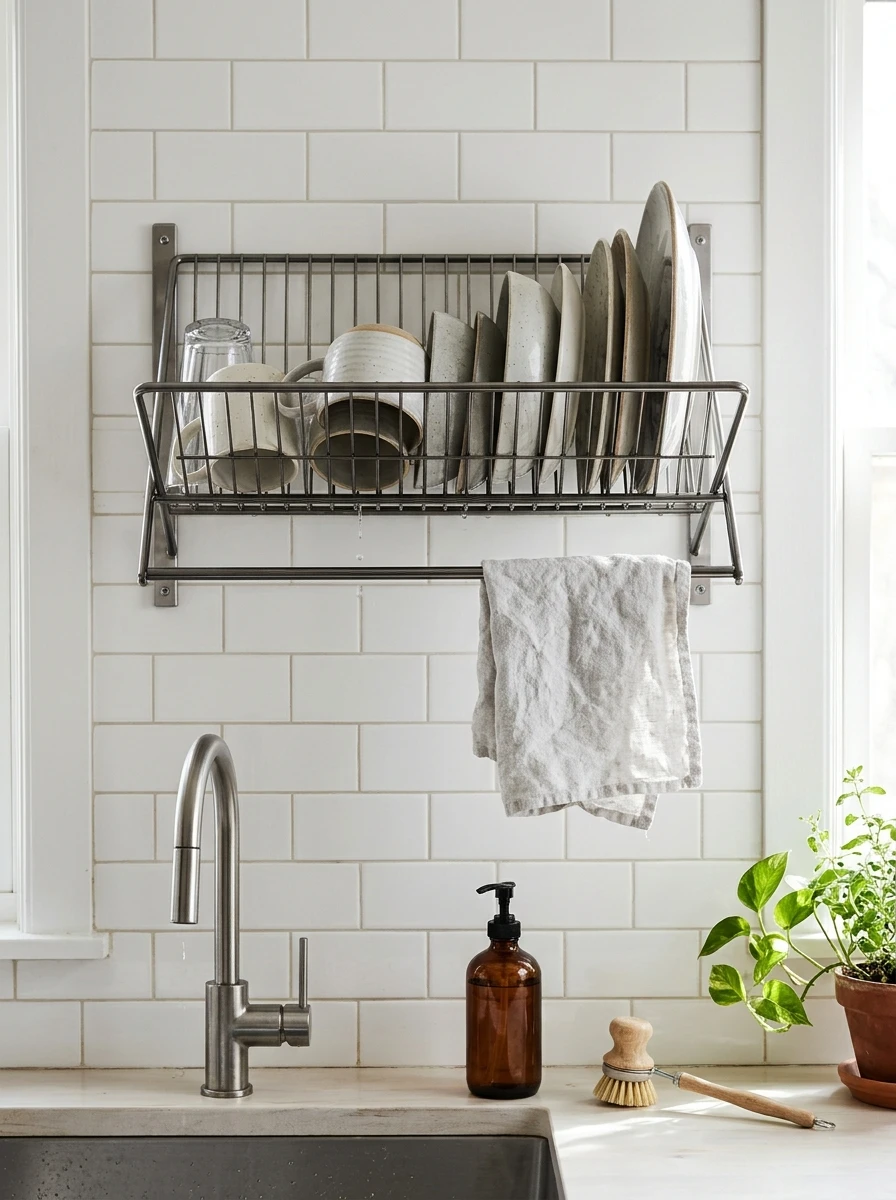
The dish mat never fully dries, and it eats a third of the counter while it tries. A wall-mounted fold-down rack above the sink holds plates and cups while they drip straight into the sink. Fold it flat against the wall when the dishes are dry.
It also holds a hand towel on its lower bar. Pick a spot with a little air behind it so the wall dries too. A small rack holds two plates and a couple of cups, which covers a normal meal for two.
The mat goes in the cupboard, and the counter stays dry.
⚠️ Watch Out
Mount the rack where drips fall into the sink, not onto the counter. Leave a small gap behind it so air moves and the wall stays dry.
11. A Pull-Out Bin Under the Sink for Recycling That Replaces the Countertop Bin
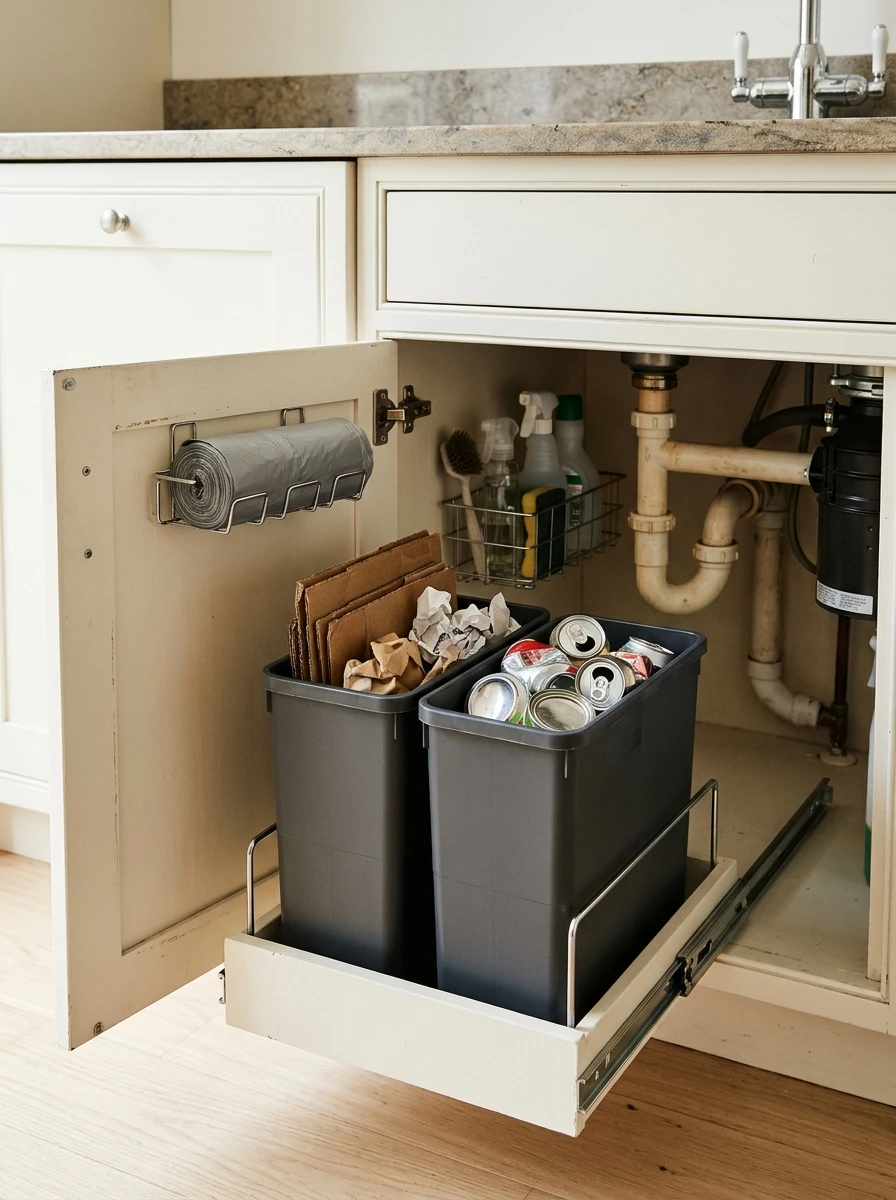
Recycling stops living on the counter the day it gets a drawer of its own. A slide-out bin on rails inside the sink cabinet holds two slim bins side by side, one for cans and bottles, one for paper and card.
The old countertop bin goes away, and the space it took becomes prep space again. VARIERA bins from IKEA fit most standard cabinets, but measure your cabinet first. A small hook on the cabinet door holds the roll of bin bags.
Sorting takes ten seconds when the bins are already where you stand.
12. One Home for Every Counter Item: Coffee, Prep and Cooking Zones
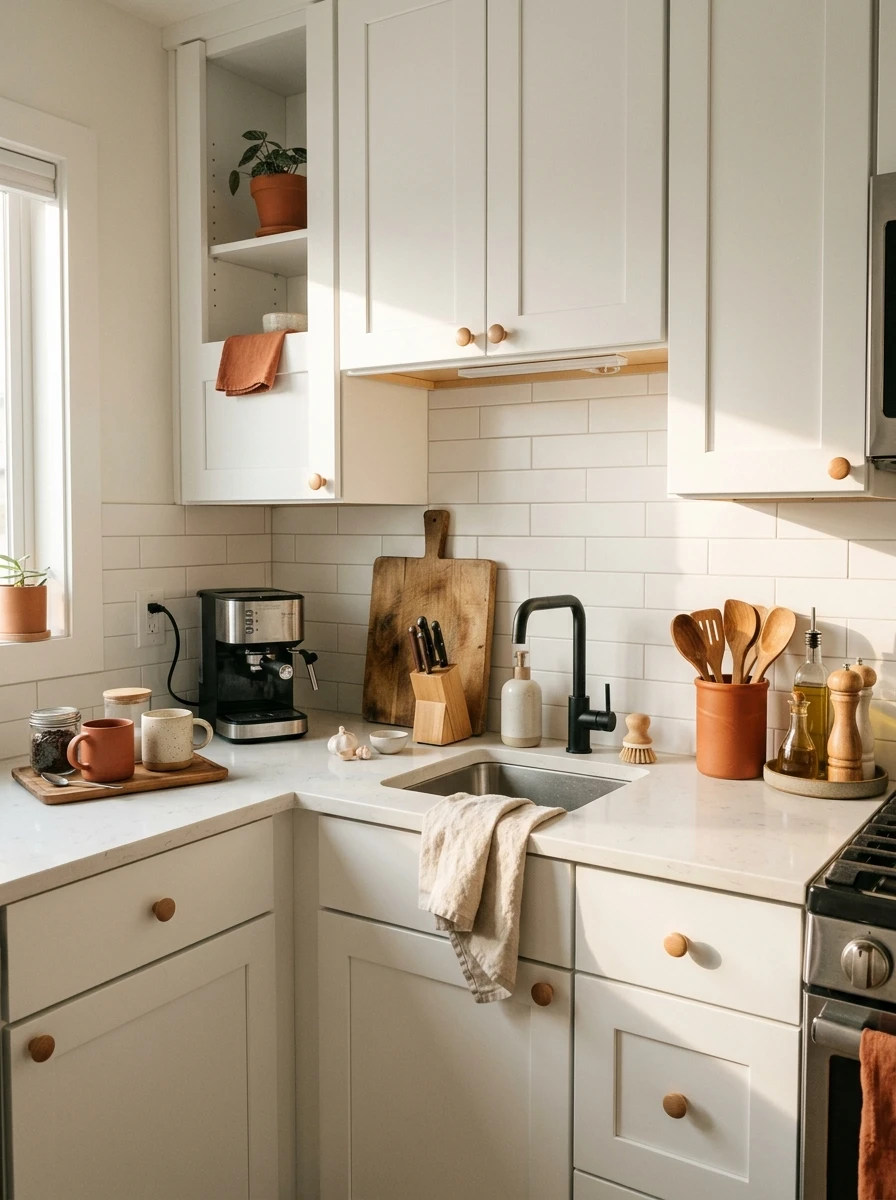
Give every counter item one home, and the counter stops being a parking lot. Split the counter into three zones, and keep each zone tight.
The coffee zone sits near the outlet, with the machine, mugs, and beans in one spot. The prep zone sits near the sink, with the board, knives, and a small compost pot. The cooking zone sits near the stove, with oils, salt, and spatulas within reach.
Anything that does not belong to a zone lives off the counter, in a cupboard or on a hook. When every item has a zone, putting things away takes seconds instead of a full tidy-up.
- ▸Coffee zone: machine, mugs, and beans, all by the outlet.
- ▸Prep zone: board, knives, and compost pot, all by the sink.
- ▸Cooking zone: oils, salt, and spatulas, all by the stove.
Your Small Kitchen, With Room to Breathe
A small kitchen does not need more counter. It needs fewer things sitting on the counter it already has. The twelve ideas above all do the same quiet job. They find the wasted spots, the gap, the wall, the door, the ceiling, and put them to work.
Pick the one that fixes your biggest daily annoyance and try it this weekend. One small change is enough to feel the difference the next time you cook. When the counter stays clear for a whole dinner, you will know the system is working.
Save this list for the next time your kitchen feels crowded. These IKEA kitchen hacks are here whenever you are ready for the next one.
Before You Start
- ✅ Tape measure and the width of your gap, shelf, and under-cabinet space
- ✅ One hack picked — the one that fixes your biggest daily annoyance
- ✅ A note of the exact size before you shop, so nothing comes home wrong
- ✅ A free evening to fit it and live with it for a week
- ✅ A clear counter to start from, so you can see the difference right away